Insulating these downlights from below

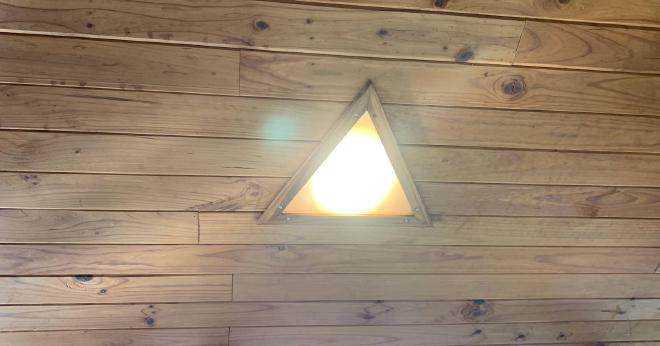
This house is designed on a triangular geometry theme. And sure enough, even the recessed ceiling lights are triangles.
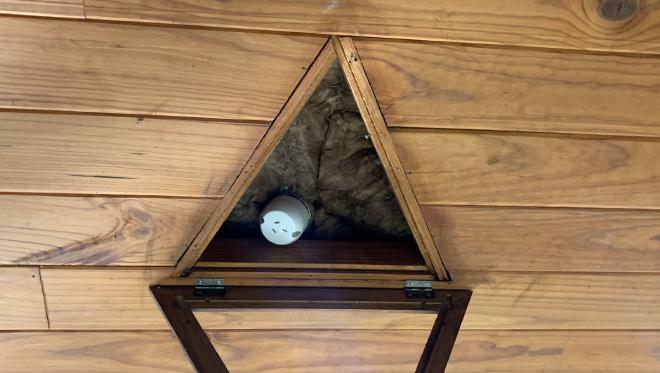
The problem, as is usually the problem with downlights, is the large gap in ceiling insulation for clearance around the light. Light globes get hot so can not be in contact with insulation.
In this case the gap in insulation is about 600mm x 550mm (a full rafter bay across). And there are 12 of these lights in the living/dining/kitchen room. That’s a massive 4 square metres without insulation.
To fix this we needed a box of 12 downlights rated for insulation contact (IC-4): $144 from Reduction Revolution. They plug in to a standard power outlet, so we also needed an electrician to replace all the light sockets with 3-pin sockets.

There’s about 90mm of height in the ceiling, so I bought a pack of R2.5 high density glasswool insulation, and cut to size. It would have been too difficult to get single pieces through the hole, so I cut them in half.
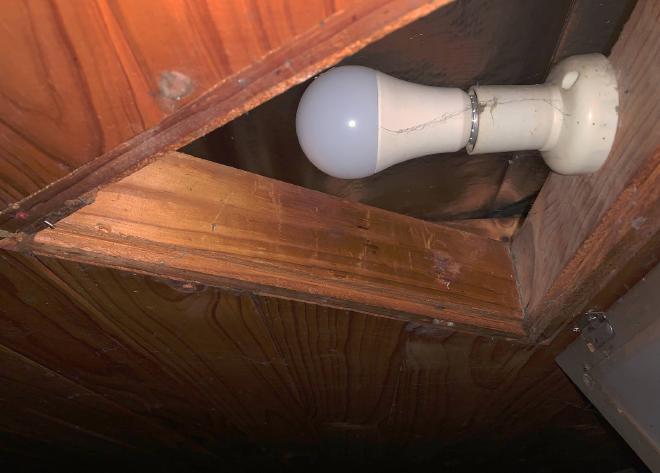
While the original lights were mounted sideways, modern downlights point straight down. I made simple frames from 9mm plywood with the required 90mm-diameter circular cutout. These could then be held in place with 3 small screws.
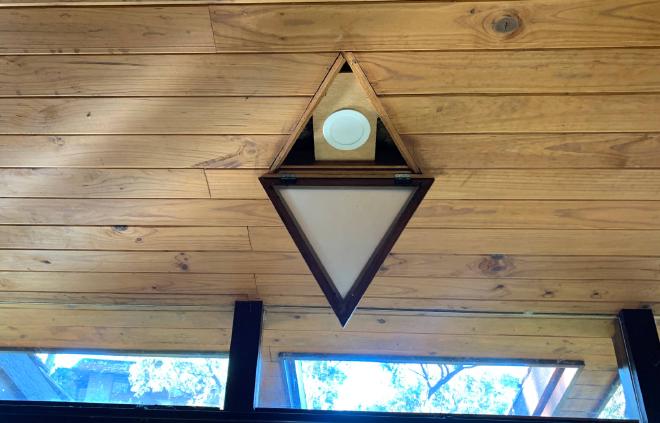
With the cover back on, the light itself is suspended about 1cm above the cover. This probably is not recommended by the manufacturer. In the original arrangement, the bulbs were just as close to the cover. Now that there is insulation behind, the space might get hotter. But these covers are not air sealed: there are gaps along the sides, especially at the bevelled edges between ceiling boards.