Box gutter insulation

Table of Contents
Home Journey - This article is part of a series.
Our house has a “W” shaped roof: two valleys, each with a box gutter.

Front elevation
As these box gutters sit down below the roof level, there is not much space between them and the ceiling. That makes insulating that part of the ceiling… a bit tricky.
Three rooms are under the box gutters: Living room, Family room, Bedroom 3.
Living room #
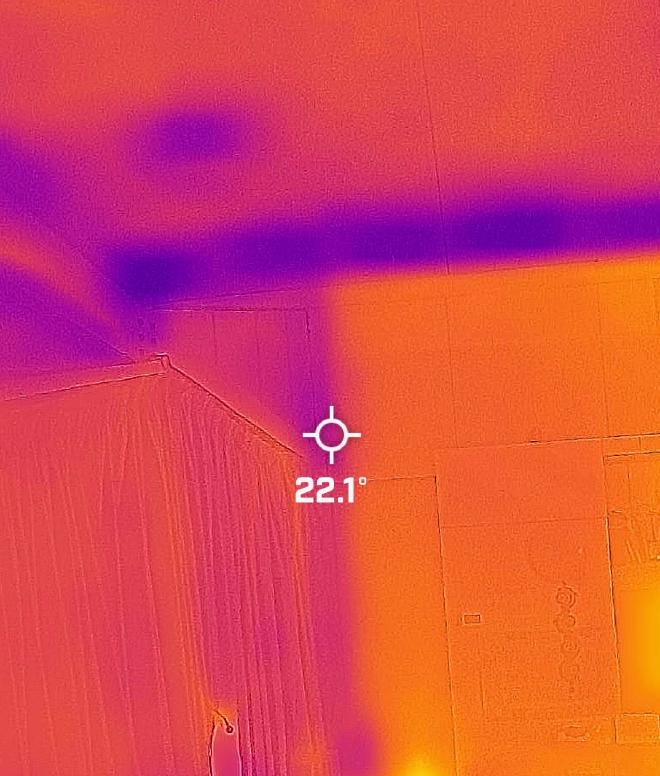
In the Living room, the box gutter runs along this lighting bulkhead next to the wall:
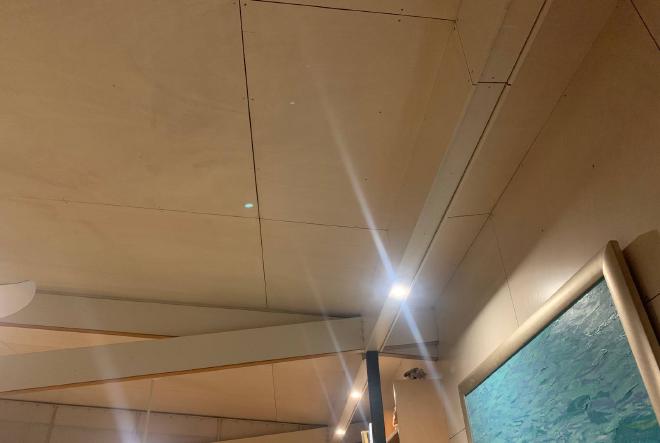
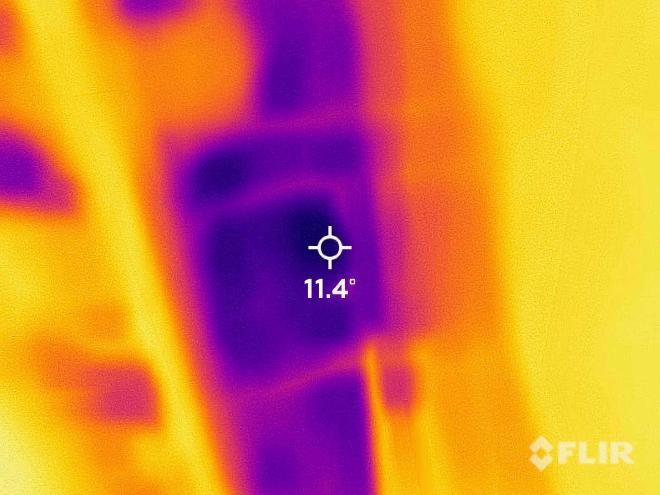
If you look up at it with a thermal camera in winter, you can see something is not right:
…and in summer:
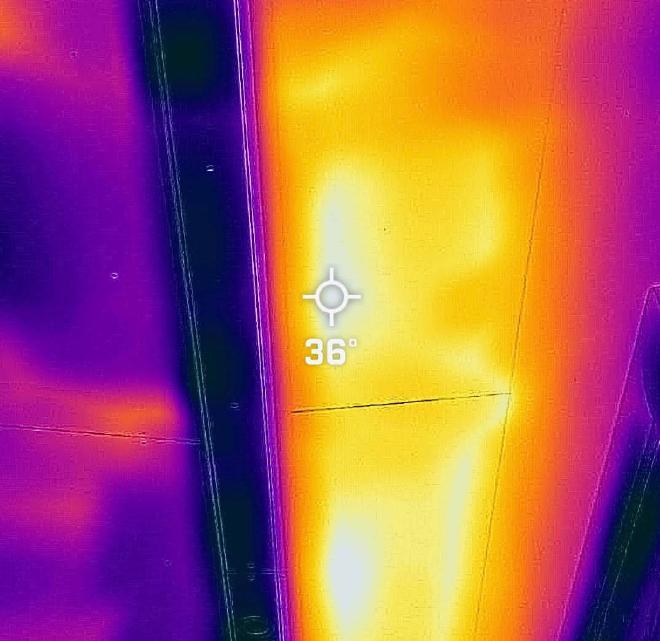
A thermal camera was essential for finding this problem.
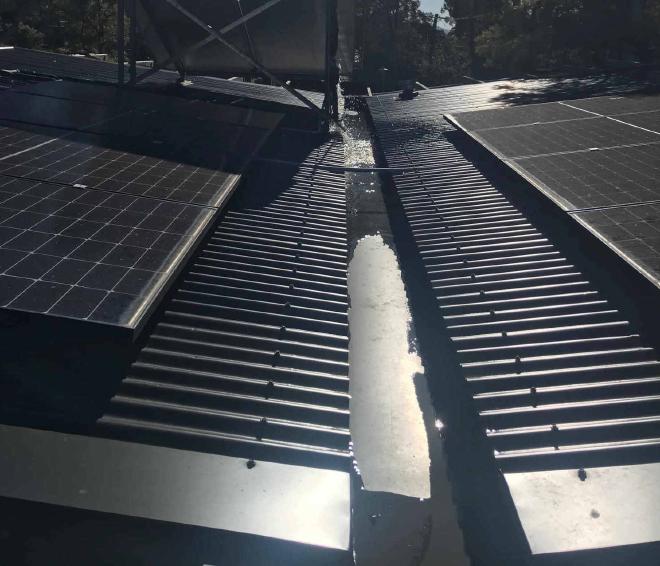
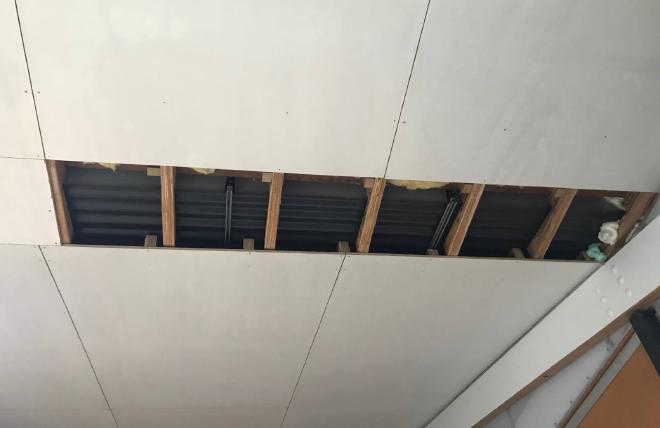
Taking down part of the ceiling there, I could see the box gutter itself (sitting on some corrugated metal).
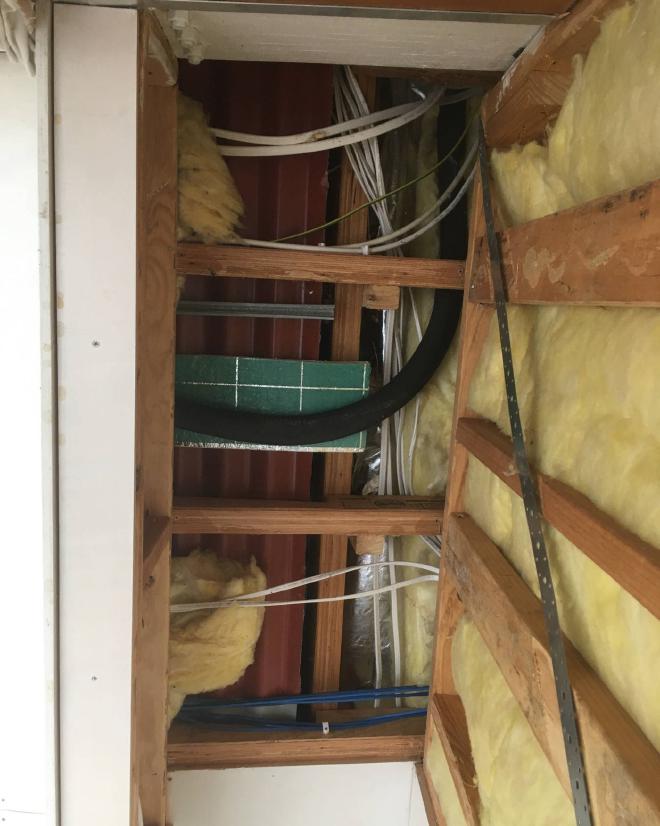
I had an insulation company come to quote for fixing this problem. They suggested spray foam as a solution. But they could only do the actual spraying, they needed clear access to the gutter… and opening up access to the gutter is the hardest part. So, I decided to do it myself with off-the-shelf spray foam. This was in early 2023.
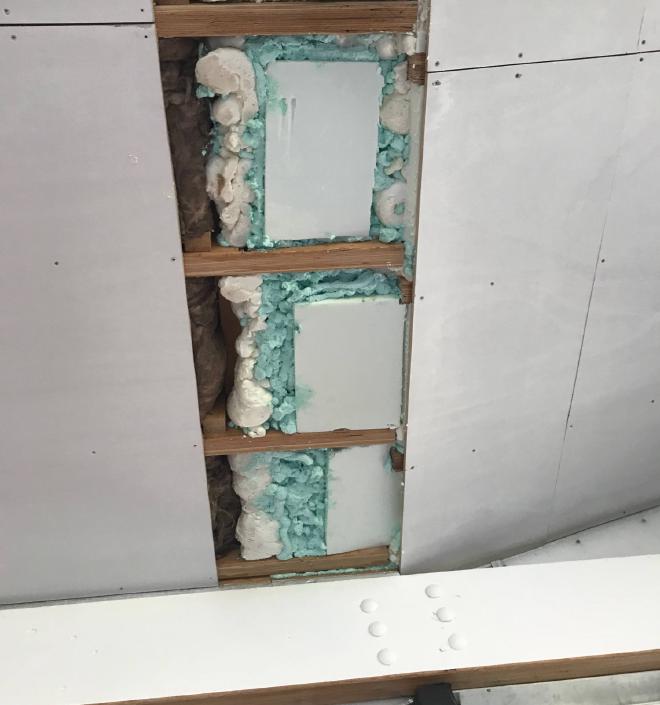
I ended up using a combination of low-expansion spray foam, normal high-expansion spray foam, and XPS (extruded polystyrene) sheets.
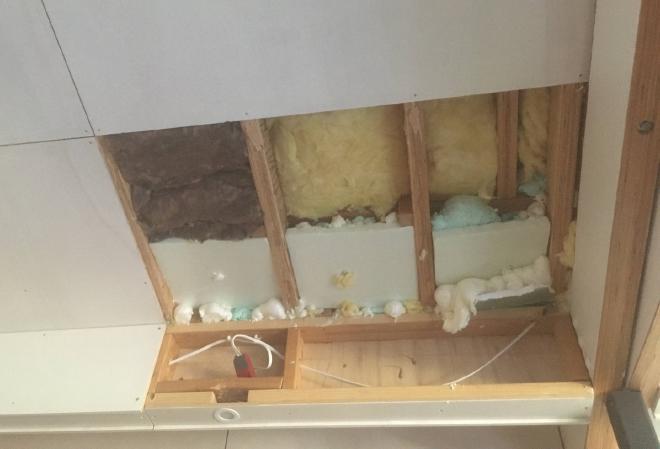
My process was basically
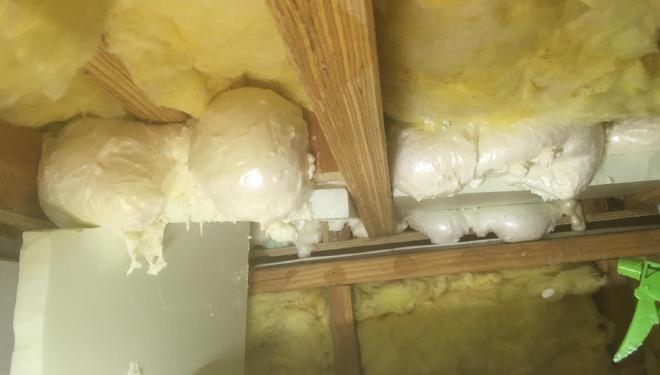
- Spray foam the sides of the gutter;
- Jam in an XPS sheet below, and spray the bottom of the gutter;
- the XPS holds the foam in place
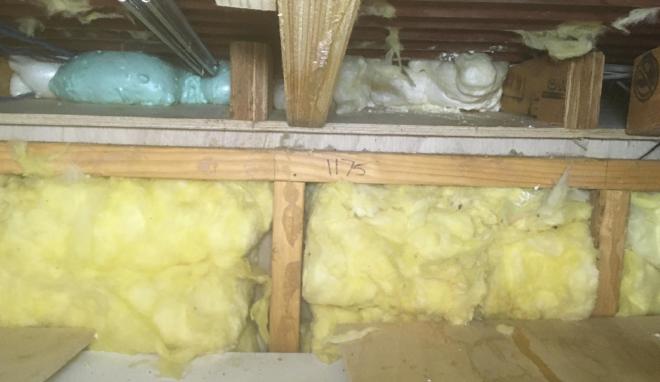
- Place glasswool batts in adjacent areas.
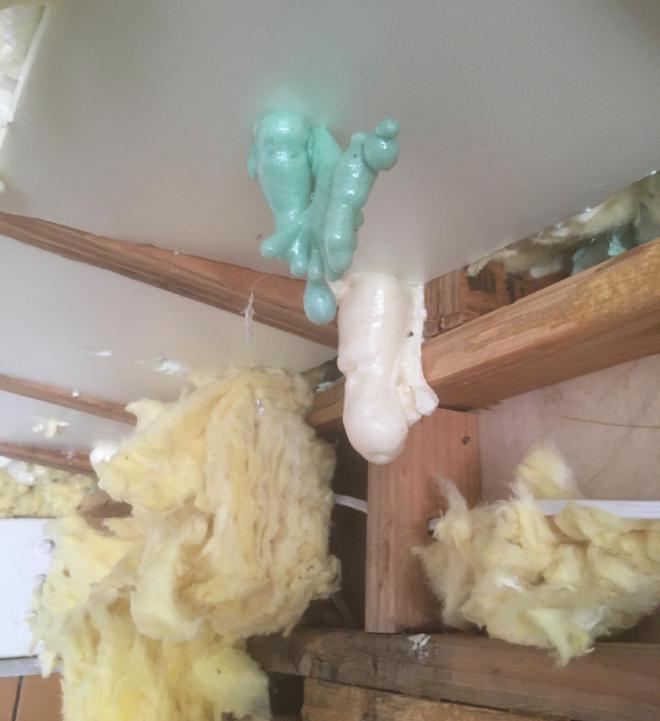
There were a lot of complications with this… I had to do the spraying in multiple passes, and it often blew up out of control, dripping everywhere. If you spray too much high-expansion foam it can form voids inside. To rectify that I poked holes in the XPS sheet and sprayed in again to fill any voids above. That then expanded back out through the holes:
Family room #
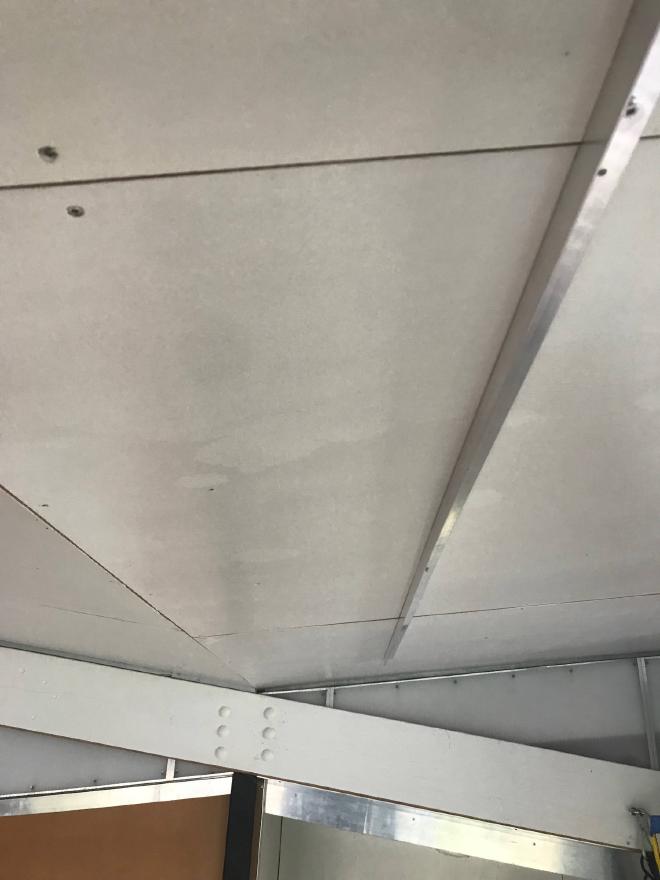
The family room has a box gutter running down the middle. Again, it shows up starkly on an infra-red thermal camera:
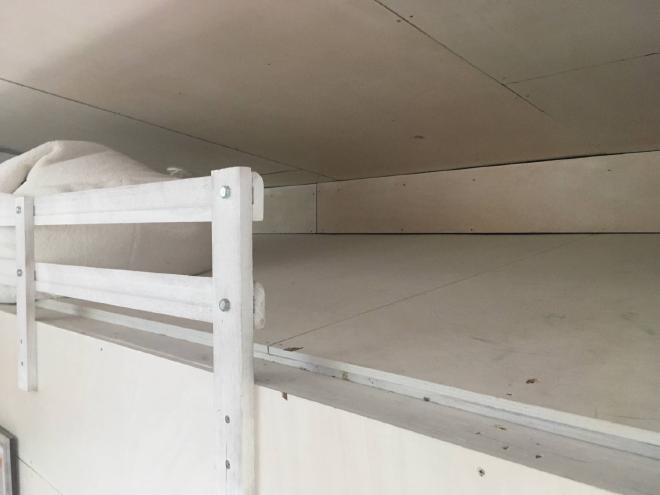
Unlike the Living room, where there were conveniently small-sized plywood panels to remove under the gutter, this one involved full-sized 2400mm x 1200mm plywood panels. They are simply too big for me to hold on a ladder.
So I decided to cut them. I first mounted an aluminium angle as a guide. Then I cut along it manually with a wallboard saw. I did not want to use a power tool because there may be electrical cables there.
That left me with smaller pieces of plywood that I could take off.
I did the same cut on the other side.

Bedroom 3 #
In Bedroom 3 the box gutter runs above the dropped ceiling of the bathroom. This is convenient because I don’t have to work at height, but inconvenient because it is cramped and awkward.
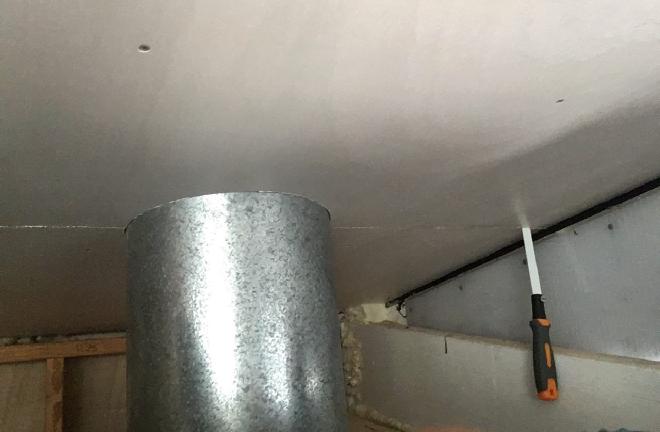
I cut the ceiling plywood panels here to a manageable size, and also to get around this exhaust fan duct.
Starting with the opposite side of the gutter, I tried my best to reach in and cover it with expanding foam.
Conclusions #
I think if I did this again I might just use glasswool. It turns out that off-the-shelf spray foam is not the same as the commercial stuff. It does not always stick very well and is hard to control.
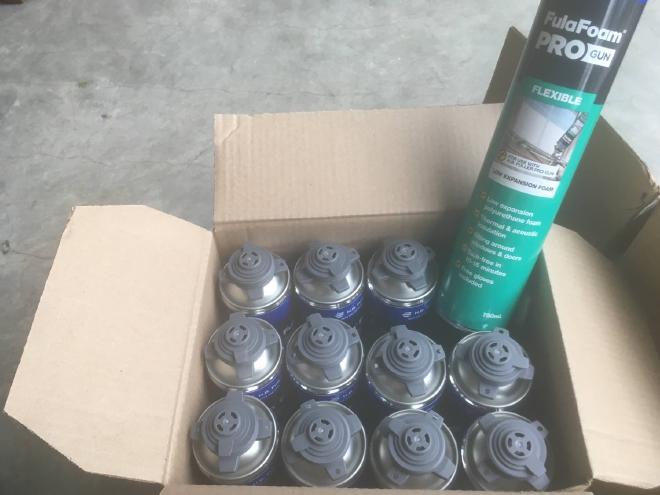
As well as the $300 for low-expansion foam (which is soooo much better than the normal expanding foam), I bought…
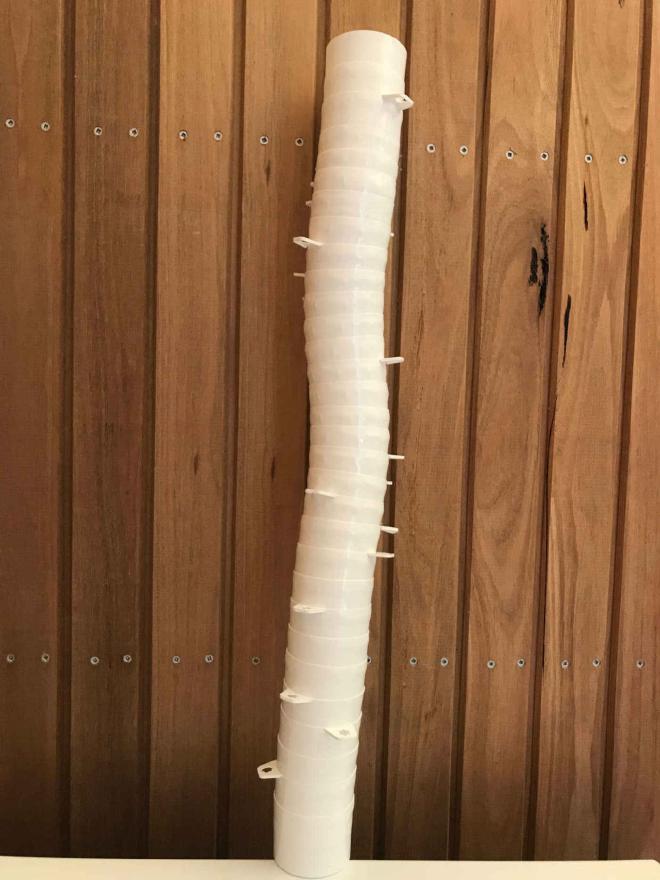
… (counts caps) 31 cans of normal expanding foam from Bunnings, and a couple of sheets of XPS. So the cost was probably about $800, maybe more.
It has reduced the contrast on the thermal camera. As for the difference to internal comfort, it is hard to tell because there is so much else going on.