Ceiling insulation

Table of Contents
Home Journey - This article is part of a series.
Access to the ceiling insulation is very difficult as we have a raked ceiling; there is no roofspace. To make matters worse, most of the roof is covered in solar panels which prevents access from above.
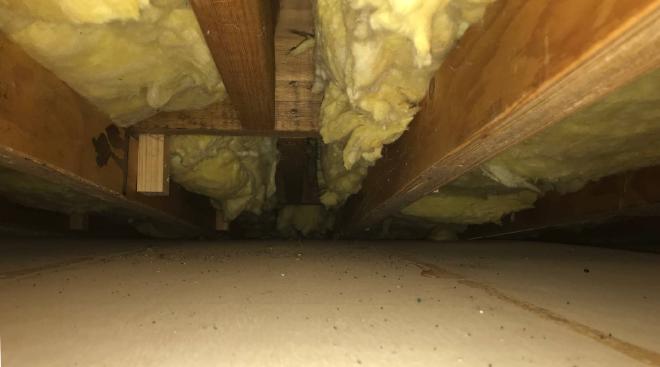
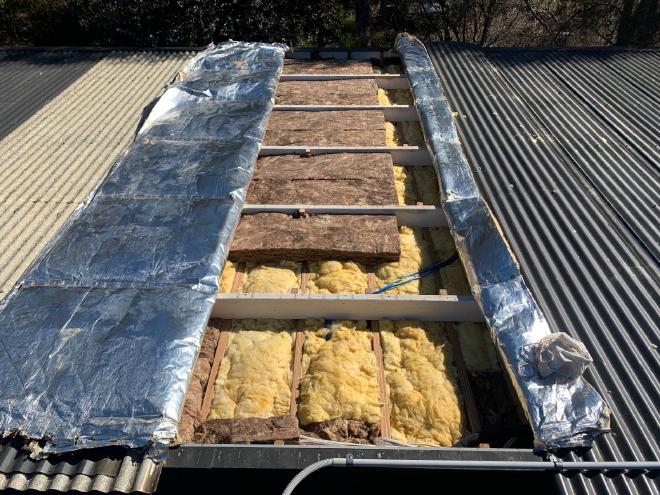
I eventually discovered that the ceiling insulation had been laid across the ceiling beams, rather than between them. So there was a 90mm airgap directly above the ceiling, under the insulation. This combined with the lack of any air sealing in the roof, meant that outside air was bypassing the insulation. That is, the ceiling insulation was probably not doing much at all.

Ceiling diagram showing glasswool batts incorrectly laid across beams, rather than between them.
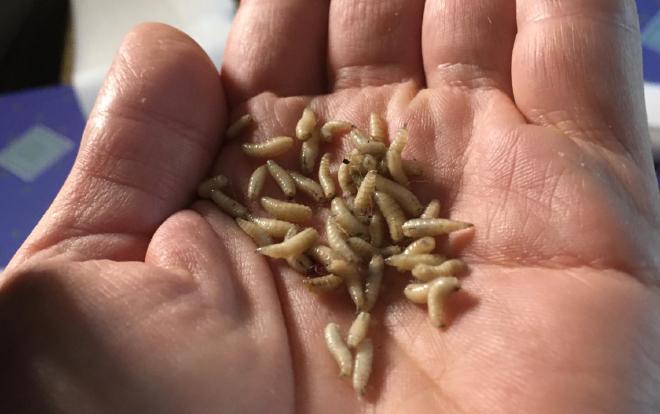
Incidentally, this creates a highway (literally) for mice.
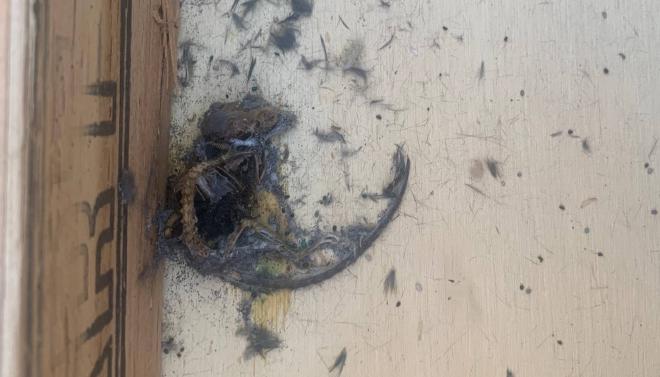
Sometimes when mice die in the ceiling, it starts raining maggots. They fall through the feature gaps (!) between ceiling panels.
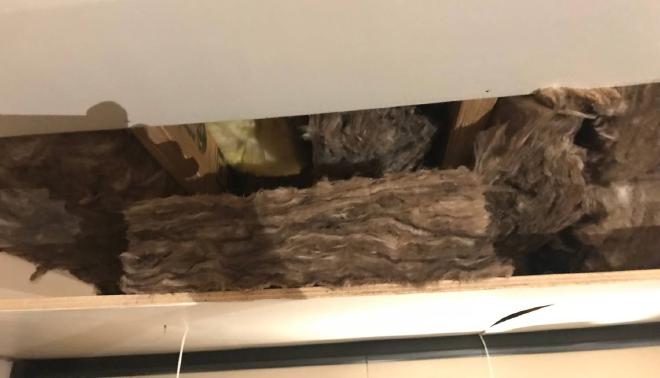
Clearly this space needed to be filled. In any case, the existing insulation looks like it’s only about R3, and full of gaps. Since there is a 90mm cavity, I decided to add R2.5HD (high density) batts.
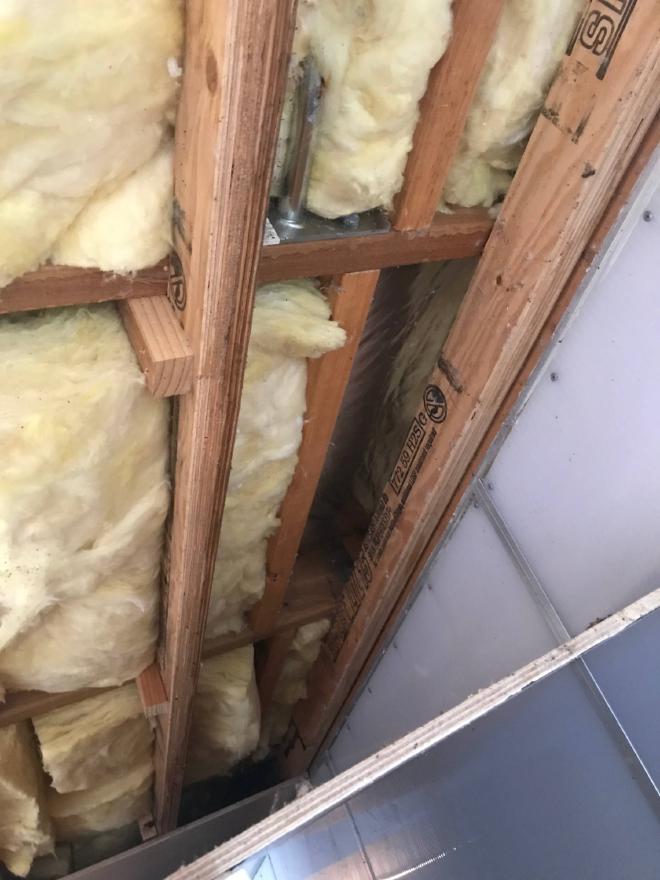
From below #
I began to rectify the situation by unscrewing one end of a plywood panel, bending it down, and pushing batts in. This was not ideal… I used a pole to try to push the batts all the way in, but inevitably they got a bit mangled in the process. Panels at the edges of a room could only be pulled down on the long edge. It was difficult and frustrating. All while balancing on a ladder.
As I said before, the ceiling panels are too big, heavy and unweildy for me to take them down completely. One exception was this panel that I was able to balance on the top of my climbing wall:
Yes that is a big gap in the insulation.
In this way I rectified all of Bedroom 3 and Family room, and half of Master bedroom.
The Study has a small adjacent roofspace inside an eave. I was able to get into it, and from there, insulate a small part of the Study ceiling, as well as the top of the wall.

You can see clearly here just how open the ceiling is to air flow.
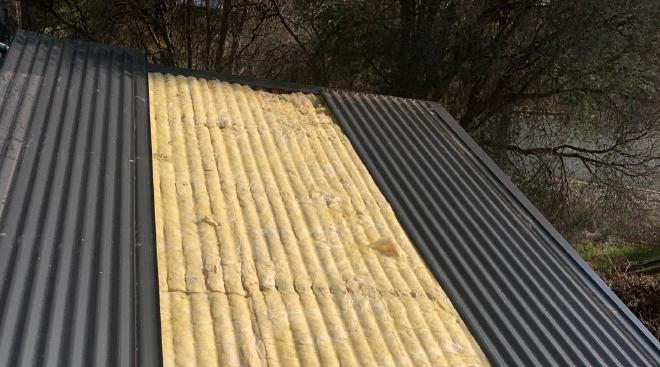
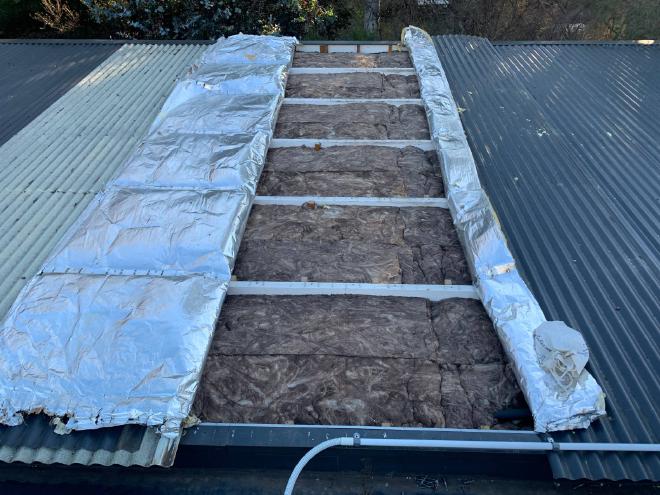
From above #
In Feb 2024 we had some old solar panels removed. This cleared the roof of the Study and Entry. I was finally able to get at the ceiling insulation from above. I worked on sections of 2 or 3 roof sheets at a time.
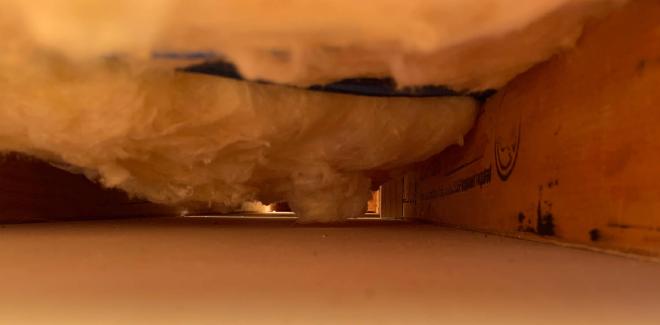
Here is another view of the ceiling under the existing insulation batts.
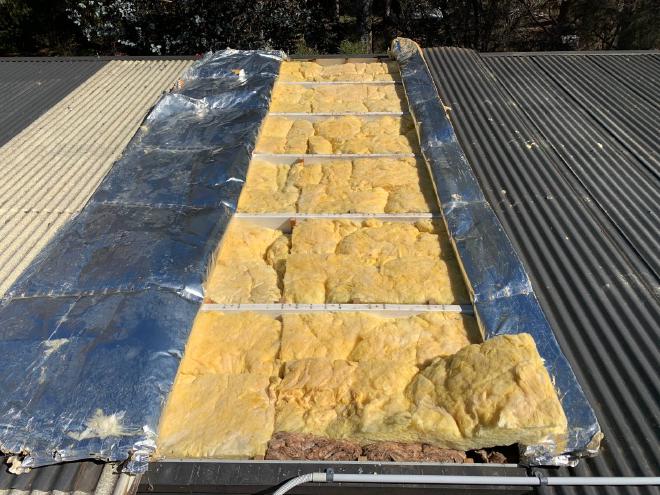
I cut these existing batts to fit correctly between beams, up against the ceiling.
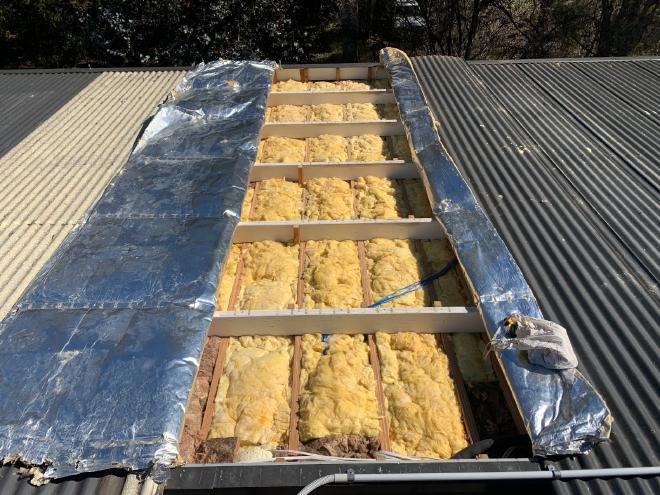
Then I added a layer of R2.5HD batts on top.
In June 2024 I paid $1400 to have the 14 solar panels over the Living room moved temporarily, so I could do the same to that room.
The remaining rooms with original ceilings are now: Bedroom 2, Pantry, Coats, and half of Master bedroom.