Gap sealing

Table of Contents
Home Journey - This article is part of a series.
Uncontrolled air leakage wastes heating and cooling energy. That’s why civilised places have mandatory minimum standards for airtightness in new houses. Australia? nah mate.
Air leakage is usually measured with a blower door - a calibrated fan that fits in a doorway and depressurises the house. I had access to a blower door in 2023 (thanks to Powerhaus Engineering).
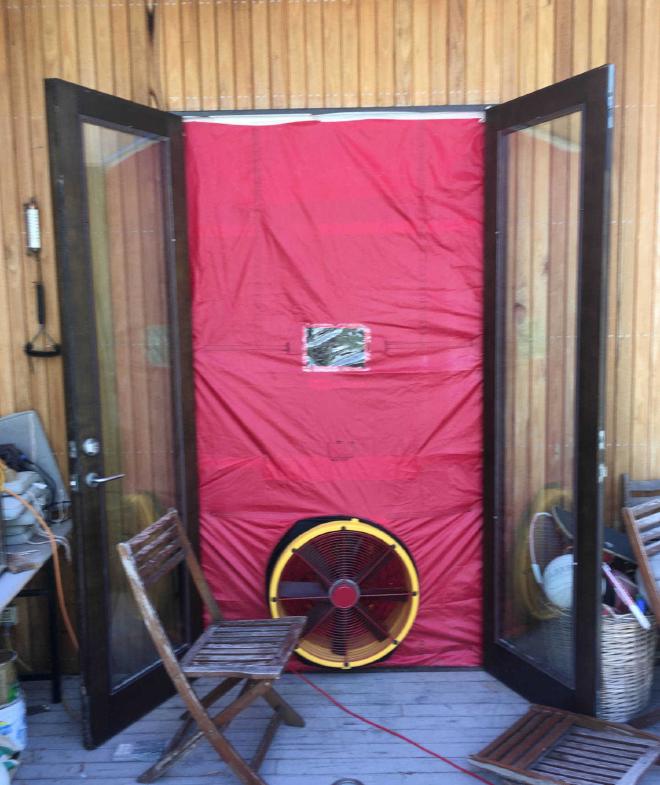

The result was 24 Air Changes per Hour at 50 Pascals pressure difference (ACH50). A shocking result. It means that at that pressure difference, all the air in the house would be replaced 24 times per hour. Since my house has 3.4m high ceilings, that is a lot of air. Also this did not include bathrooms. While 50 Pascals is not the typical condition — equivalent to a 32km/h wind on all sides of the house — it is an indicator of air leakage that occurs constantly due to rising warm air (stack effect) as well as wind.
For comparison, many European countries and US states have minimum airtightness standards of between 2 to 10 ACH50. The gold standard Passivhaus calls for an ACH50 of just 0.6 — so we have 40× that rate. Side note: it actually makes more sense to calculate air leakage per surface area instead of volume.
While the house is depressurised you can easily feel the air leak locations. In my house there were… many.
Door seals #
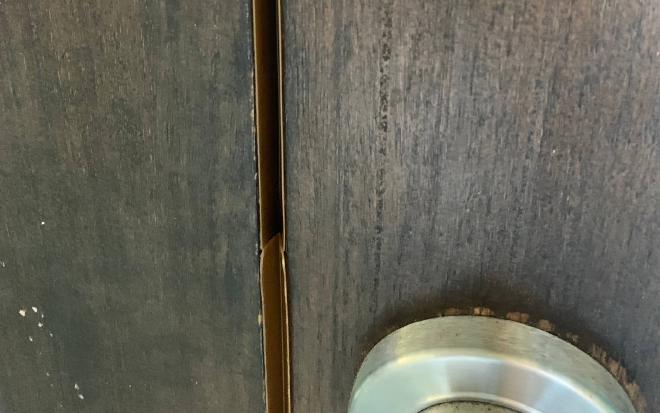
Our timber doors have sizable gaps. Initially I got sucked in to using the foam strips from Bunnings because they are so cheap, but they don’t last long. They get compressed or just turn to dust with time, and also my rabbit and cat keen to get out the door make short work of them.
Compressible rubber seals work better.
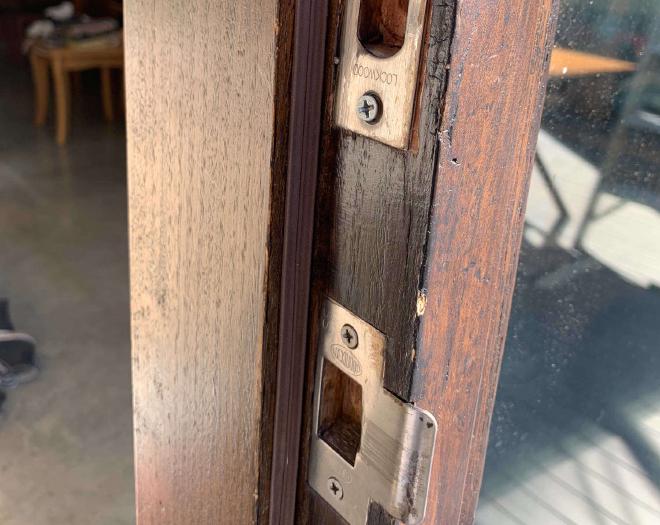
The problem with rubber seals is that they can stop the door from latching closed. Or the door will need to be slammed to close properly. I actually moved the latch plate forward slightly on this door.
A foldable tape seal can work well with less of an obstruction issue:
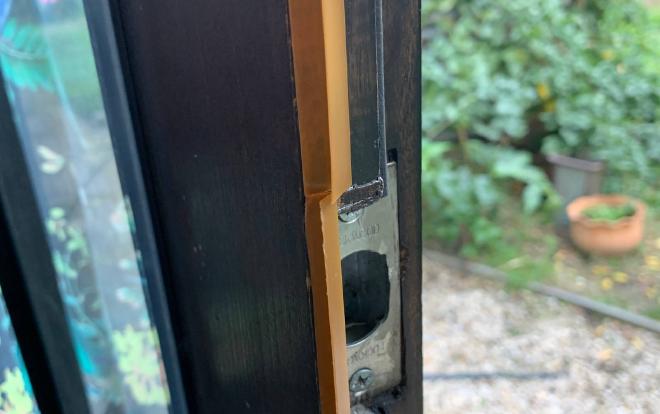
I got my foldable tape seals from Efficiency Matrix but you can also get them from EcoMaster.
The ultimate solution would be to get doors and windows that have good integrated seals; or failing that to use EcoMaster’s Draught Dodgers approach: seals that sit adjacent to the door, not squashed inside it.
Ceiling and wall gaps #
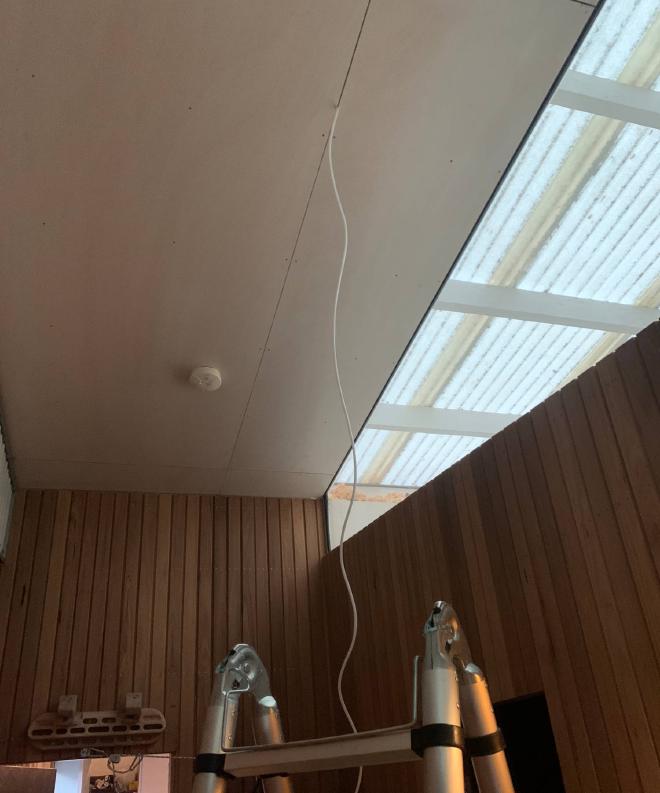
My house has an interior of plywood panels on the ceilings and most of the walls. Also Durra (strawboard) panels on some walls. Both are installed with feature gaps of 5mm between. For years I assumed that there was some kind of air barrier behind all these gaps. Ha ha.
Even when I figured out that they were leaky, I was hesitant to seal them because I wanted to be able to take off the ceiling panels to fix the insulation behind - see ceiling insulation.
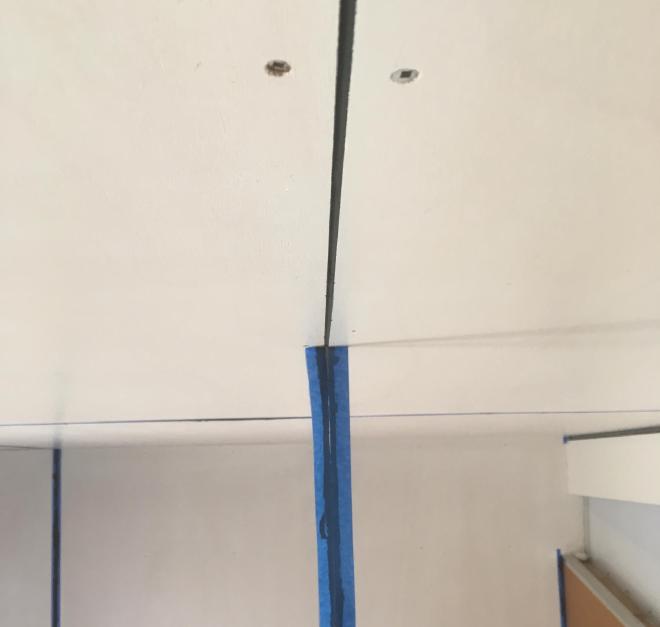
Anyway, when I finally sorted out the ceiling insulation I started to seal these gaps. First step is to painstakingly insert a foam backing rod. If you don’t do this, the caulk goes right through and out the other side of the gap. I tried various tools to push the foam rod in but nothing worked better than a teaspoon.
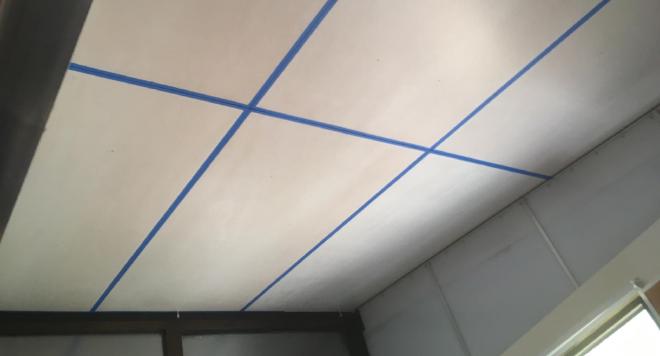
Then carefully run masking tape along the sides of the gaps.
Use a caulking gun to fill the gaps with black coloured acrylic gap filler, trying not to let it fall out onto the floor, and run a finger along behind.
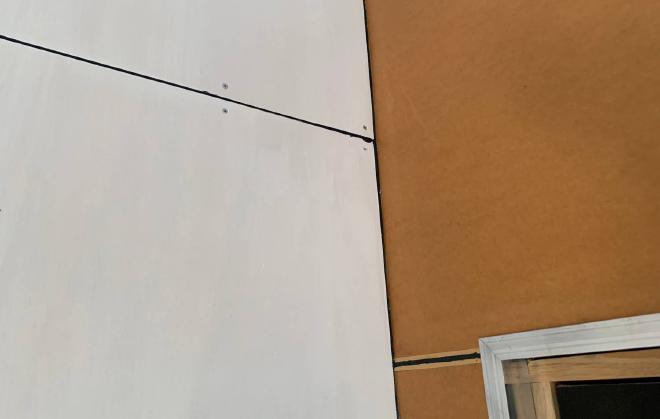
There were also many many other miscellaneous gaps, including ceiling lines and floor lines, junctions with beams, and around doors.


Exhaust fans #
Our three exhaust fans were all unsealed. So they are basically big holes. In my experience this is common even in new houses.
Ensuite & toilet #
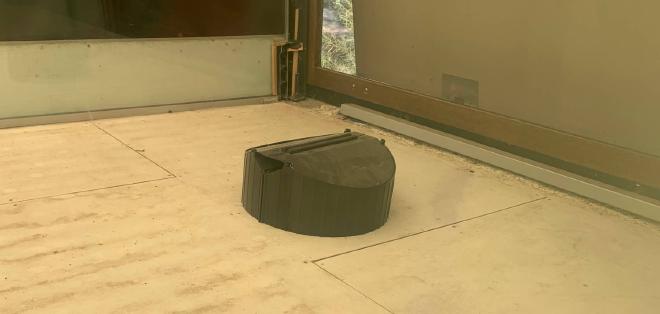
Two of the exhaust fans vent into a weird attic space – it took me years to work out how to actually get into it – so I was able to cover those with DraftStoppas.
Bathroom #
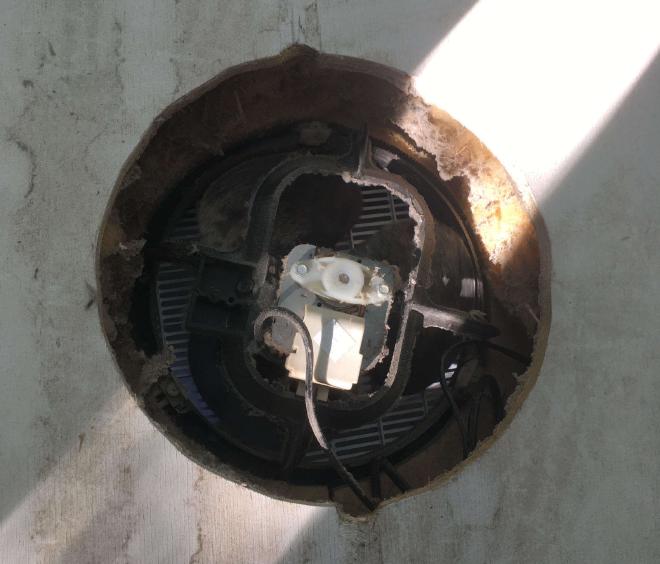
The remaining exhaust fan has a vent up to the roof. Again, it is unsealed. The bathroom has a dropped ceiling and the vent goes up through a bedroom.
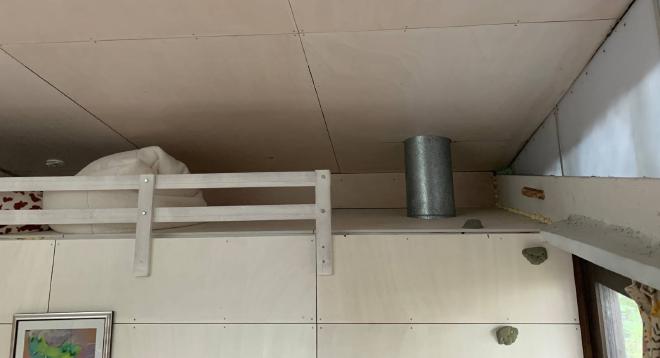
Strangely, there is an outer 260mm diameter vent, and within that a 130mm vent. I was able to remove the outer vent to wrap the inner vent in insulation, for the sake of the bedroom.

However this was not great because the insulation was exposed to humid air from the shower below. So I used a piece of airtightness membrane to seal between the two ducts.

I replaced the existing unsealed fan with an IXL Eco Ventflo that has back-draught shutters built in ($57.88 from Bunnings). Finally! That hole is sealed up.
Shutters #
The west side of the house has big openable shutters for ventilation. Two have electric motors, and another two are manual. These manual ones are fitted with gas struts (like a car boot) which push them open. To close them, they are pulled in with a rope on an eye bolt, and then a wooden rod jammed into it.
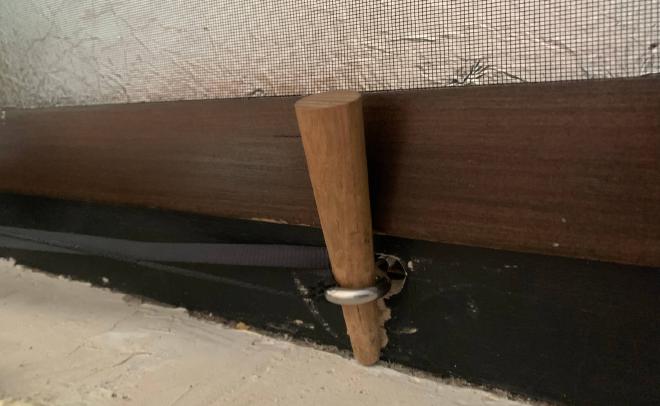
This is a clever system and all, but the problem is that it just doesn’t pull it closed tightly. There is air leakage all around. You can hear it.
I did apply draught-proofing seals around the edges, but this did not solve the problem as the shutter was not tightly closed on the seals.
I tried to find a way to fit compression latches on to the shutters, but couldn’t figure out a good solution. Eventually I decided to use a ratchet strap. It is tied to the eye bolt on the shutter, and held with brackets on masonry anchors.
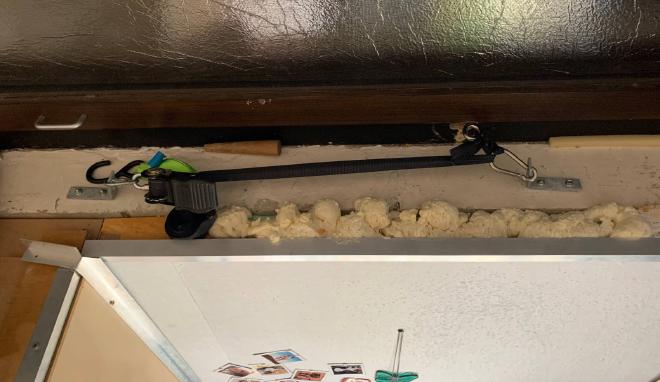
This certainly applies a lot of force to pull in the shutter. It even slightly bent the heavy duty bracket. It is suitable for closing it up over winter. In the warmer months I will probably still use the wooden rod.