Hempcrete

Table of Contents
Lime Sublime - This article is part of a series.
Hempcrete seems to have a reputation of being a huge amount of work. Well, it is a lot of work I suppose, but it is straightforward. Personally I found the foundations harder than the hempcrete.
Materials #
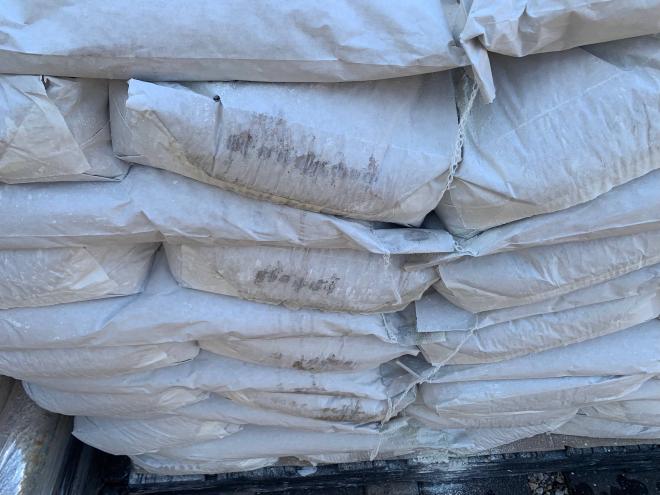
I ordered hemp hurd and lime binder through the Australian Hemp Masonry Company (AHMC). The hemp they sourced came from Ashford Hemp Industries. I worked out that I needed 5.3 m3 of hempcrete (3.8 for the walls and 1.5 for the roof), which requires the same volume of hemp hurd: 5.3 m3, or 53 x 100L bags. I ordered 58 to be safe. This cost $1786, plus $1430 for delivery (!).
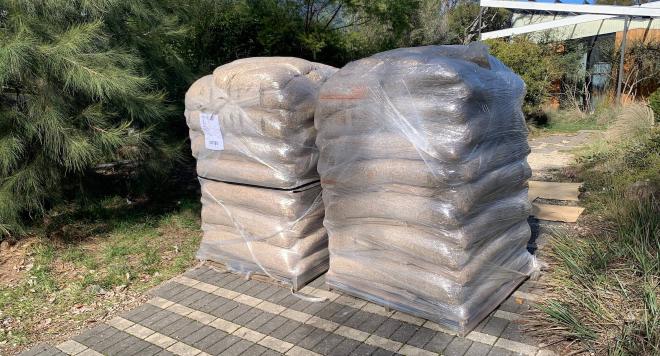
A hempcrete binder is also sold by AHMC. I ordered 90 x 9kg bags, which cost $2425, plus $551 for delivery (!).
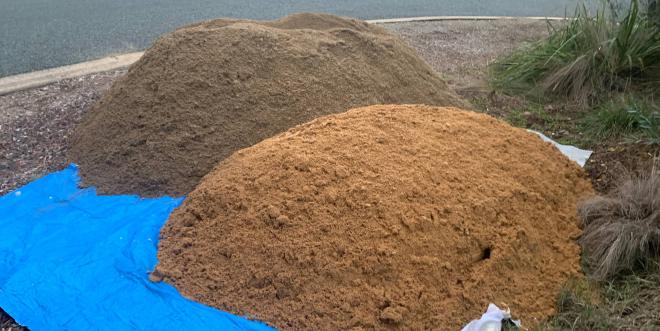
AHMC specifies that their hemp and binder should be mixed with sand. I ordered 1 cubic metre of sharp “Washed sand” from Corkhill Bros together with half a cubic metre of finer “Braidwood plastering sand”, for $112, plus $75 for delivery.
Mixing #
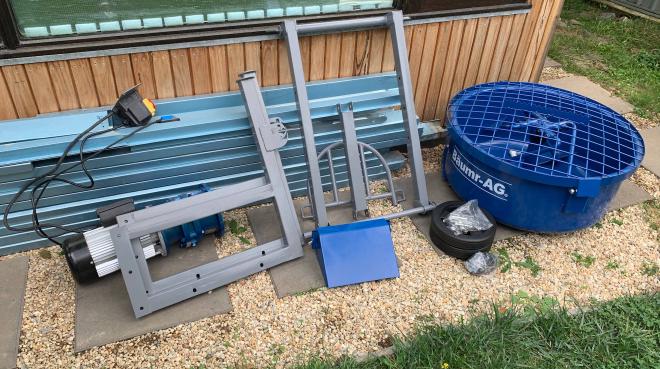
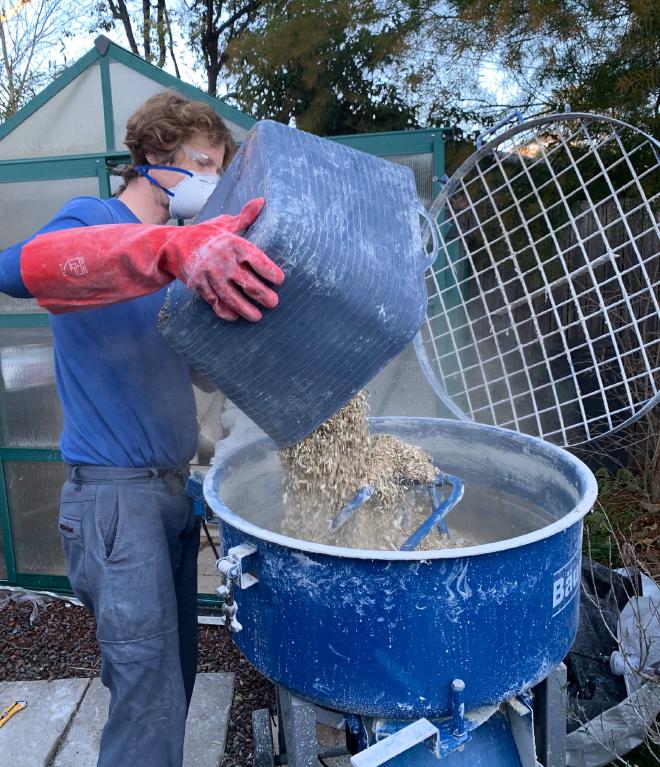
While it’s sometimes recommended to hire a pan mixer, I was working alone so would need it for a long time. Instead I bought a small (120L) pan mixer from Edisons for $1333 including delivery. It was challenging to assemble… by carefully lifting and aligning the extremely heavy pan with the extremely heavy motor.
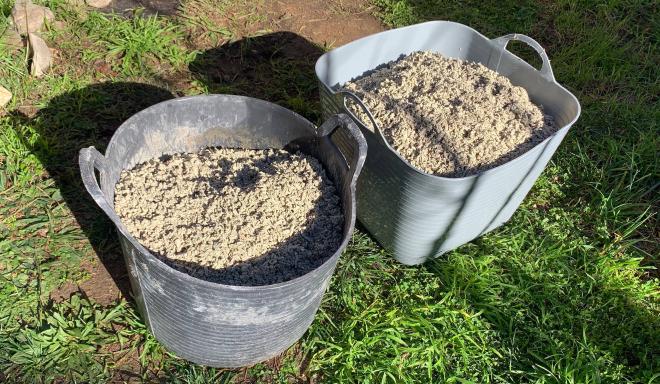
These square tubs from Bunnings are excellent for measuring out 50L of hemp (half a bag) to mix with one 9kg bag of binder.
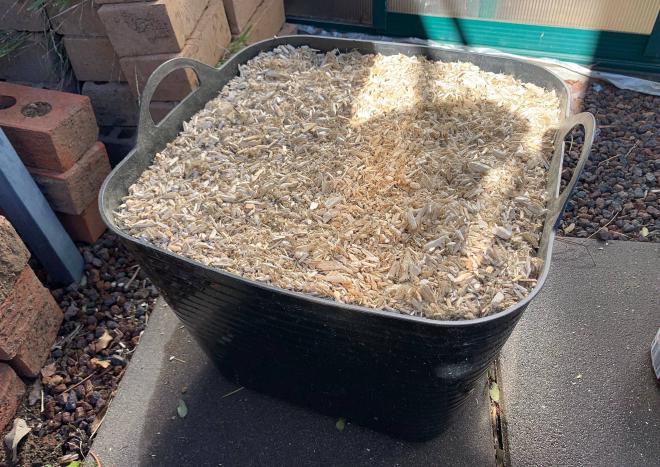
One mix makes two tubs of hempcrete, ready to be placed.
Casting walls #
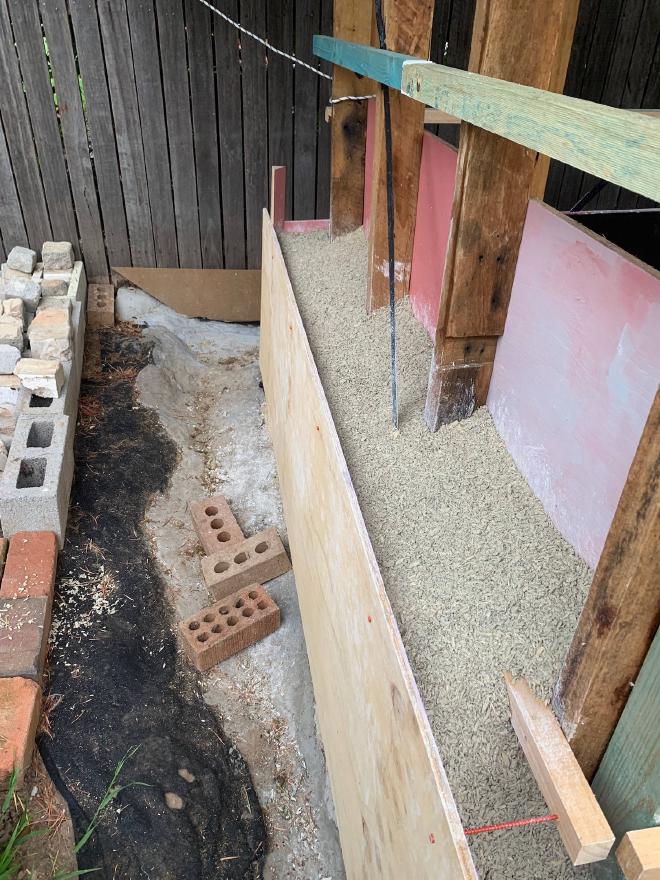
Formwork is needed to define the shape of the wall. I used plywood: a combination of cheap/free pieces from Facebook Marketplace, leftovers and salvages, and one piece that I bought new. I cut 250mm spacer blocks to keep the correct wall thickness. At the corners I cut triangular timbers to give a bevelled edge: this is more robust than a sharp 90º edge.
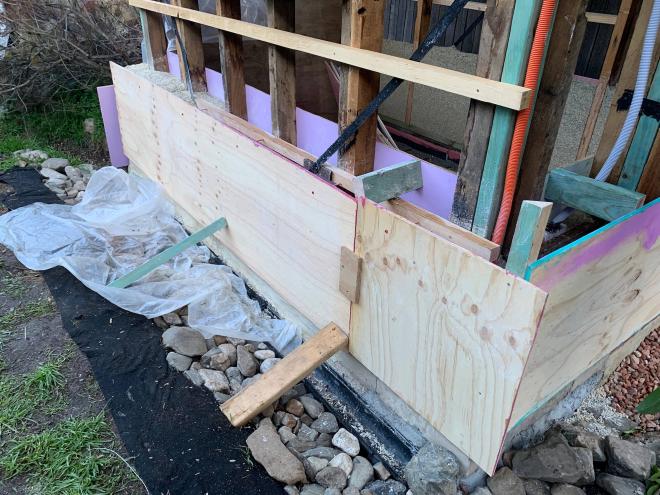
As my wall was 250mm thick, and the timber frame was 90mm on one side, that left 160mm to the outside of the wall. When the timber frame is on one side like this, rather than centred, it is necessary to attach battens centred in the wall (see The Hempcrete Book). So using 35mm battens, that leaves 125mm to the outside of the wall. I used 152mm full-thread structural screws to secure the outside formwork.
Of course, the first bit of wall came with its own formwork: the stem wall.
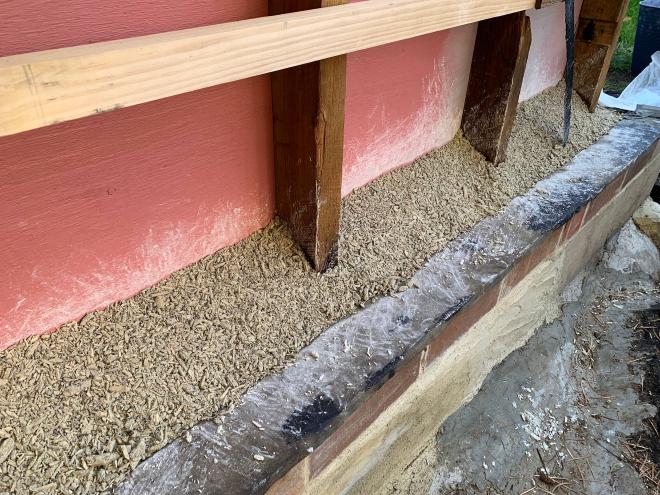
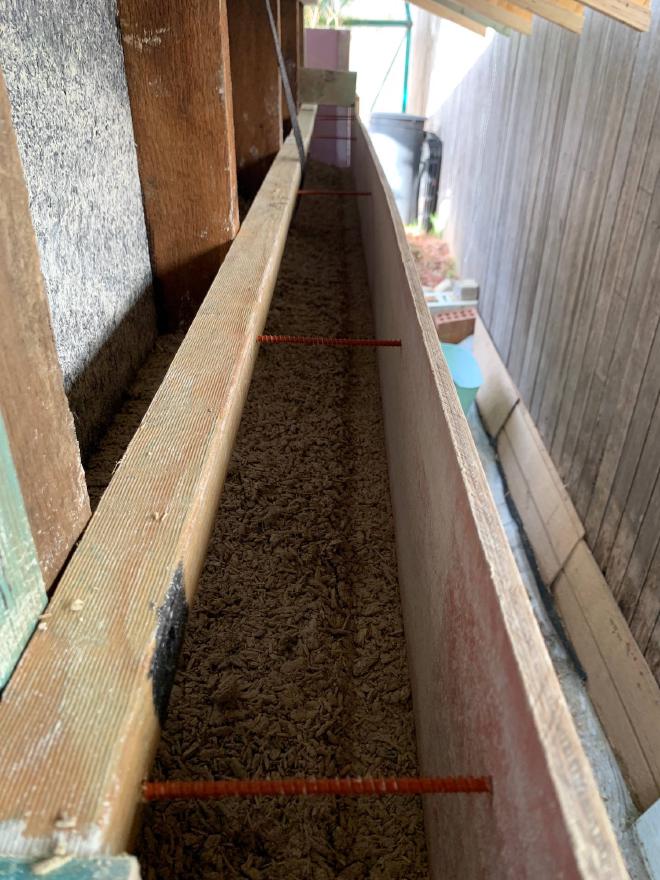
Here’s the first “lift” of 600mm:
Under the window sill I packed in the hempcrete from the side.
Here is the result: a well-packed wall under the window sill.
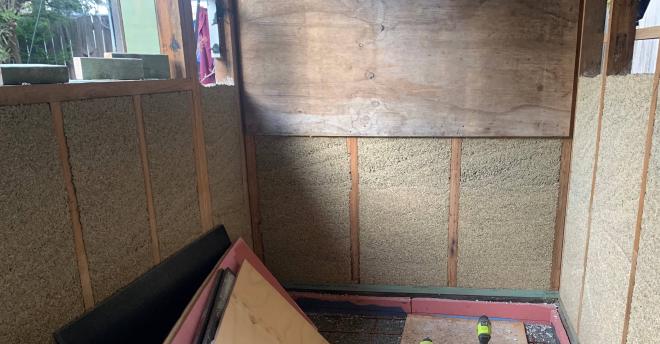
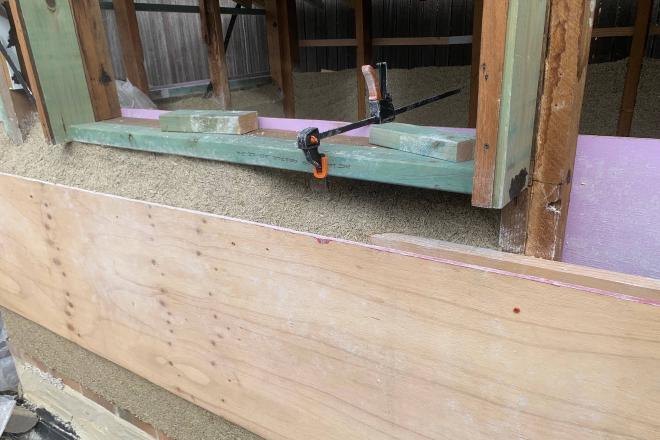
At the top of the wall, I packed in the hempcrete fully under the top batten. After that I could attach the top piece of formwork and fill in the rest by reaching down from above.
The top of the walls, to be continued into the roof…
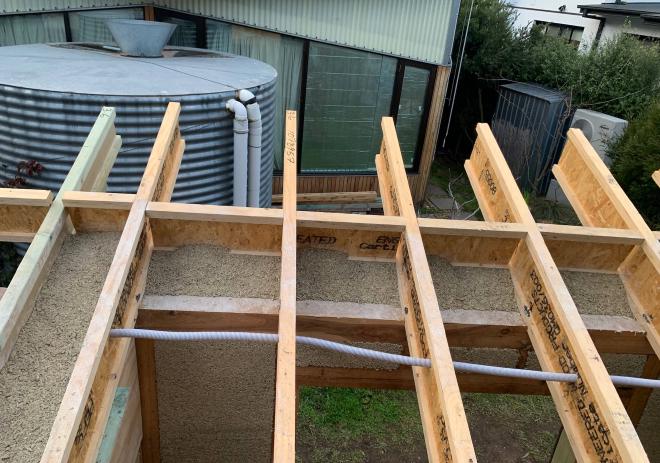
Casting ceiling and roof #
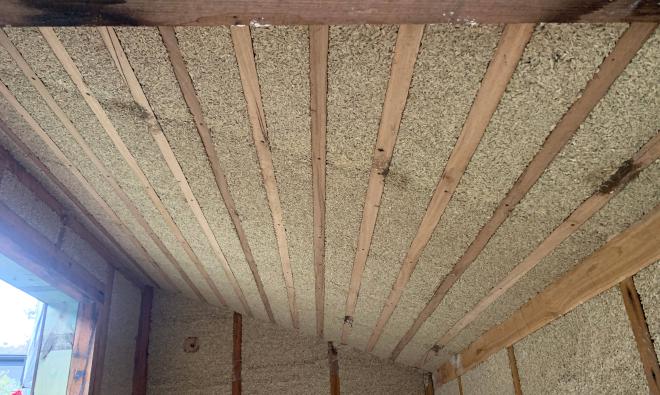
The Hempcrete Book describes how to make a hempcrete ceiling supported by lath (thin strips of timber). I used my table saw to rip 35mm x 20mm lengths of hardwood. These I screwed to the underside of the rafters every 140mm.
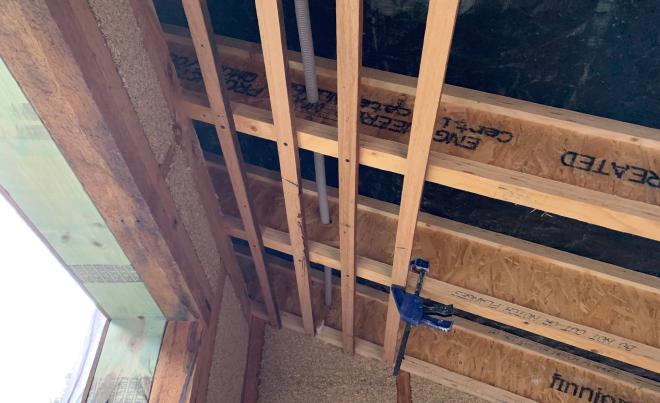
Then I fastened formwork to the underside of the lath. I used black film-faced “Formply” to minimise sticking.
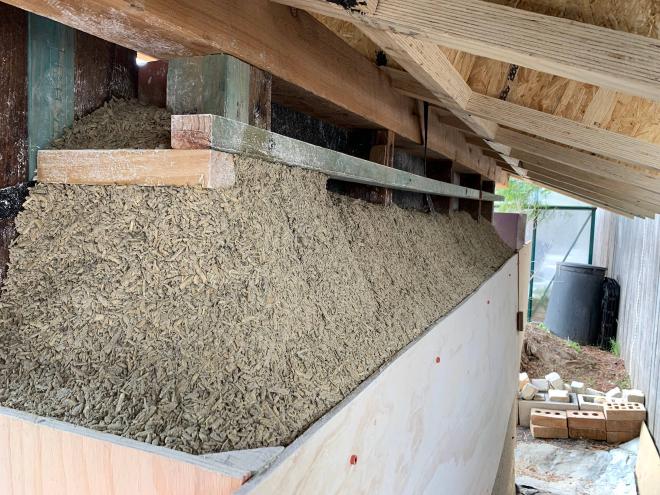
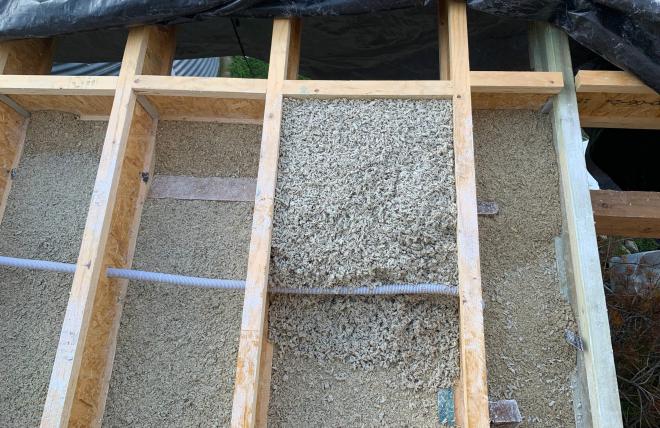
The first 50mm of hempcrete must be packed in tightly to form a strong ceiling.
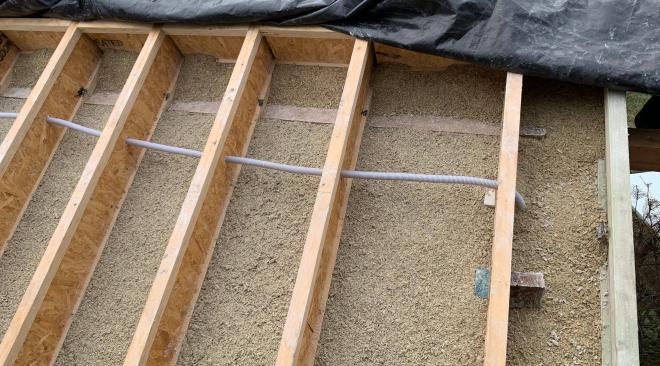
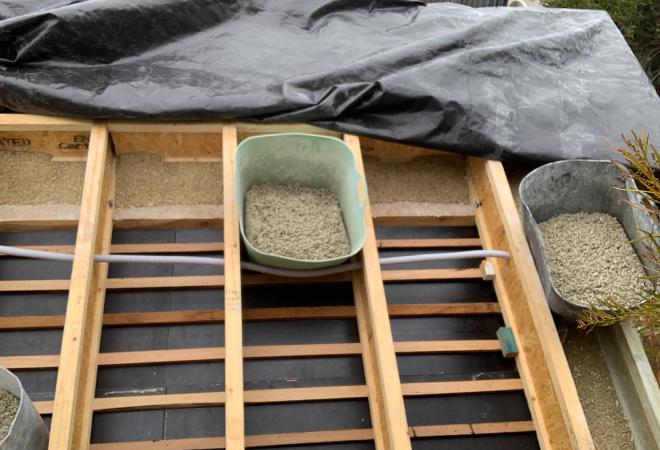
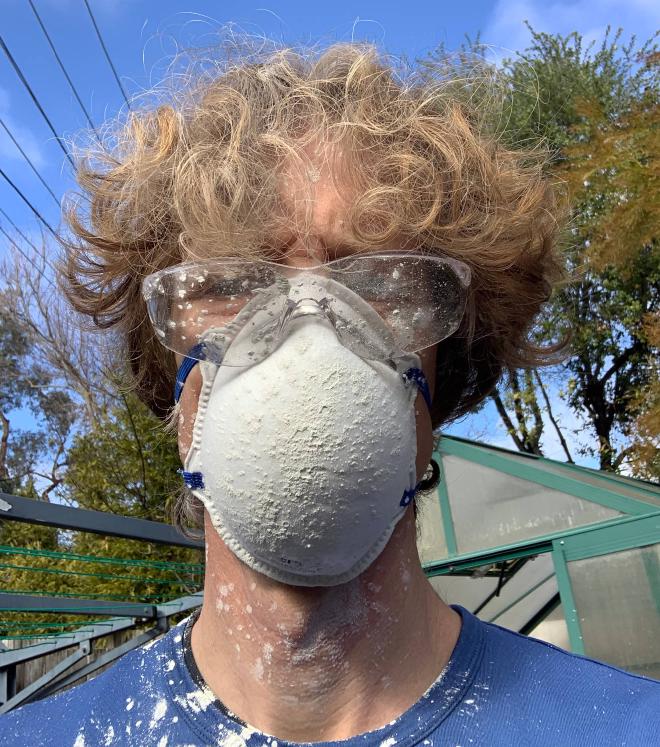
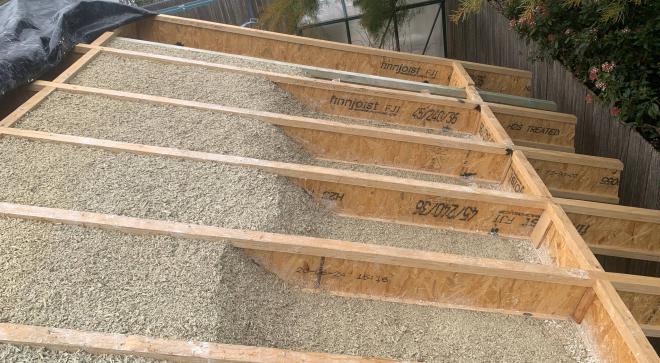
The remainder of the roof hempcrete is quite different. It is light – mixed with half the normal amount of lime binder and no sand – and dumped in with no compaction at all. This means I had to divide the bags of lime binder in half; a treacherous business. Wear your PPE!
You can see the difference between the packed hempcrete in the ceiling and the loose mix on top:
Since there is no packing required, the loose mix in the roof went in fast.
Here is the hempcrete ceiling once the formwork was removed (after 1 - 2 days).
I applied a stabiliser to the ceiling: sodium silicate, also known as waterglass. This helps to bind the surface of hempcrete, which is otherwise quite weak and crumbly, while keeping it vapour permeable. I bought 500mL for $38 on eBay. As a full strength sodium silicate solution (45%, the maximum concentration), I diluted it 1 : 1 with water and painted it on.
Weather #
Hempcrete should be protected from rain, especially from above.
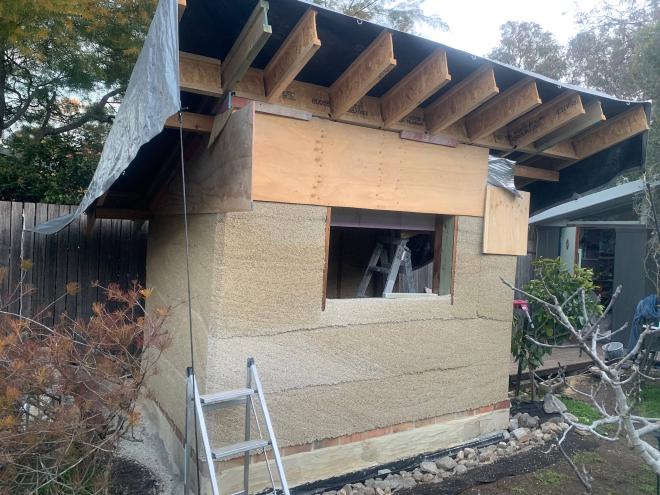
I was doing this work over winter in Canberra, so there were multiple freezing nights. This may be the reason why my walls turned white. In the image above you can see one section turning white; eventually all of it did. That isn’t a problem though because these walls are to be rendered.