
After modelling the house with NatHERS software, it was clear that most of our heat loss/gain was through windows. We have a lot of windows: the glass to floor area ratio is about 48%. (And that doesn’t count the translucent polycarbonate areas.)
A few windows we decided were excessive so we “deleted” them by filling them in: see the wall insulation page.
The windows are timber-framed, which is good, because timber is a good insulator compared to aluminium or steel. The panes are all double glazed (6/12/6 clear). The high eastern windows in the Family room supposedly have a low-emissivity coating too; although I do not have a way to verify this.
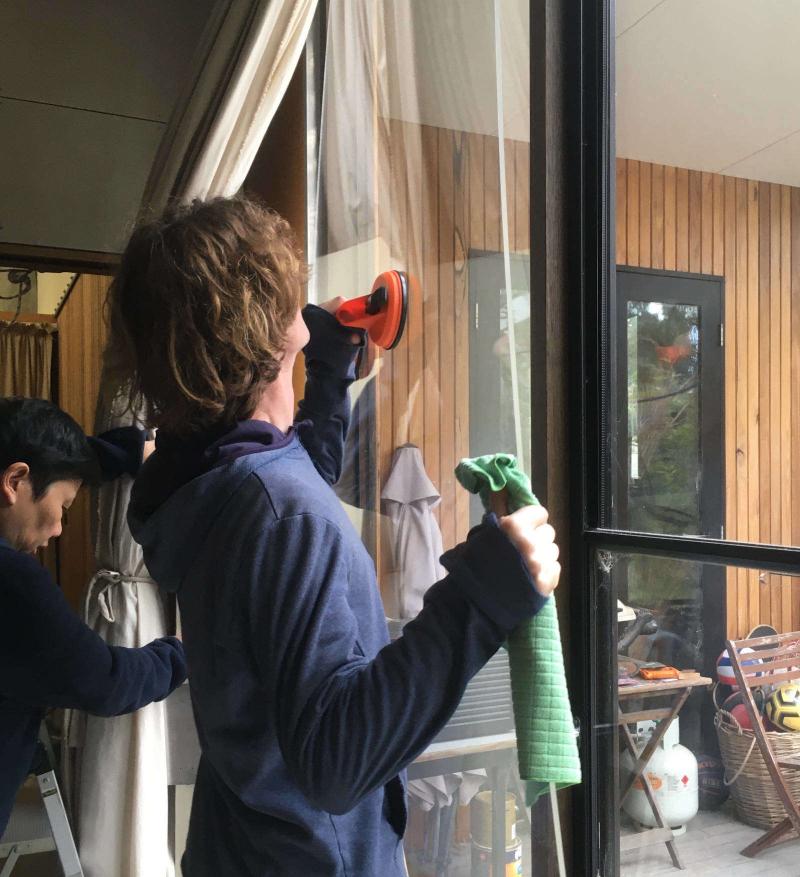
Obviously, replacing all these windows would be insanely expensive, and wasteful. So I decided to add secondary glazing: another pane on the inside with an airgap. After comparing quotes for glass vs acrylic, acrylic was much less expensive. And less terrifying to work with.
However, before all that, there was the matter of the attic.
Phase 1: attic #
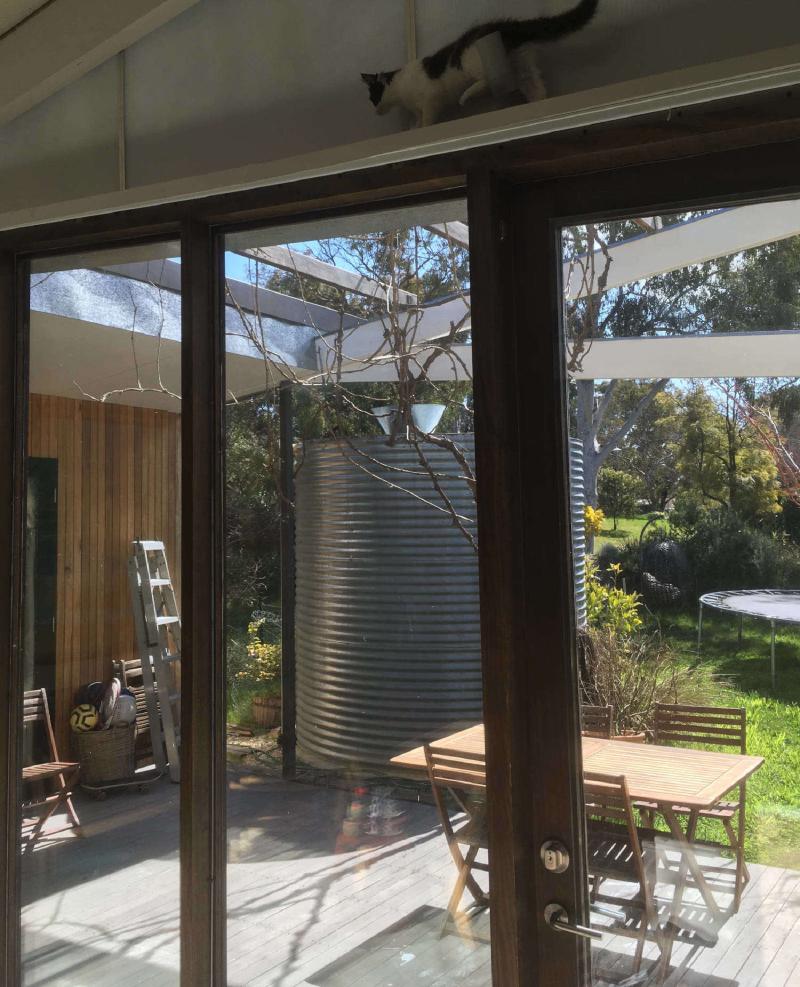
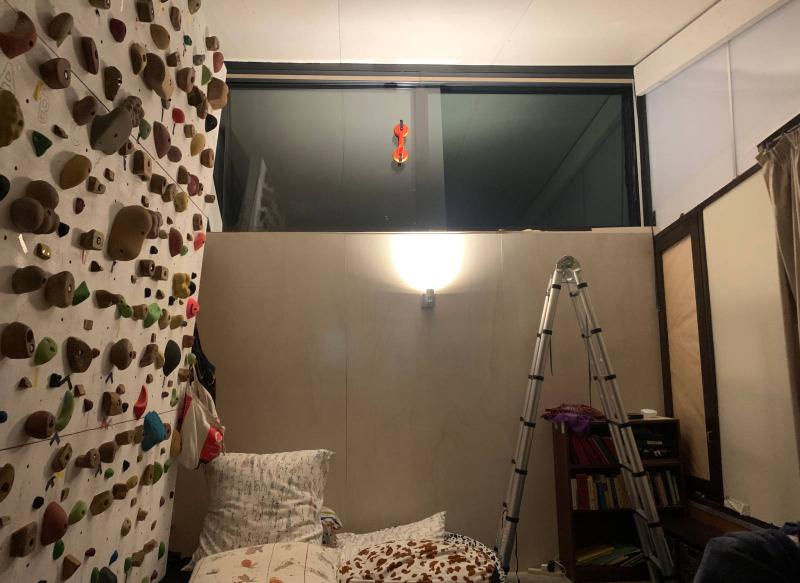
Walk in the entry and look up:
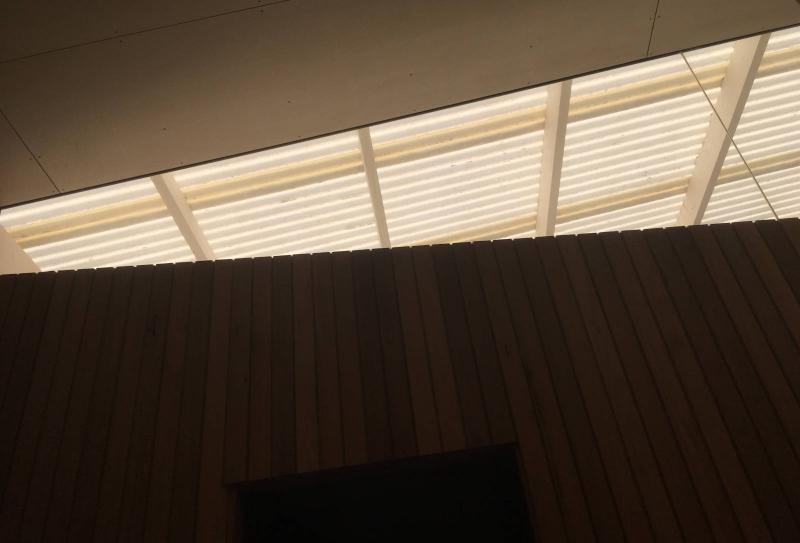
There is a wedge-shaped attic space over the ensuite that functions as a skylight. Triangular glass panes let light into the entry on one side, and master bedroom on the other side. These are the only single-glazed glass panes in the house.
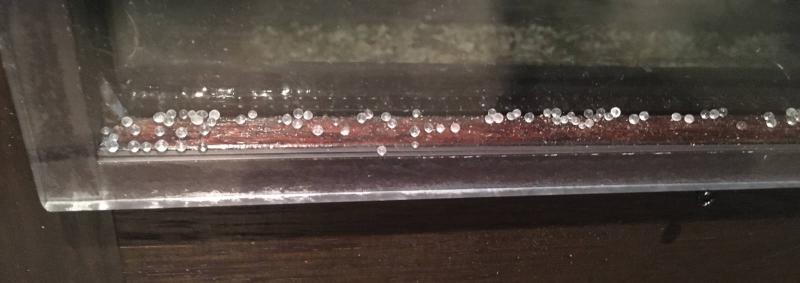
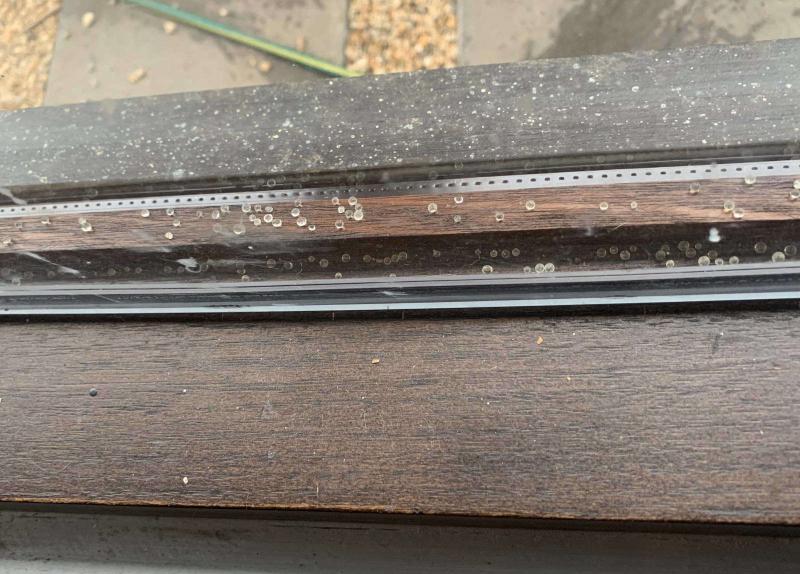
The attic is more or less just outside air: its fibreglass roof has no insulative value, and the shutter must be kept open to ventilate the bathroom exhaust fan. Side note: we did not realise this for several years, so we had the shutter closed. And so it literally rained inside the attic from all the condensation. See drip marks in photo above.
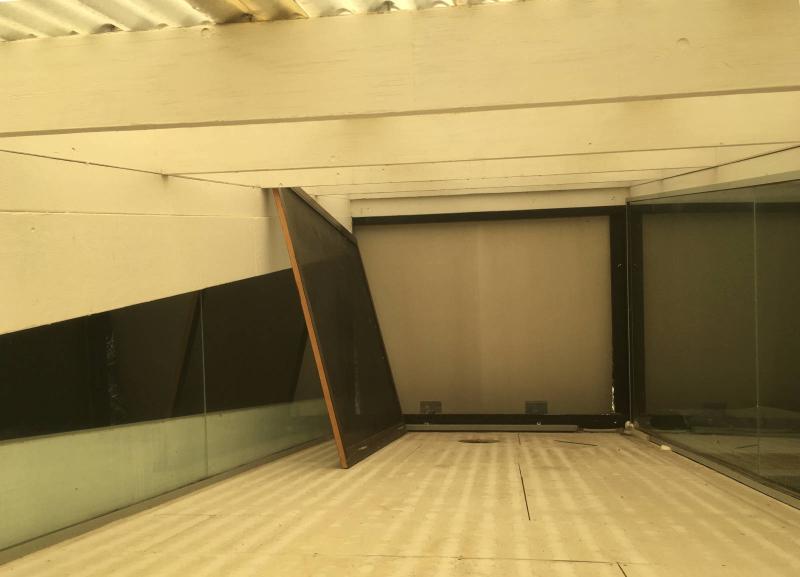
In July 2021 I decided to add secondary glazing to the single glazed panes. I ordered sheets of 3mm acrylic custom cut to fit:
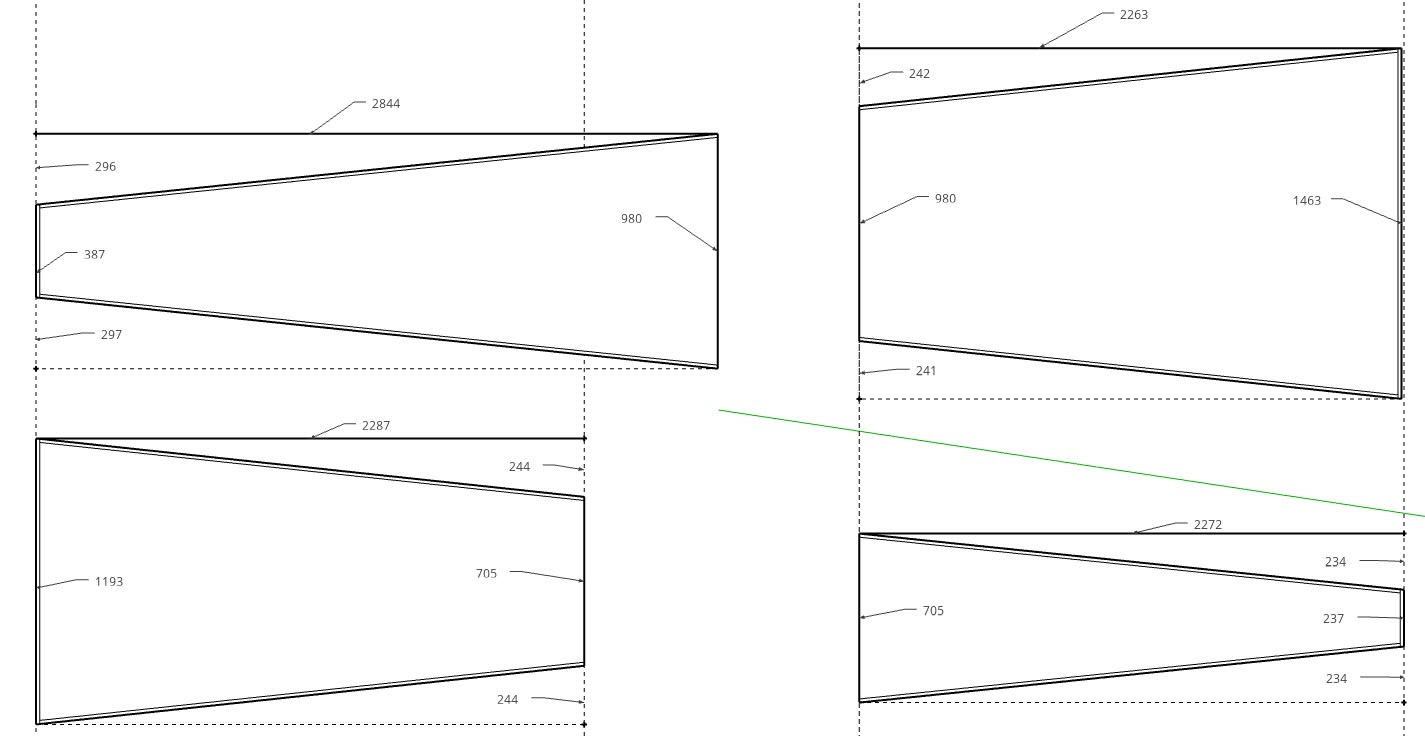
Acrylic cutting specification for attic
With some difficulty I got the panels up through the shutter.
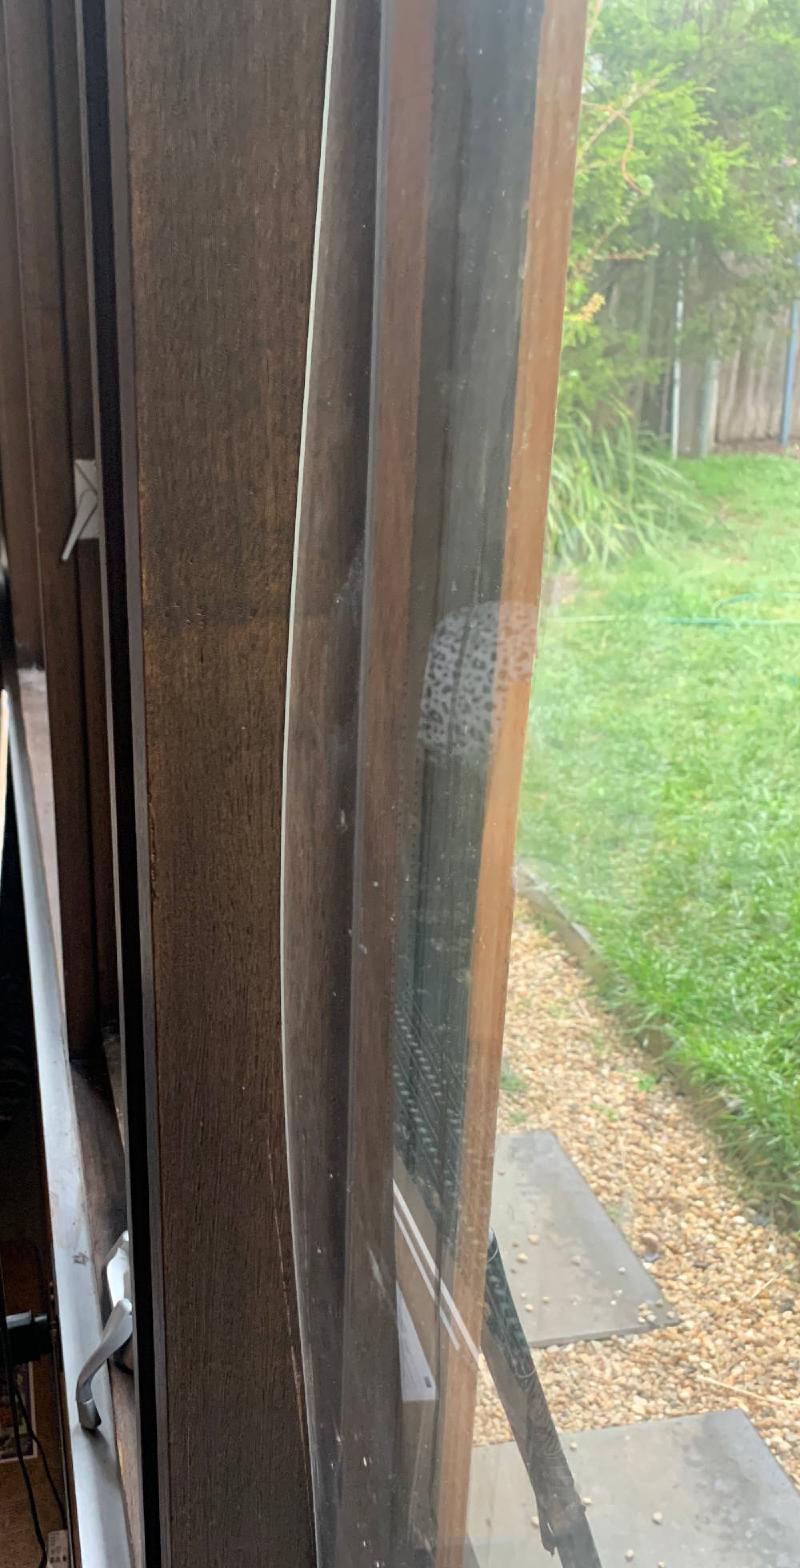
On one side, the aluminium frame of the glass worked as a spacer for the airgap. On the other, I installed a small metal angle as a spacer. I used some glass-repair tape to seal over the joins in the sheets.
It turned out that 3mm acrylic sheets are very flexible. That flex meant I couldn’t maintain a consistent airgap: visible in the image above at the join.
Phase 2: rest of house #
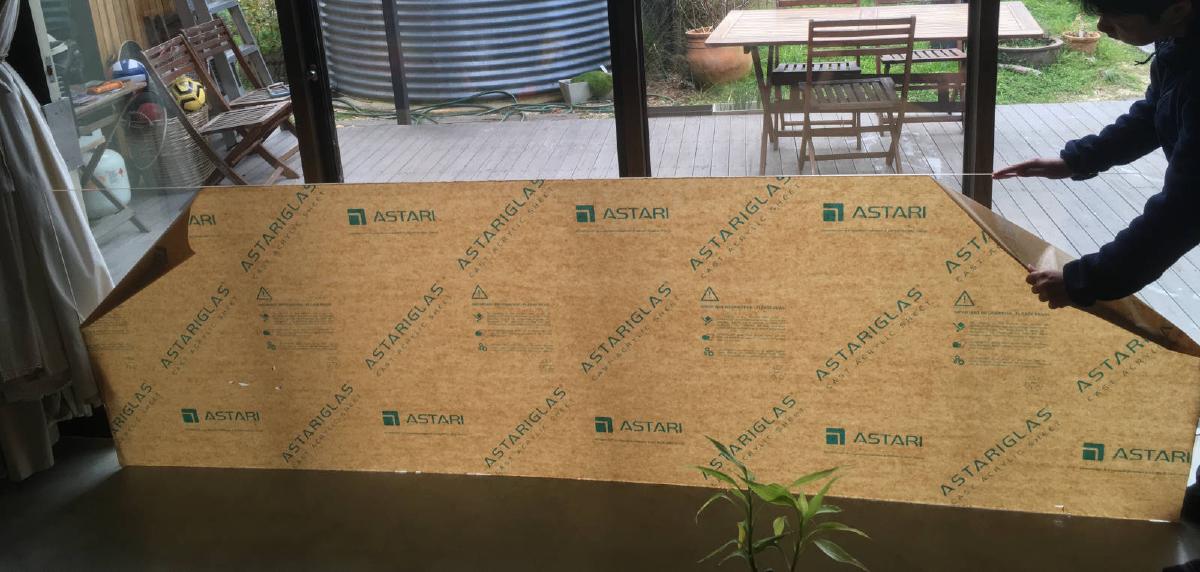
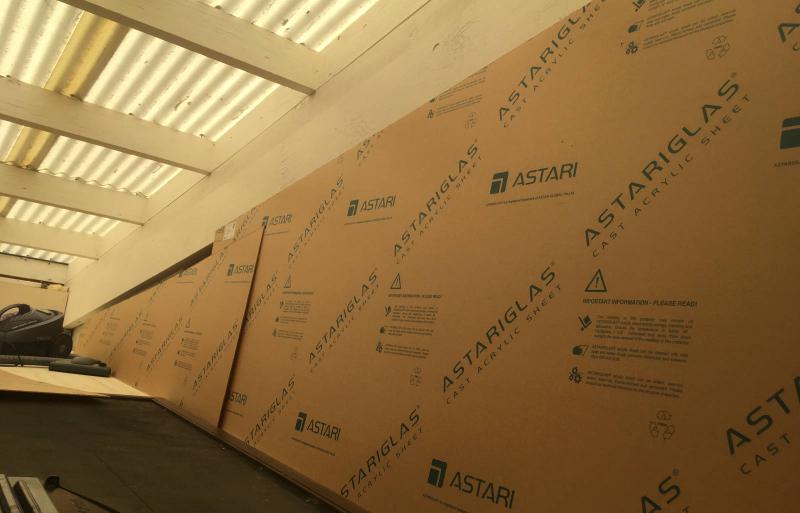
In July 2022 I embarked on secondary glazing the rest of the house.
- 22 panes for a total of 124.3m2
- 9 panes (59m2) sit inside the reveal (fixed windows);
- 13 panes (652) attach to face (doors, casements, awnings).
- Double-hung windows excluded as impractical
- 1 each in Living room, Bathroom, Ensuite
- Bedroom 2 excluded as it is less problematic thermally.
Having learned from the attic experience (above), I chose 6mm-thick acrylic for more rigidity. The cost was AUD$5000 including cutting and delivery from Plastic Creations.
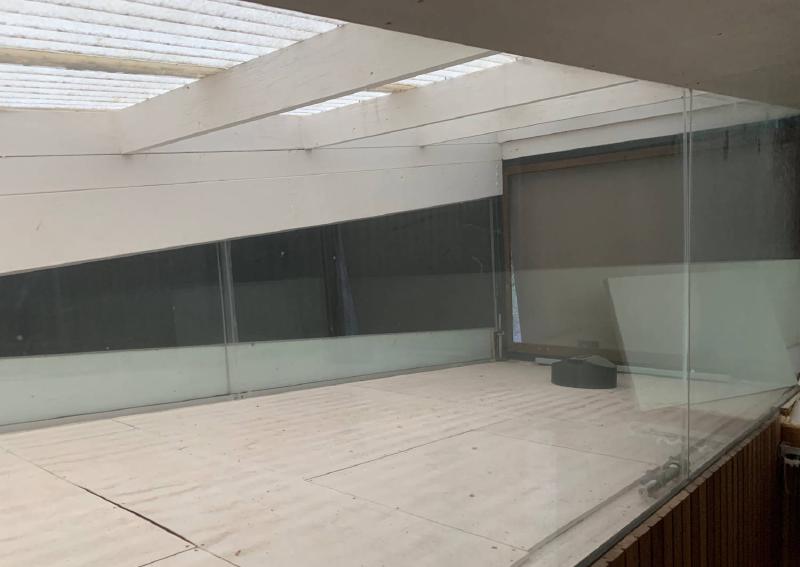
Installation in reveal #
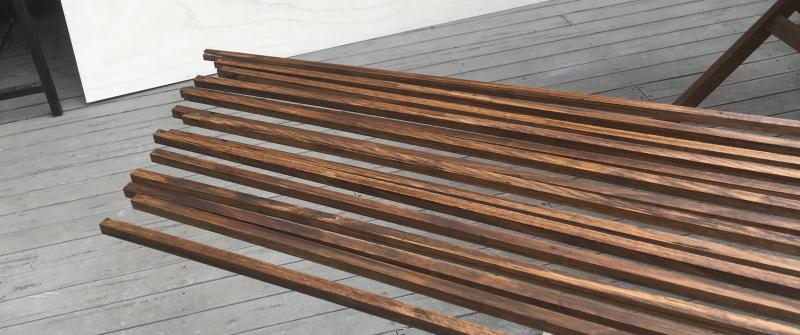
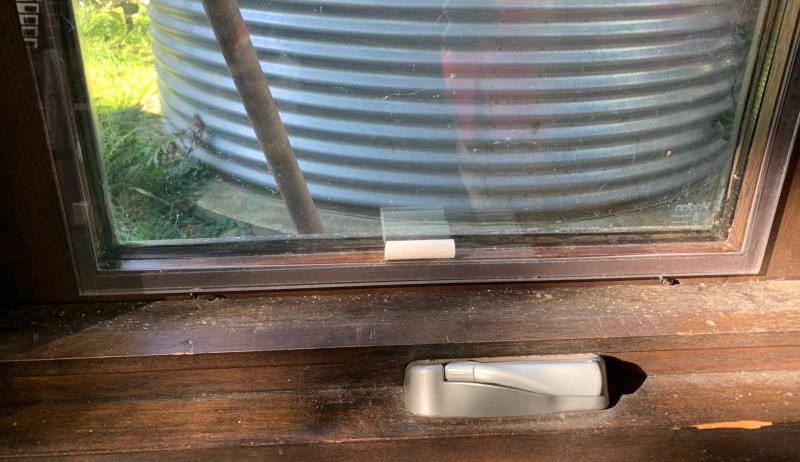
We have nice deep timber reveals on the fixed windows. So the acrylic could sit inside these reveals, but needed a spacer for the airgap. I used 12mm x 12mm Tasmanian Oak beads, stained to (roughly) match the existing frames.
I fastened these up against the glass with tiny bullet-head nails. Then I stuck on 12mm-wide magnetic tapes. There is an “A” tape and a “B” tape, one sticks to the frame and one to the acrylic. This is what people say you should do, so that it can be taken off if needed.
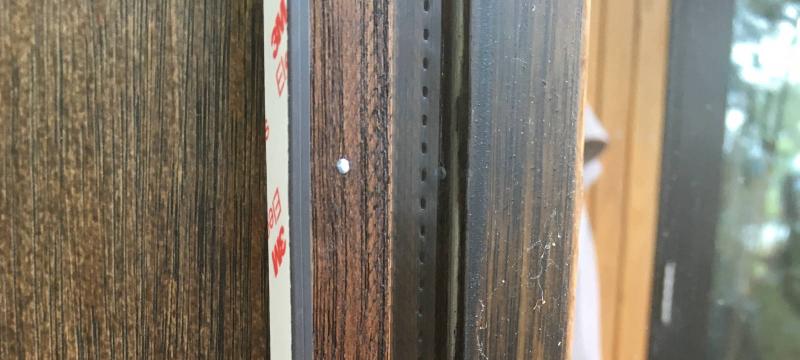

I also put some silica (desiccant) beads in the airgap to avoid any condensation.
Installation to face #
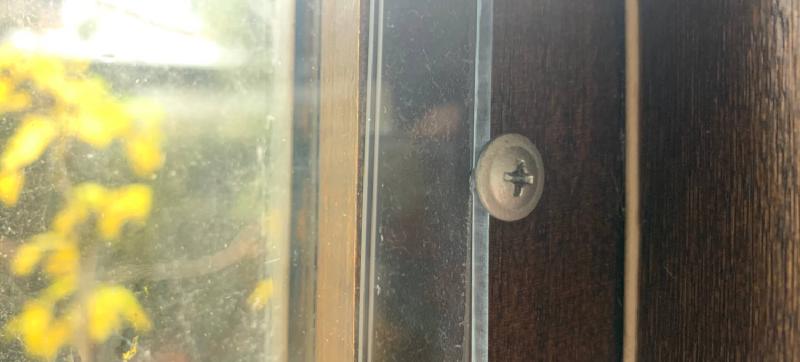
For the face-fit windows, no spacer was necessary because the glass is already set back from the face. I just used magnetic tape around the edges, and a few screws for extra support.
I used two screws at the bottom for the acrylic to sit on, and a few more around the edges with wide heads to secure it. These should not be necessary, but I didn’t quite trust the magnetic tape.
Huge panes + height = much difficulty.
Phase 3: fixes #
Some problems arose with the secondary glazing. Specifically, a combination of:
- expansion and bending of acrylic with heat;
- failure of the adhesive on the magnetic tape;
- desiccant beads falling into the gap left by the above.
So in 2024 I did a round of fixes. I reattached the magnetic tape using VST / Acribond double-sided tape for the acrylic side, and PVA glue for the timber side.
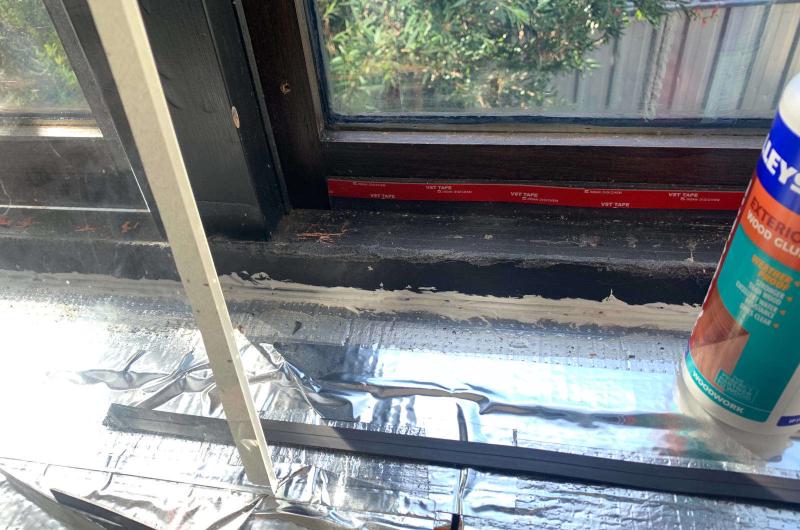
I also replaced the loose silica beads with a stick-shaped diatomaceous earth desiccant.
It took me a while to realise what these are marketed for… 😳
I also put in some more screws to prevent this kind of bowing out.
Conclusions #
I feel like the acrylic layer has made a difference, even if only to the mean radiant temperature. It is much warmer to the touch than the glass is.
I was disappointed in the magnetic tape. It works fine on small panes, eg 1m x 1m, face fitted. But on large panes, it simply does not do its job. The magnets are stronger than the adhesive. Especially with panes installed in the reveal, it is not possible to pull the magnets apart. And with thermoplastic expansion, it was necessary to use screws anyway. If I knew this I would not have spent $500+ on magnetic tape.
I’m also not sure the desiccant is necessary.