Slab edge insulation

Table of Contents
Home Journey - This article is part of a series.
Our heating system is in-slab hydronic.
The Building Code of Australia 2009 3.12.1.5(c) p.450 states
A concrete slab-on-ground with an in-slab heating or cooling system
must have insulation installed around the vertical edge of its perimeter.
This must
(i) have an R-Value of not less than 1.0; and
(ii) be water resistant; and
(iii) be continuous from the adjacent finished ground level—
  (A) to a depth of 300 mm; or
  (B) for the full depth of the vertical edge of the concrete slab-on-ground
These same provisions still apply in the current building code.

Slab edge insulation diagram from the National Construction Code 2022
One is left to wonder what is the point, if you are going to leave the slab edge exposed above ground level like this.
Original #
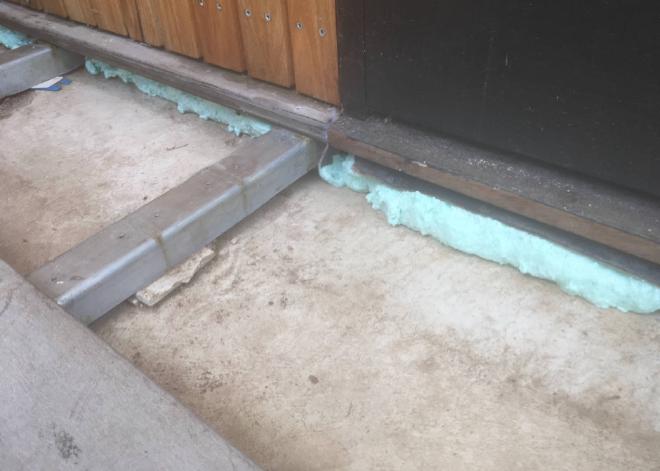
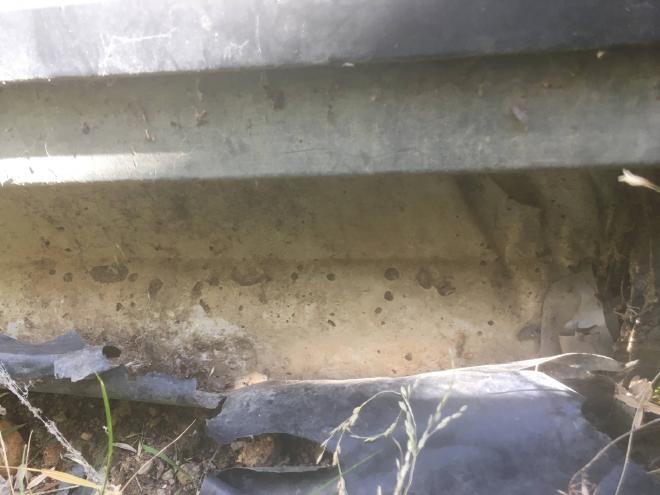
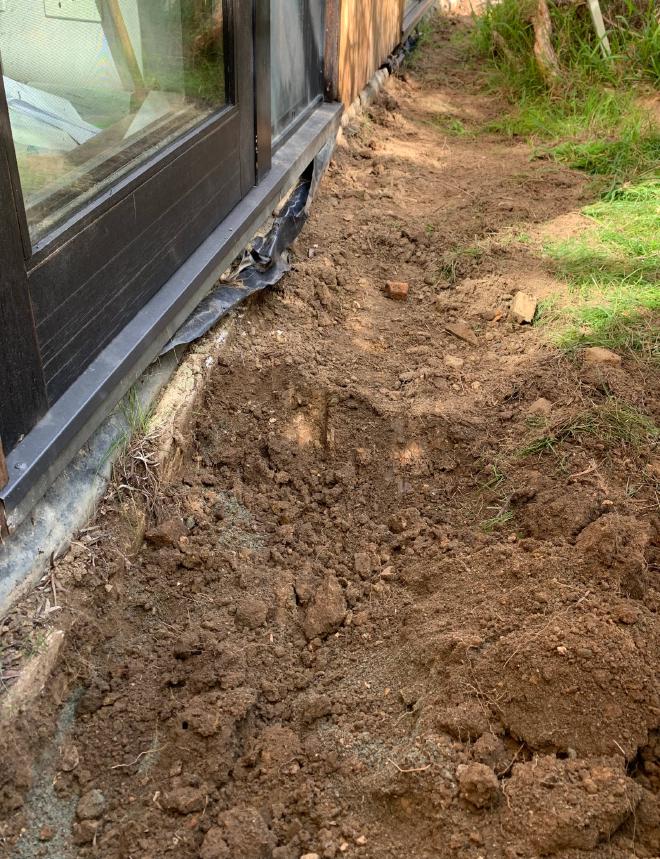
Turns out we did have some slab edge insulation (as per building code)… I didn’t even know it was there until I started digging. It was EPS in pretty poor shape, broken and full of gaps.
This is what happens when you have an exposed slab edge above ground:
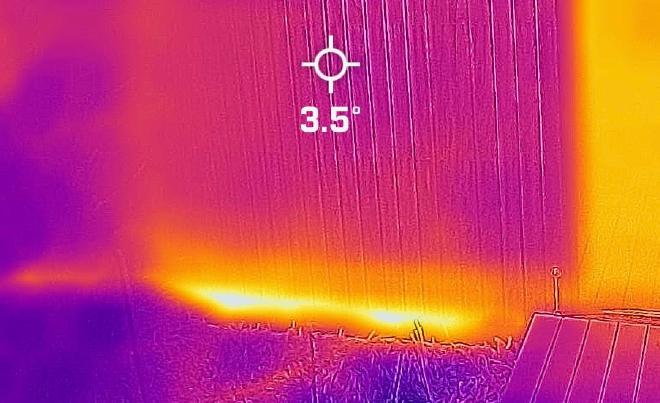

It would probably be a good idea to stop heating up the outside so dramatically.
Plan #
Slab edge insulation is usually simple: a board of XPS (extruded polystyrene) on the vertical edge. But unfortunately, our slab edge is not flat. It seems to be two parts, with the top part set back slightly. And it varies across the slab.
Another complication was that the timber cladding came down quite a long way over the slab edge. I knew I should maintain a ventilation and drainage pathway behind the cladding, so I couldn’t just fill that space.
I came up with this general plan.
- Cut back the existing EPS to a consistent depth;
- Clean the slab edge;
- Cut two pieces of XPS;
- Paint the XPS for UV protection;
- Glue XPS to slab edge;
- Fill the junction with expanding foam, cut it, and paint it;
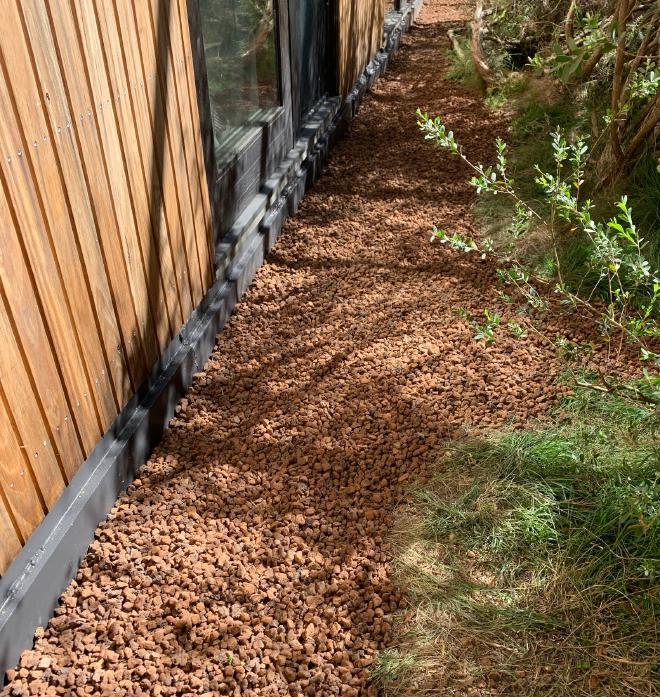
- Back-fill with gravel.

When people talk about slab edge details, they usually talk about termites. In my case I did not worry too much about it, because:
- in the existing situation, it already had concealed access for termites via plastic sheet covering the slab edge (which was not doing anything useful as it was ripped and full of holes.)
- whenever we have a termite inspection, the person checks the walls internally, they do not look at the slab edge.
Gravel path sections #
Here is a sequence of images following the method above.


Later I realised that:
- I get a neater finish by cutting an angled piece of XPS instead of using spray foam;
- I should fill the gap behind the joint with spray foam.
Earth section (north) #
Windows on the north side are lower than on the other facades: their sills are at floor level. Also, much of the north side faces a garden area instead of the gravel path that runs around the rest of the house. Being so close to earth means that these windows get exposed to soil splashing. Some of these window sills have rotted.
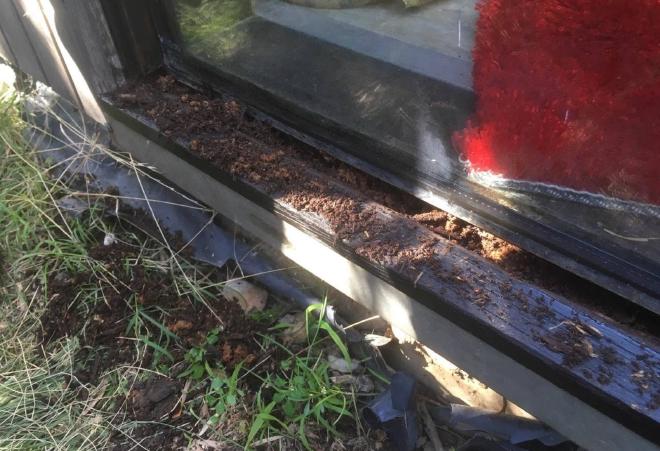
Other factors in this rotting may be
- the lack of an eave on the north side, leaving the windows exposed to direct rain, frost, summer sun, etc.
- condensation on the inside.
- the quality of the timber.
Anyway, we had someone cover these sills with a metal flashing. And while doing the slab edge insulation here, I replaced the adjacent earth with gravel.
I covered this area with Scoria, which is a porous volcanic rock. Its porosity should help to insulate the area.
Deck sections #
The deck sits on a slab that is continuous with the main slab minus the top few cms.
All I could do is pull up the decking boards and add a bit of spray foam.