Rendering

Table of Contents
Lime Sublime - This article is part of a series.
Hempcrete and lime render are natural partners. Hempcrete is an ideal “key” for the render to adhere to; the render gives strength while remaining vapour-permeable. It also adds a significant amount of thermal mass as it is applied to a depth of about 20mm.
Exterior rendering #
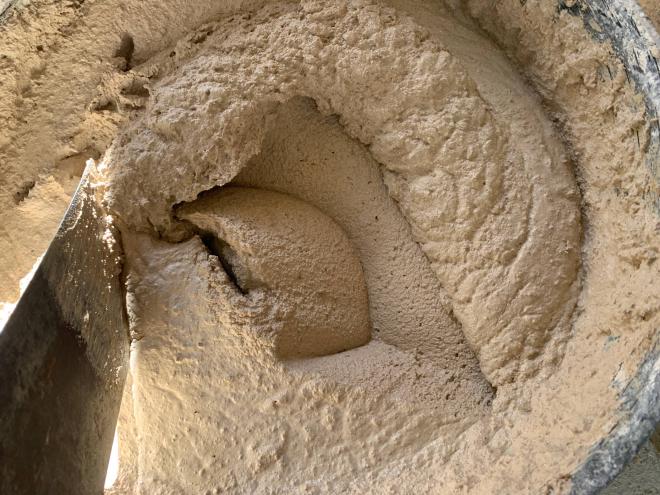
My first lime render mix was one part hydrated lime (from Bunnings) to 1.5 parts “plastering sand”, by volume. And enough water for a whipped cream consistency.
Here is a shortlist of things I did wrong with the external base coat:
- I should have used a coarse sand
- I should have used a higher ratio of sand to lime
- I should have added fibre to the mix, or a reinforcing mesh
Despite all that, it worked out.
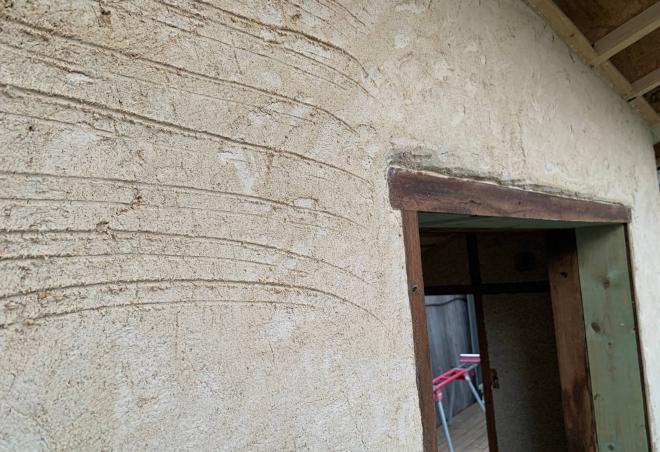
What I did right: I roughened the base coat surface with a wood float, and also scratched up to make a key for the topcoat to hold on to.
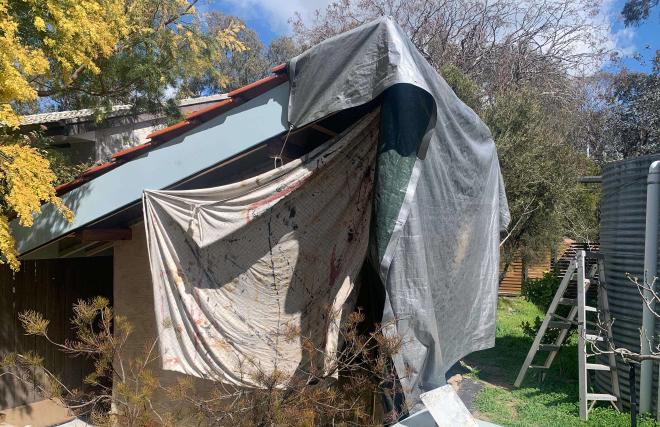
What else I did right: I kept the lime render shaded, and I sprayed it with a fine mist twice a day for 5 days. If it dries out too fast it will not make a strong consolidated surface.
Top coat #
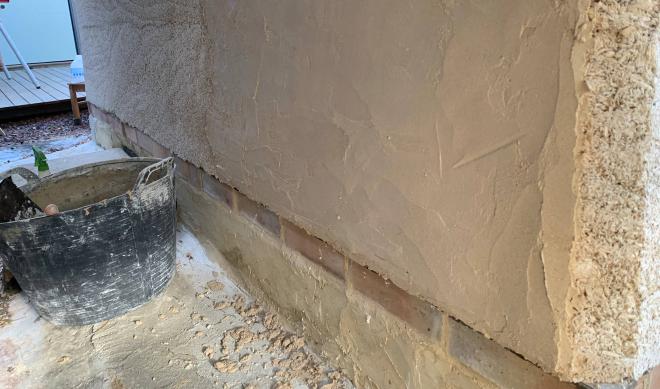
A few weeks later I applied the top coat. I used the same mix, which is in fact much better suited for a topcoat than a basecoat, except that I sifted the sand though a 5mm mesh to remove any rogue large particles.
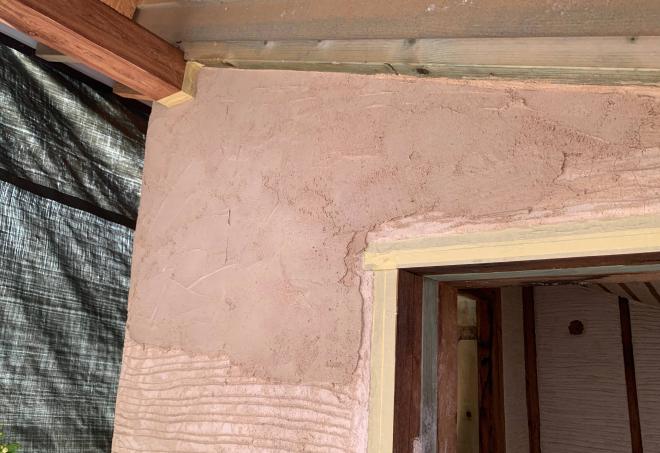
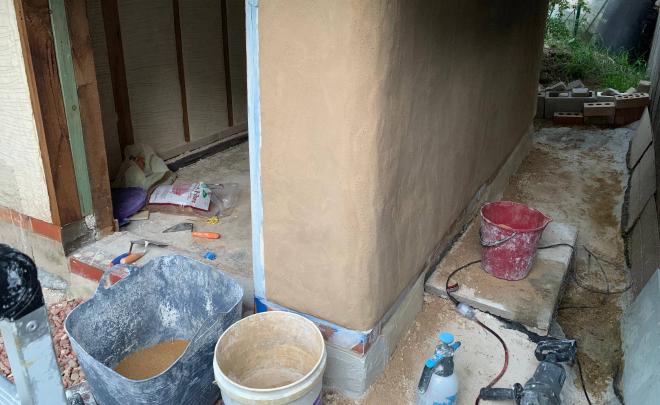
I finished it with a wet sponge. This smoothes out trowel marks, and brings sand to the surface. Broader undulations in the surface remain. It is possible to achieve a flawless fine finish using a straight-edge, but I did not do that.
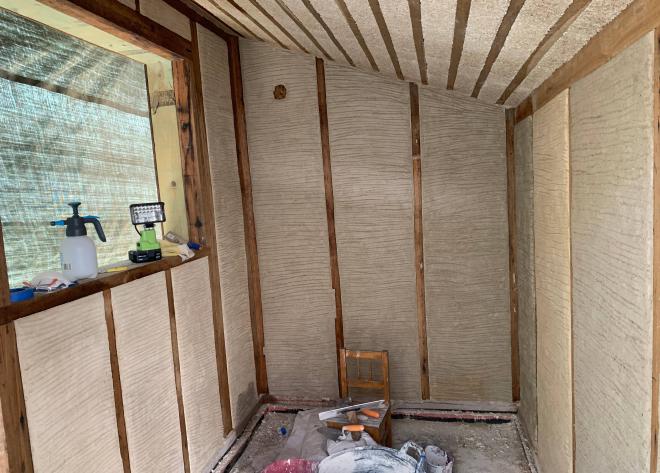
Interior plastering #
This time I had done my homework — reading Weismann & Bryce — so I prepared the basecoat with a coarse sand, a higher ratio of sand to lime (2.5 : 1), and added fibre.
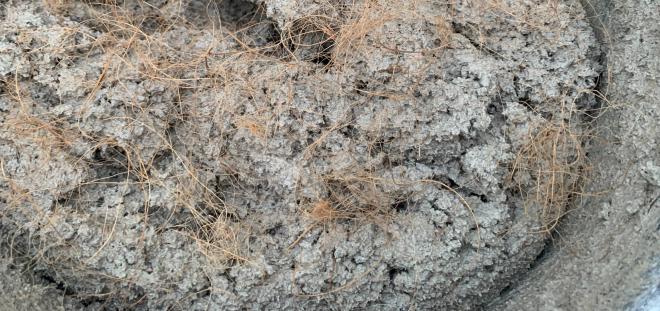
The fibre added to lime plaster is traditionally animal hair, but I used coconut fibre. It works best when cut to 20 - 50 mm lengths. Too long and it can’t be mixed in easily.
As with the exterior basecoat, I roughened the surface with a wood float, and scratched it up.
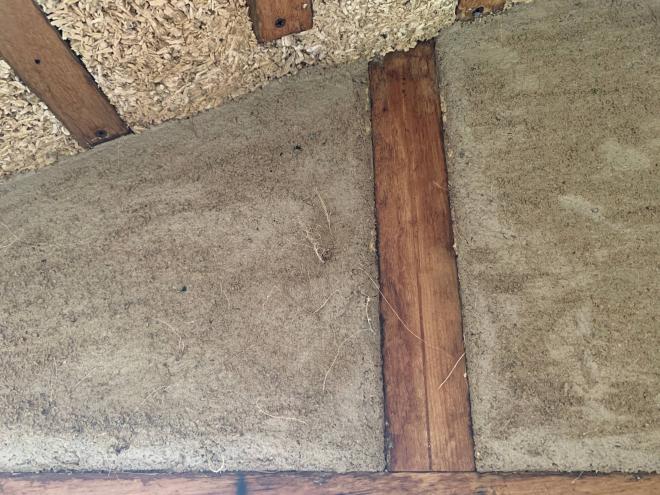
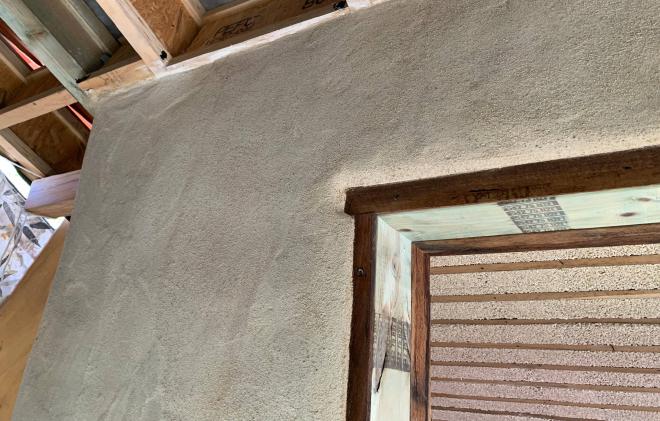
The interior walls are divided into panels between the timber framing. That made it easier to do small chunks of work — an hour or two — without worrying about seams between old and new parts. I did have to mask over the timber to avoid excessive staining.
Top coat #
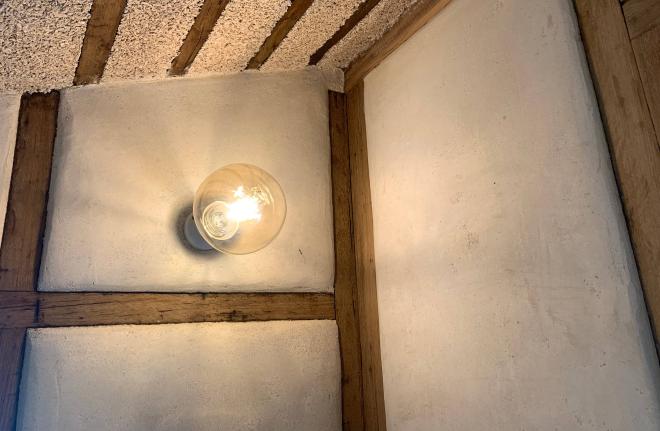
The interior topcoat was a 1 : 1 mix of lime to sifted sand. I decided on a hard trowel finish. This involves repetitive strokes with a flexible plastic trowel, using a lot of force. The reward for this effort is a surface polished hard and smooth.

Lime lightens as is dries, and gradually strengthens over weeks/months/years as it turns to limestone.