Door and window

Table of Contents
Lime Sublime - This article is part of a series.
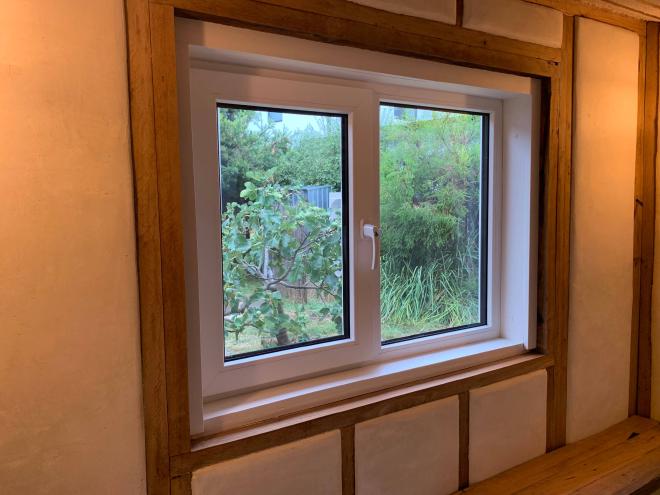
Window #
This tiny room has one north-facing window to soak up the winter sun.
The advantages of uPVC windows can not be ignored. The frames are insulative, they seal properly against air leaks, and are low maintenance. When designing this building I asked a local manufacturer if they had any spare windows lying around. Sure enough they did, and I bagged a lovely 1200 x 900 mm tilt-and-turn for $300. Then I designed the wall frame to fit it.
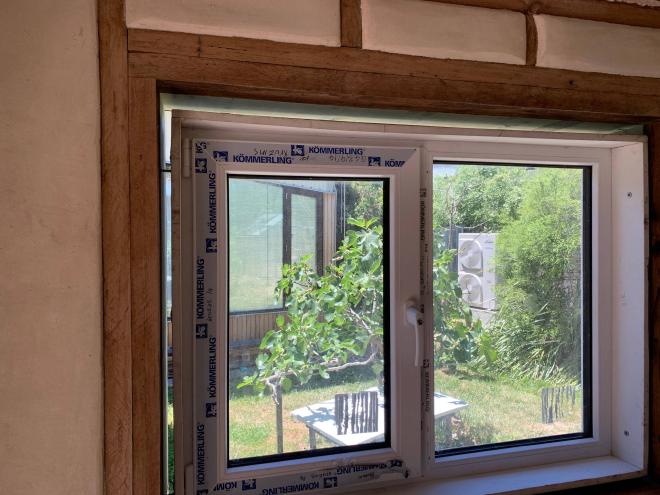
Installation was quite easy. Seal the wall frame with sill tape; sit the window on packers and screw it in. Fill the gaps around the edges with low-expansion foam, then cover them over with strips of wood, and paint.
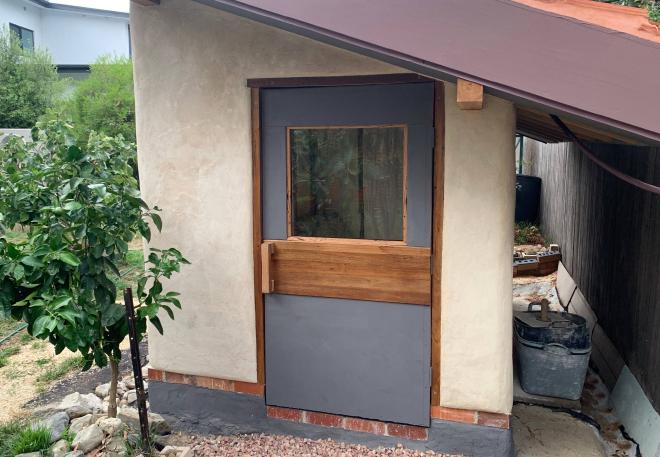
Door #
The door is a fair chunk of wall area, so it’s important it be insulated. And there’s not much point in insulation if it can be bypassed by hot air, so it better be well sealed too.
I don’t like spaces lit from only one direction, so I want the door to also be glazed. Luckily, I found a small double-glazed glass unit on Facebook Marketplace for $25 (it had been mis-ordered by a window company).

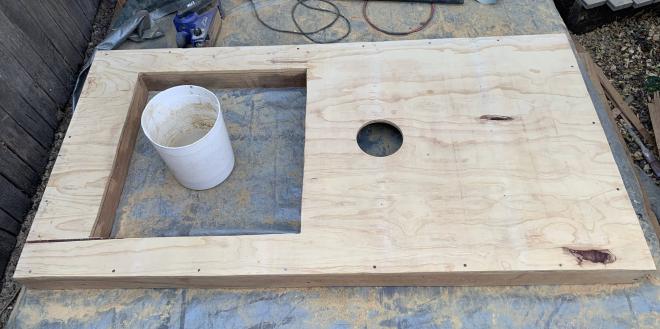
Door design
I built the door just like a wall: with a timber frame 90mm deep. This creates a cavity that can be filled with insulation. The timber was recycled hardwood, $6/m from Facebook Marketplace. The downside being that it is somewhat warped.
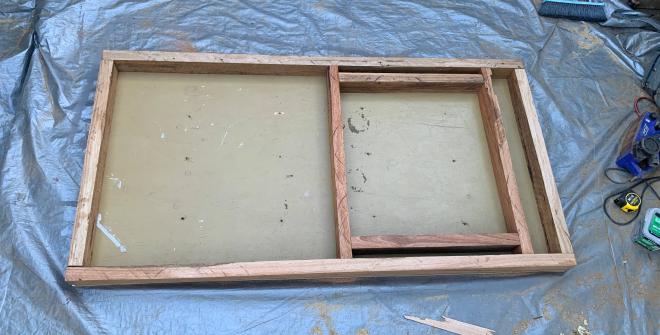
I lined the inside face of the door with plywood. It was salvaged from an old subfloor, a hefty 15mm thick. After sanding I gave it a couple of coats of lime wash.
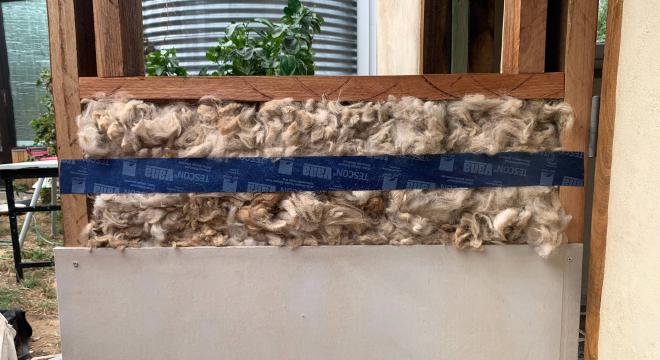
Insulation was Alpaca wool (from Marketplace again). Wool is a great insulator and nice to work with.
The outside face of the door was mostly offcuts of fibre cement, finished with a mineral silicate paint. But I didn’t have quite enough fibre cement so I made up the rest with some old Tasmanian Oak floor boards. They look spiffy with some traditional hardwax oil I found in my shed.