Structural

Table of Contents
Quiet Shed - This article is part of a series.
Foundations and floor #
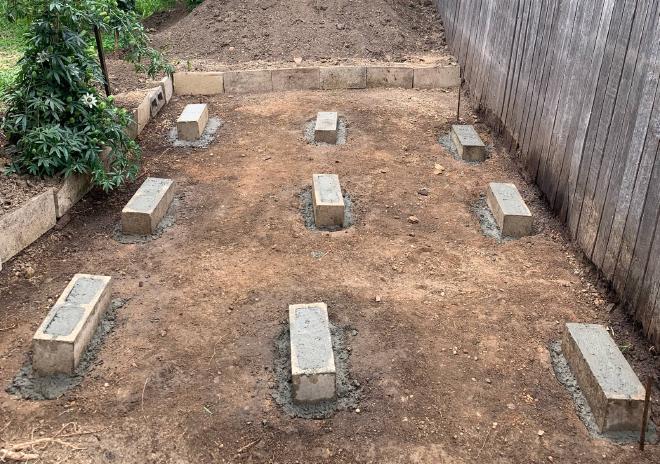
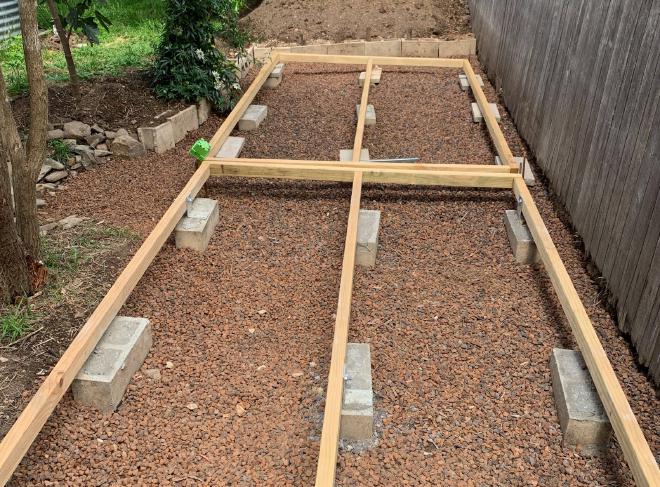
The foundations were based on concrete blocks I had lying around. The floor frame and deck frame would be suspended above the blocks using brackets or anchors set into core-filled blocks.
I started by screwing the frame together from 70x45 H3. Then I dug the blocks down until the frame was sitting level.
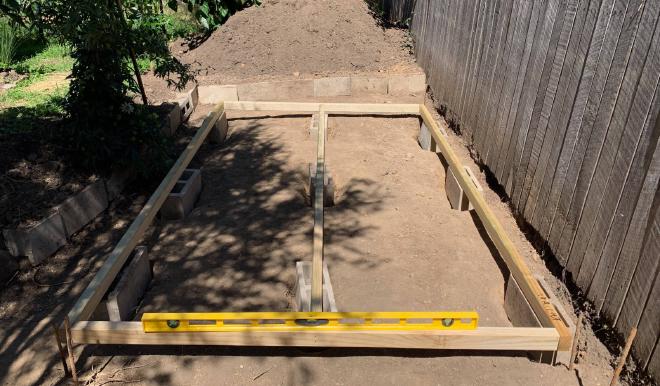
Once level, I filled the blocks with concrete.
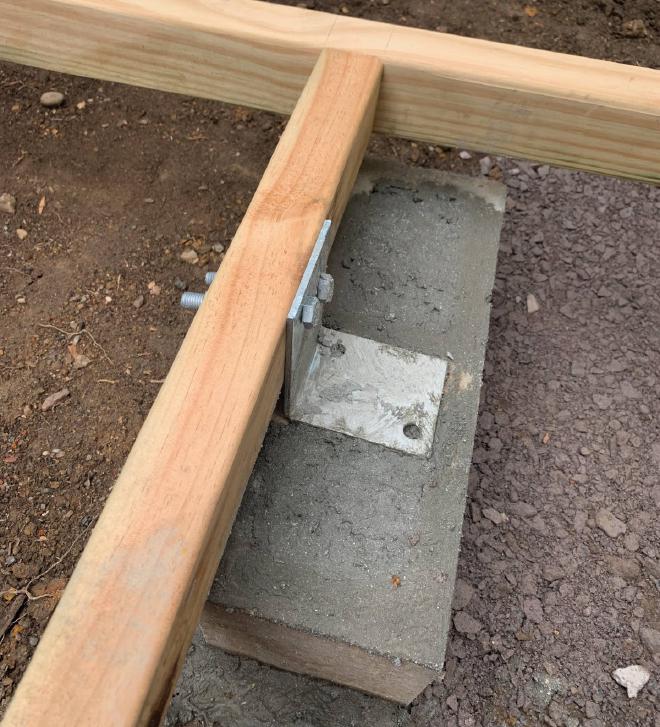
And when the concrete was set, I secured the frame to each block with an angle bracket (using concrete anchor bolts).
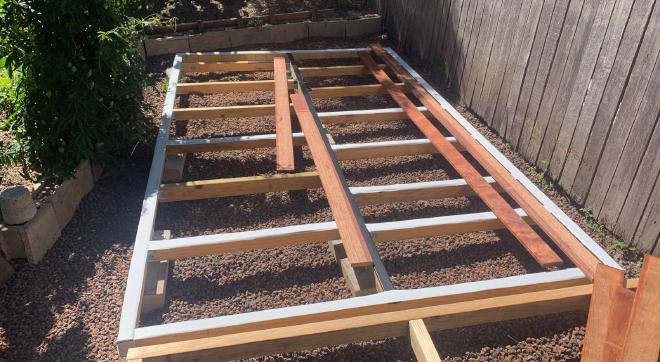
I did the same thing with the workshop floor frame, except that I actually set anchors into the concrete. The easy way to do this is:
- get the frame nice and level sitting above the blocks on temporary chocks;
- bolt the post anchors onto the frame with their tails hanging down;
- fill the blocks with concrete, tamping down around the anchors.
I also laid weed mat and covered it with gravel.
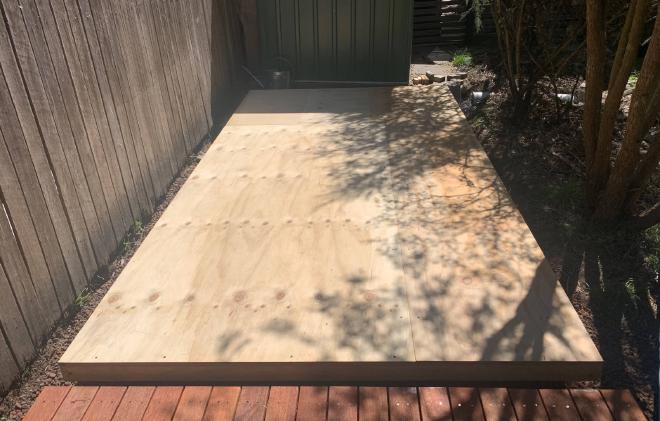
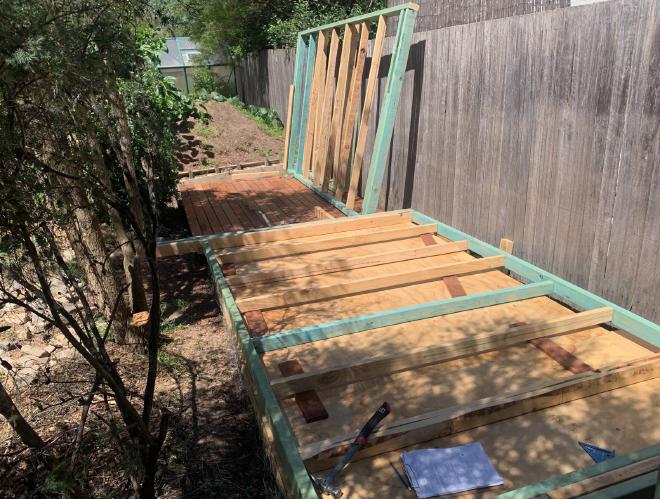
Joists were fastened with pairs of minigrips as joist hangers (Bunnings was out of stock of actual joist hangers). Then I screwed down some 17mm structural plywood. And ran wire mesh around the edge to stop my pet rabbit from hiding under there.
Deck #
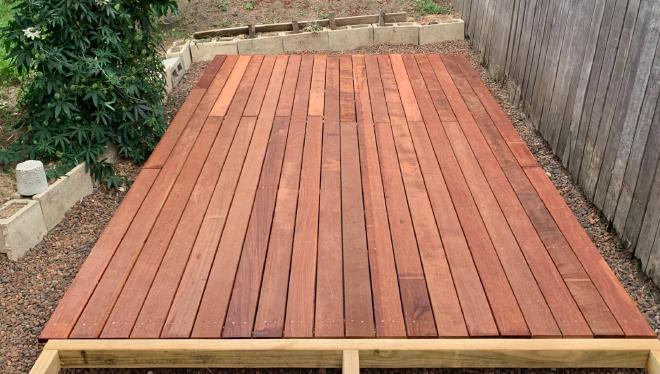
The decking was Merbau 90x19mm boards in random lengths. The spacing worked out perfectly with 6mm gaps between boards. I wanted big enough gaps that they would not get clogged with sawdust like my front deck did.
I put joist sealing tape on, for good luck. Well, I ran out so I also used some left over butyl rubber tape.
Stainless steel decking screws FTW.
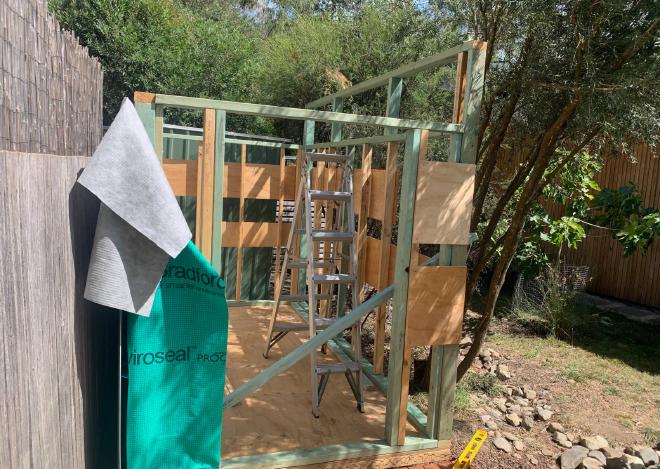
Walls #
The reason I built the deck first was so I could use it as a work area to assemble walls etc.
The timber is assorted - the blue H2 I bought new, but other stuff I had left over from previous projects.
I braced the walls with some scrap structural plywood.
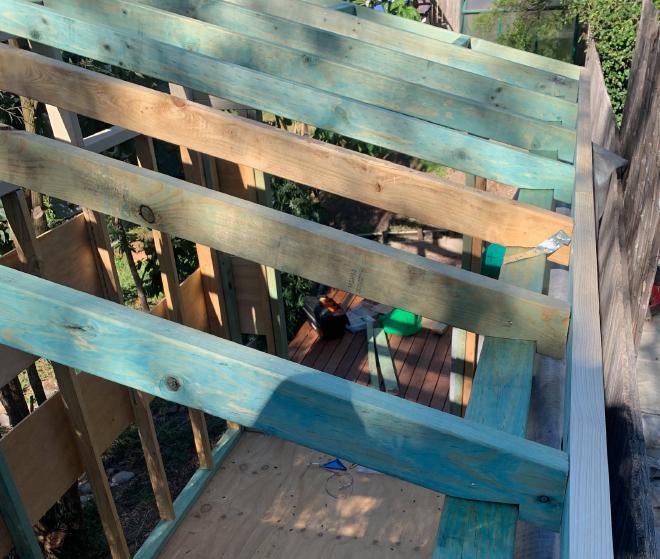
Roof #
The rafters were 90x45s at 450mm spacing, lined up with the wall studs.
The rafters were tied together at the bottom with a fascia board: another 90x45, ripped at an angle to continue the slope of the roof. This avoids ponding.
Rafters were skew nailed to top plates, and also fixed with brackets. At each corner, I ran structural steel strapping from rafter to stud, and from stud down to floor frame.
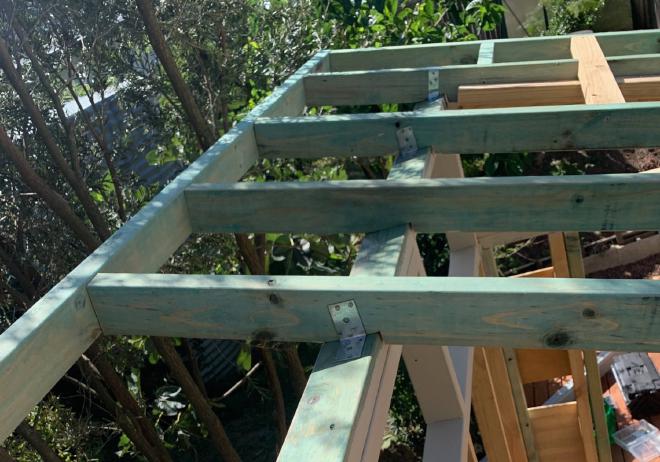
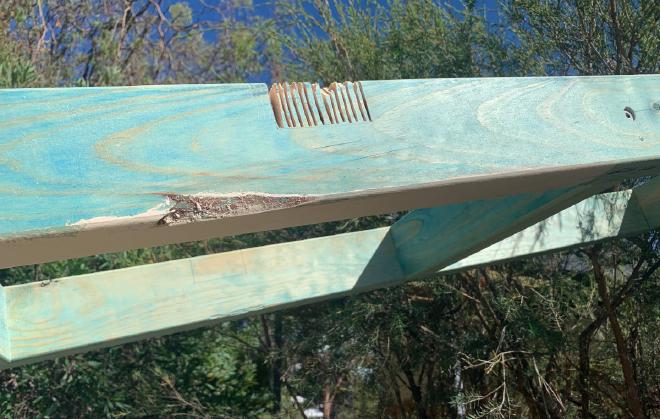
The east and west (“rake”) eaves were formed, like a ladder, of connecting pieces from the end rafters. But I had found on my last build that this tends to sag a bit. A solution came from this SkillBuilder video. Fasten cross pieces from the edge of the eave, through notches in the end rafter, and onto the next rafter back. One is visible in the photo above.