Cladding and Roofing

Table of Contents
Quiet Shed - This article is part of a series.
Wall cladding #
I chose a metal sheet cladding with the same profile as the existing shed: Stramit K Panel. This is definitely one of the cheaper cladding options at just over $30 / m2.
This should (should!) go without saying: I wrapped the structure in a vapour-permeable membrane, taped at edges and joints, and battened it out with a ventilated cavity.
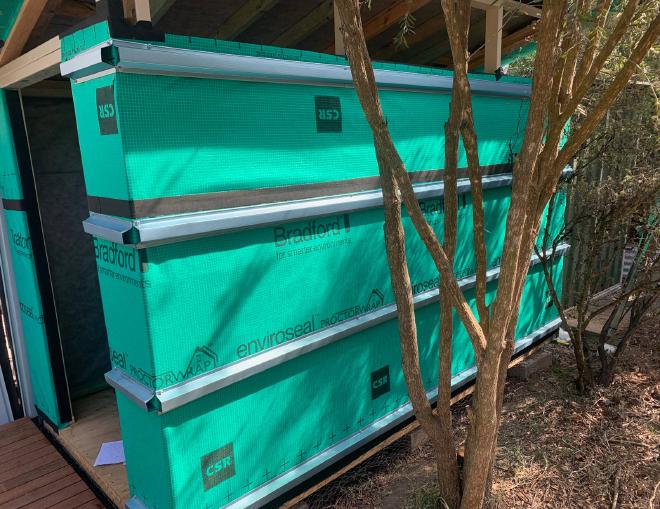
I ordered the panels and flashings in Woodland Grey to blend in with the bushland surrounds.
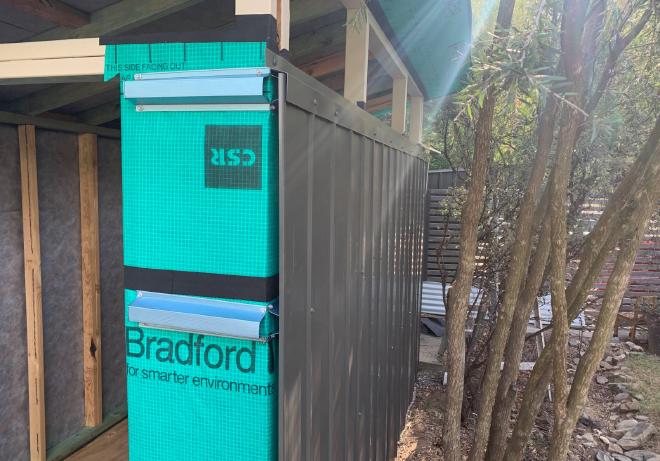

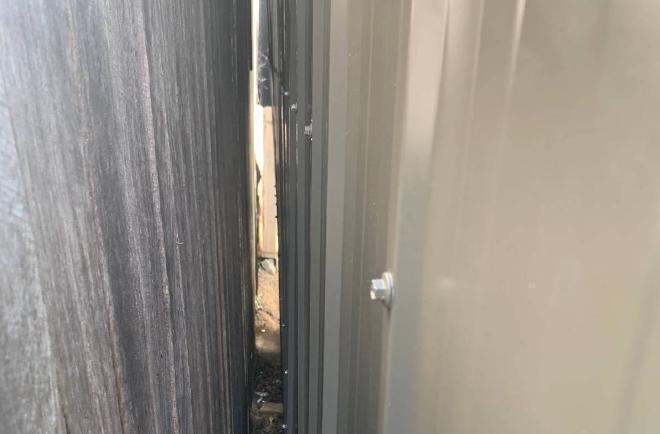
South wall against fence #
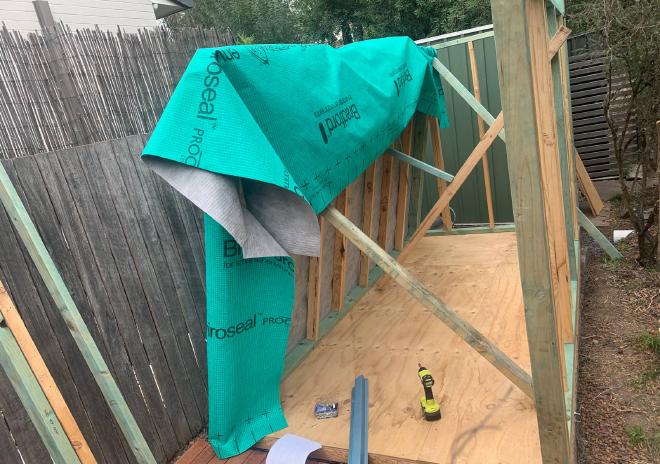
The south wall was awkward to build because it is right up against the fence. I wrapped, battened, and clad it leaning over in place. The wrap had to be folded in and sealed under the wall; I could not reach in to tape it at the bottom.
Roofing #
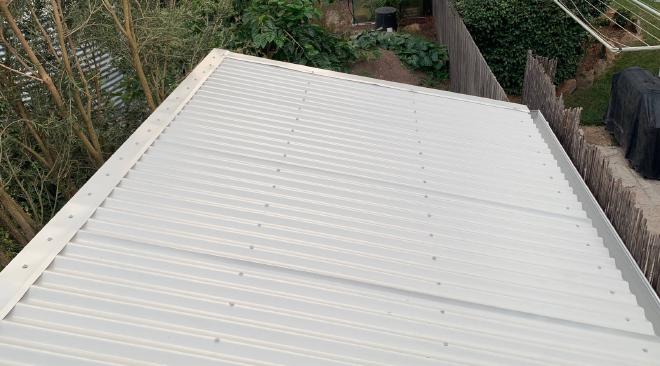
The roof cladding was similar to the walls. But in a corrugated profile and light colour: Shale Grey. I completed it with a simple flashing all around, gutter, and downpipe.
Above Sheathing Ventilation #
Above Sheathing Ventilation (ASV) is explained in a series of articles by Jesse Clarke. It is the use of a ventilated cavity directly above the membrane wrap (ie below the metal roofing sheets). As the articles explain, this elegantly solves a set of condensation and thermal issues. And it is in contrast to the typical Australian approach of using “anticon” blanket.

I made the counter battens by cutting up some excess hardwood decking.
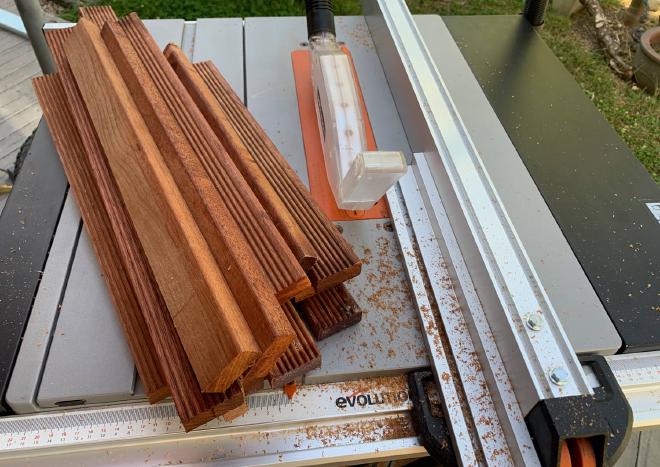
This gives a continuous ventilation pathway of 19mm up the roof.
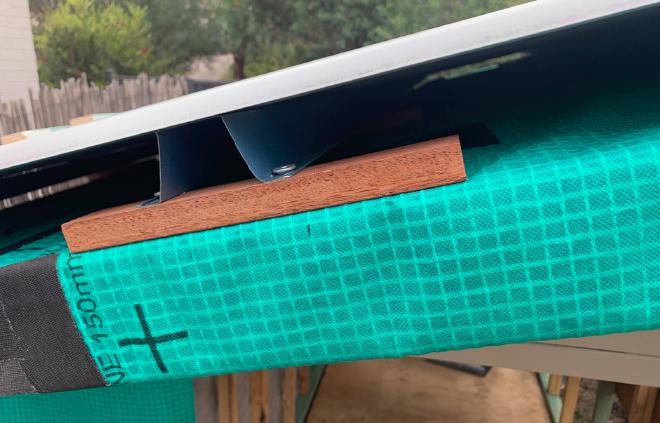
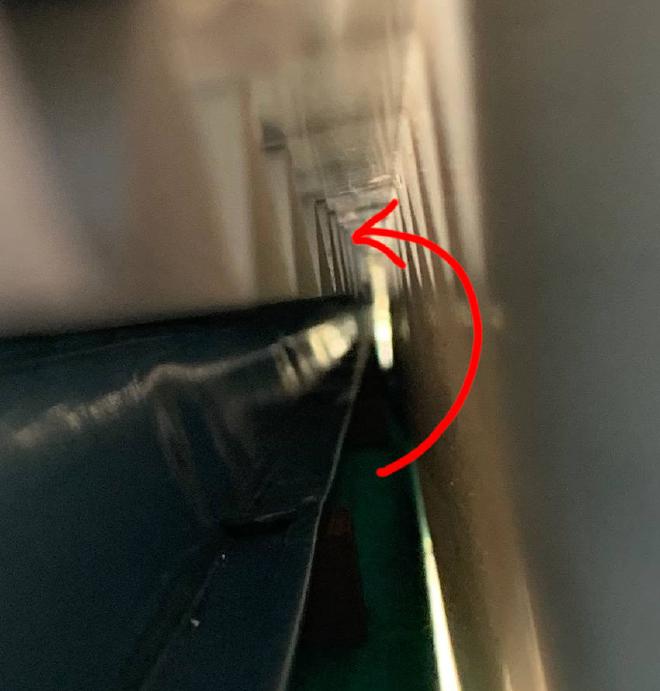
The cavity won’t be ventilated effectively without a clear exit path. However the exit at the top can be smaller in area than the entry at the bottom. The corrugations in the roof sheet are enough. But critically, there must be a path through the ridge flashing. So I offset it from the top edge of the sheets by 10-20mm.
Soffits #
I clad the soffits with 4mm fibre cement sheets painted Shale Grey to match the roof.
