Windows and Door

Table of Contents
Quiet Shed - This article is part of a series.
Windows #
Windows are typically a major expense. But I did not need anything fancy, so I decided to make my own simple windows and door. I wanted light, ventilation, and soundproofing.
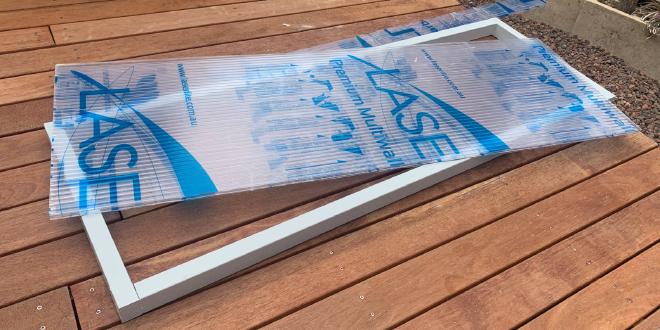
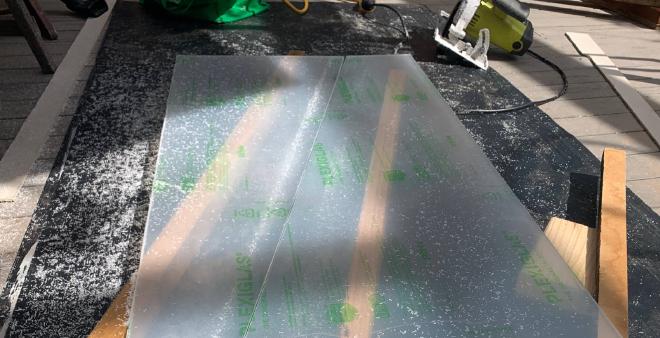
I had a spare sheet of 10mm twin-wall polycarbonate, enough for the north windows. And enough spare 6mm acrylic for the east and west windows.
I was aware that the polycarbonate is a better thermal insulator ( U = 2.9) than the acrylic ( U = 5.2 ish). But I didn’t find out until later that the polycarbonate is a very poor acoustic insulator, because it is light and rigid. I came back to that later with secondary glazing - see the soundproofing page.
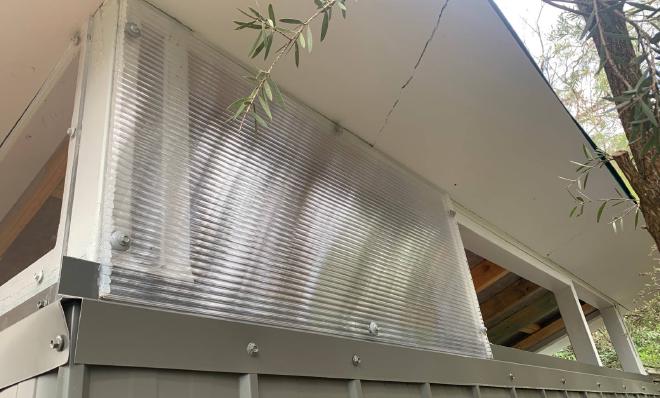
Fixed polycarbonate panels #
The fixed polycarbonate windows were super simple. Just cut to size with a box cutter, run a bead of silicone around the edge, and screw it on. I also sealed up the ends of the channels with silicone. Technically they are supposed to be installed vertically not horizontally, but that’s just the shape I had.
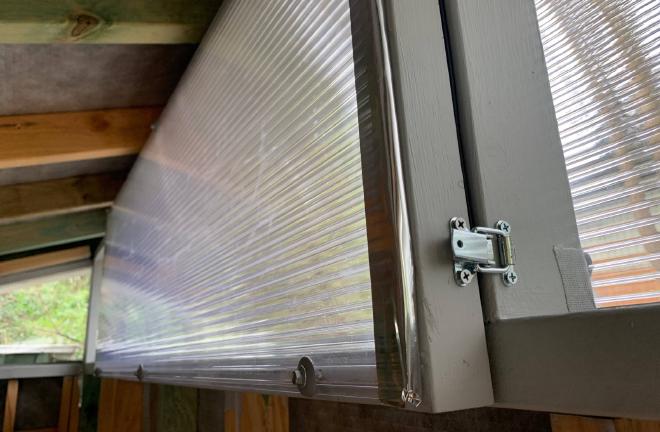
Awning window #
The middle panel was to be an inward-opening awning window, for ventilation. Having no experience with window frames, I designed it like a cabinet door: the opening part is face-fit with hinges and latches. The opening part (sash?) I made from 30x40mm primed pine. It is rigid enough.
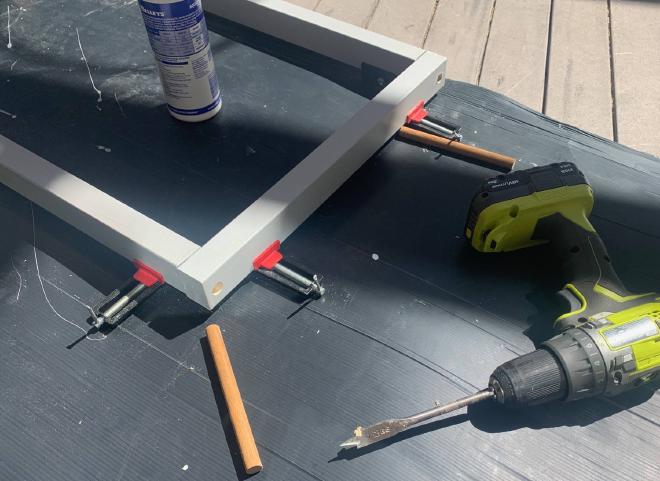
Then I attached polycarbonate to one face of the sash in the same way I did the fixed panels.
Then I just screwed it in with hinges at the top, and a latch on each side.
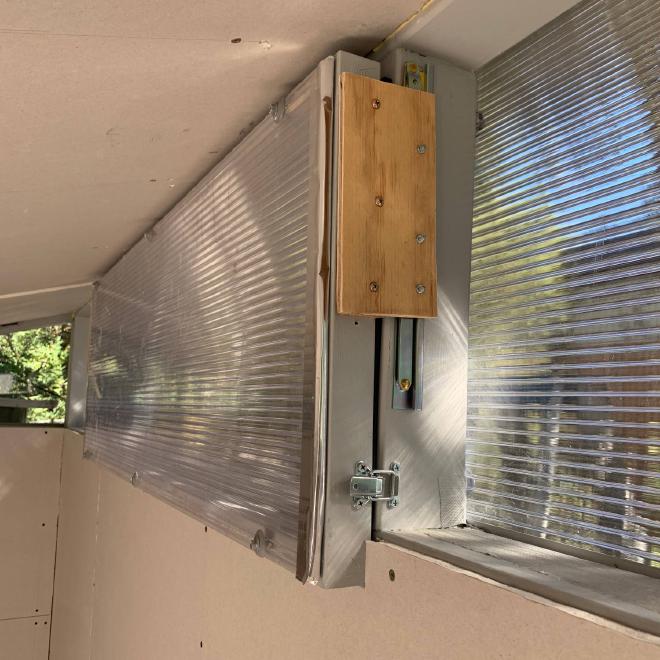
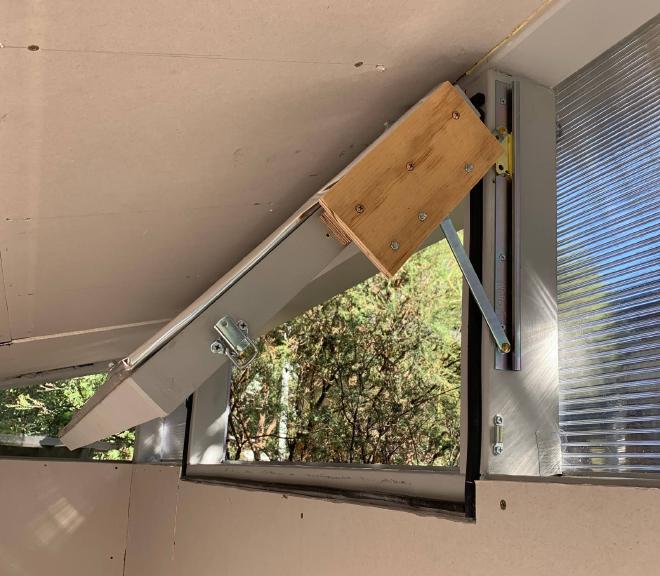
At this point there were two problems:
- there was no way to hold the window open;
- once the ceiling was plasterboarded, the window hit it restricting its opening.
Both of these problems were solved by replacing the hinges with a friction stay. It holds the window open, and it has a kind of sliding pivot so the top of the window comes down as it opens. As it is designed for windows that are inside a frame (oh I guess that is how normal windows work), I had to mechanically translate the force with rigid wood panels.
Fixed acrylic panels #
The east and west windows are triangular following the roofline. Acrylic panels are attached on the outside, just like the polycarbonate panels.
I had one piece long enough for the whole of the north window - except a minor cutoff at the end which I filled with plywood. But the south window had to be made from two pieces.
It is hard to find anything that will stick to acrylic. It laughs at most sealants and tapes. The notable exception is this specialist VST / Acribond double-sided tape. I used that for a seal, and also screwed the panels in.
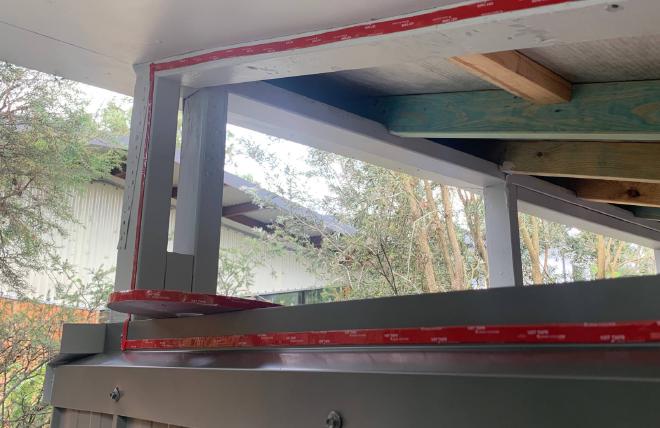
Secondary glazing #
See the soundproofing page.
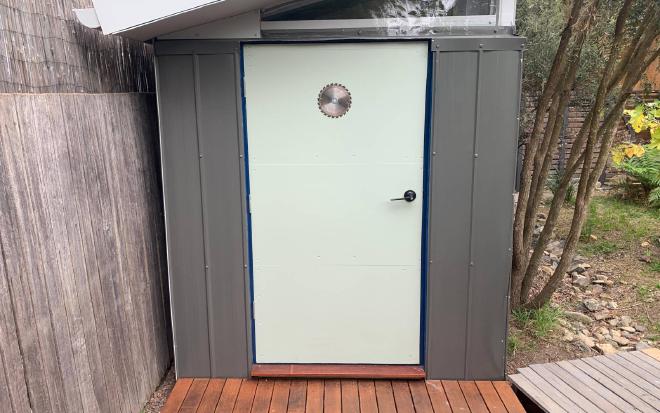
Door #
It’s a pet peeve of mine that people neglect doors when thinking about their building fabric. They might have an amazing wall construction but stick a standard door in it. Here was an opportunity to make my dream door. I wanted it super solid. Offcuts of 17mm plywood for the outside face, and a 35mm timber frame behind.
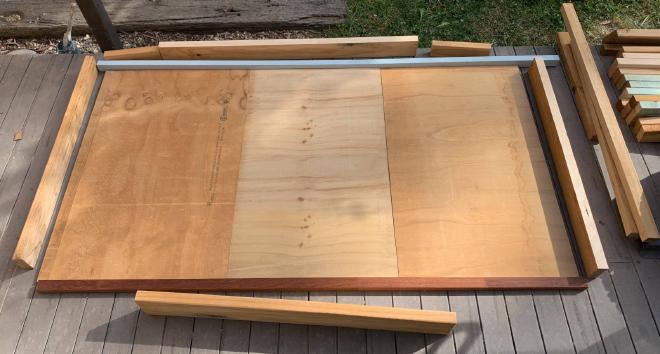
For the inside face I used 3mm MDF sheets. That brings the thickness to 17 + 35 + 3 = 55mm which is the maximum that an off-the-shelf latch set can handle.
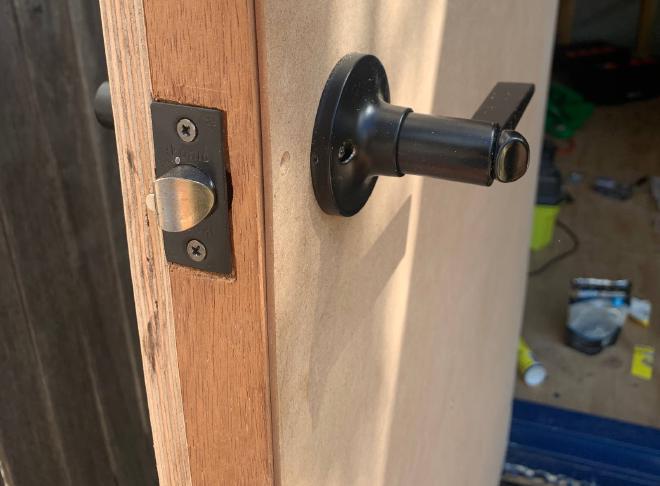
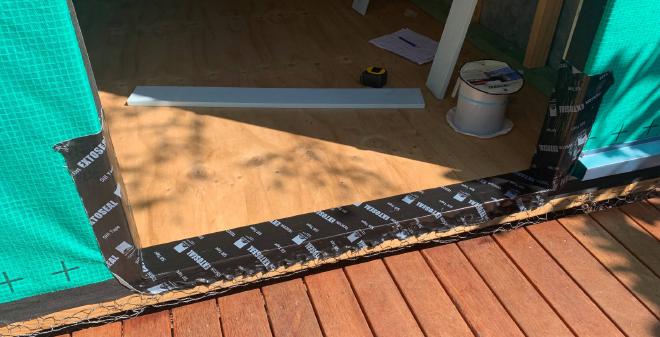
I applied waterproof flashing tape to the structural opening. Then constructed a jamb from 110x18 and 66x18 primed pine. Note that 110 - 66 = 44, so the door has to protrude 11mm outside the jamb. (Because I hadn’t thought through my door design until too late.)