Soundproofing

Table of Contents
Quiet Shed - This article is part of a series.
Airtightness #
Sound travels readily through air, so airtightness is the first step in soundproofing.
I wrapped and taped the building as described on the cladding page.
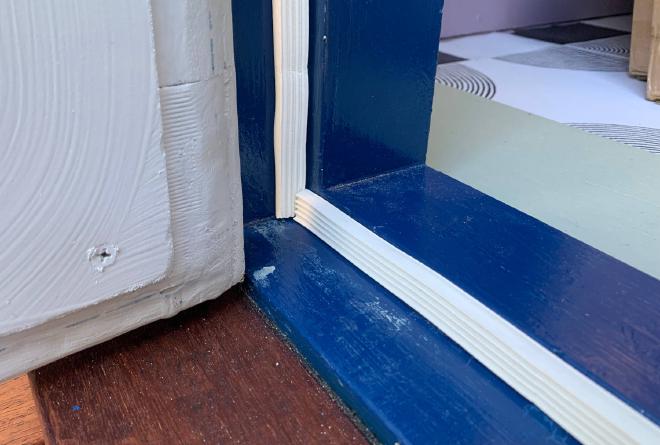
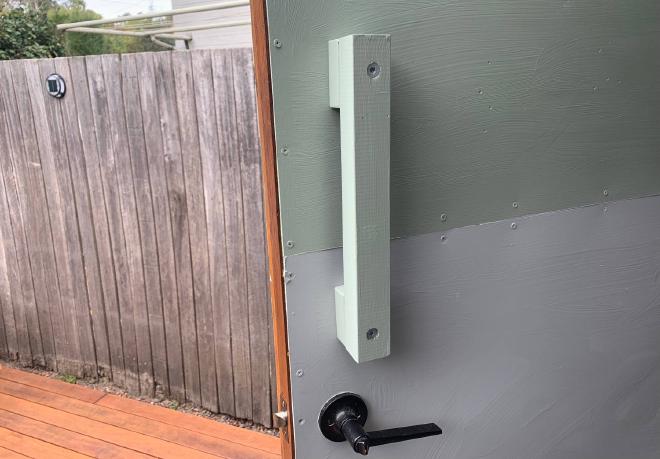
And both the door and the opening window had airtight compression seals of thick rubber.
The door seal made it very difficult to latch the door. So I added a big strong handle to pull it closed. I’m fine with this as I will be the only one using the workshop.
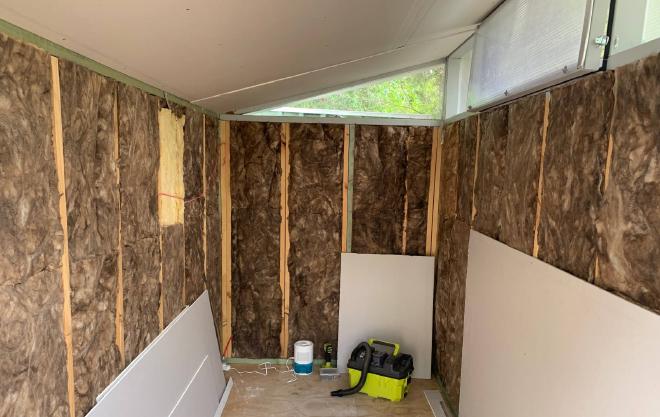
Walls #
Soundproof construction generally relies on either high mass, or isolation between layers. Sound studios are often built with double walls - a box within a box. But some level of isolation can be achieved in a single wall by using staggered studs. This isolates the exterior cladding from the interior lining for most of the wall area - with the exception of the top and bottom plates.
For acoustic insulation, soft flexible materials are preferable to rigid ones.
Ceiling #
The ceiling was also insulated between the rafters.
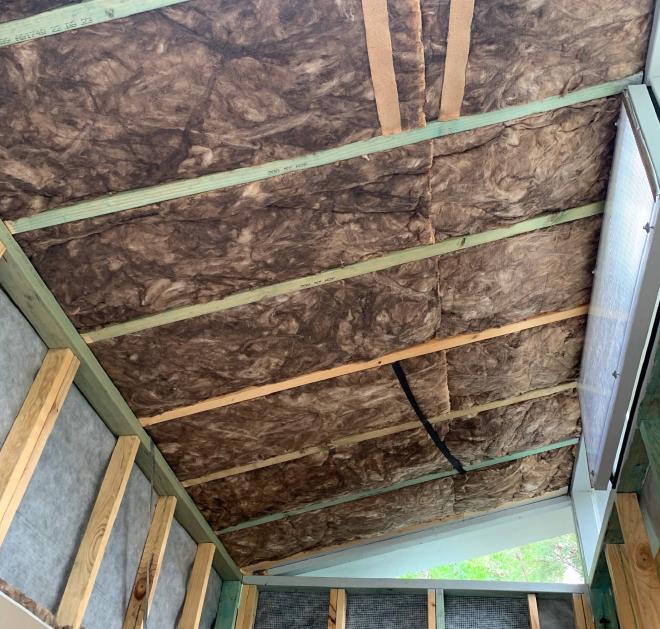
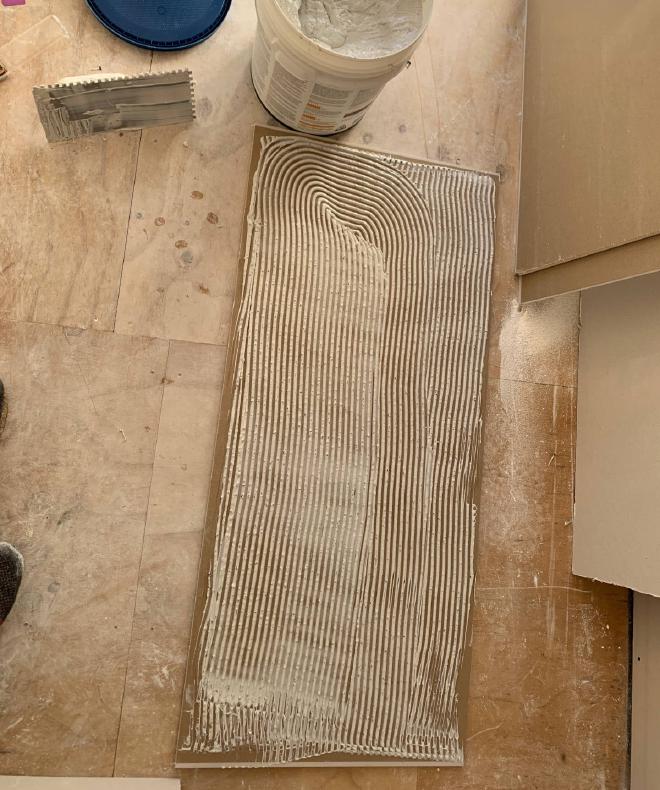
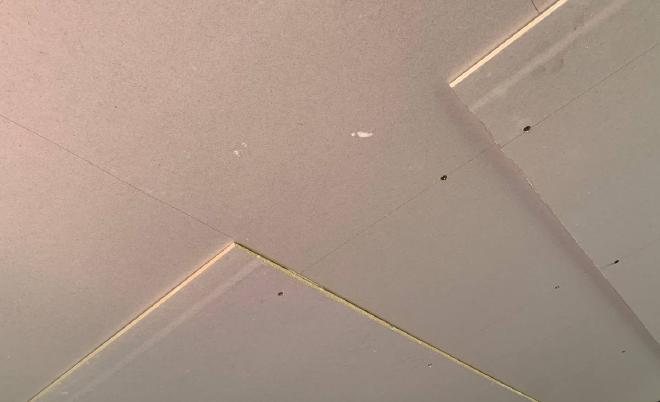
I did not do staggered stud construction in the ceiling. The rafters were all 90mm deep. Instead, I took another approach to isolation. Two layers of plasterboard, with acoustic glue between them.
The gold standard for this is a thing called Green Glue but it is too expensive for me. I went with Bostik Ultraset 3 in 1 (acoustic) flooring adhesive. Maybe it will do something. In any case, doubling up the plasterboard adds mass which helps.
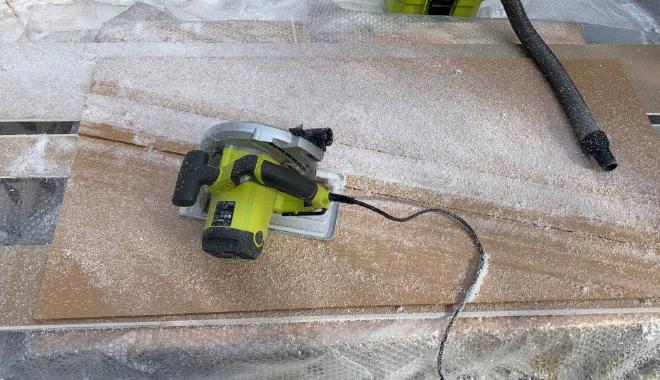
The second layer of plasterboard was assembled from offcuts.
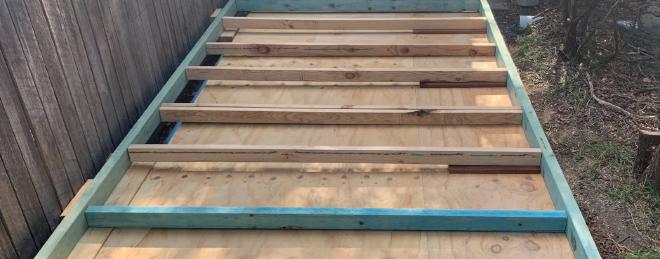
Floor #
I was particularly concerned with structure-borne noise. Such as my table saw directly vibrating the floor and through it the whole structure. To absorb that, I used a 4mm-thick rubber underlay, together with a 3mm layer of acoustic flooring glue.
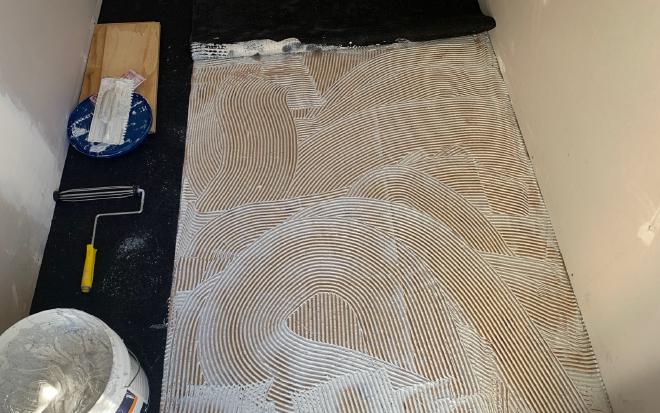
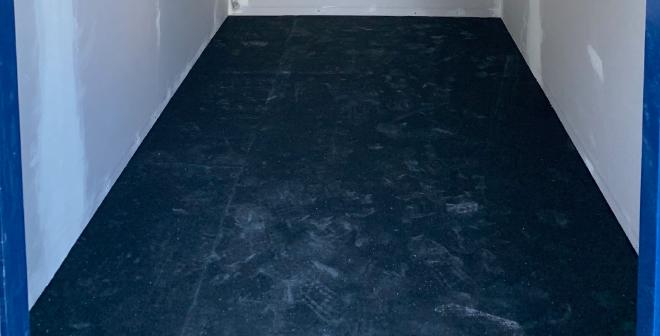
Vinyl tiles went on top of that as described on the finishing page. It certainly feels soft underfoot.
Door #
Since I made my own door, as described on the windows & door page, I stuffed it full of glasswool insulation (offcuts).
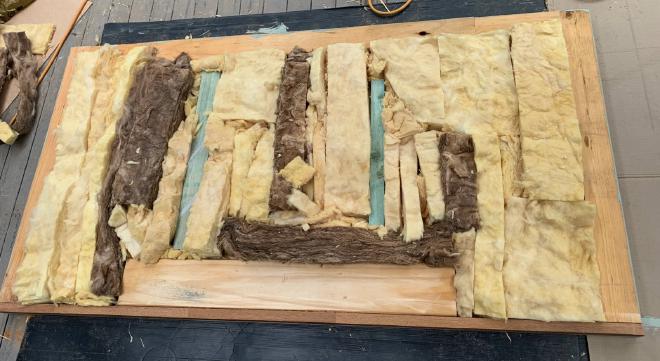
Also, as the face of the door is solid 17mm plywood, it is heavy. (I know, I just barely managed to carry it.) The mass will help with sound deadening also.
Windows #
It turns out that twin-wall polycarbonate is extremely bad acoustically. I should have known this, as when I go inside my greenhouse, it sounds just the same as being outside.
A single pane of 6mm acrylic is more or less the same as a single-glazed glass window, which is also not great.
So my windows were definitely the weak point in my soundproofing efforts. I decided to rectify that by putting up secondary glazing. Bring out the big guns: 10mm thick acrylic, with a huge 90mm airgap. I bought 4 sheets of 1220x610 for $356 from Acrylics Online. (The two triangular end windows could be cut out of a single sheet.)
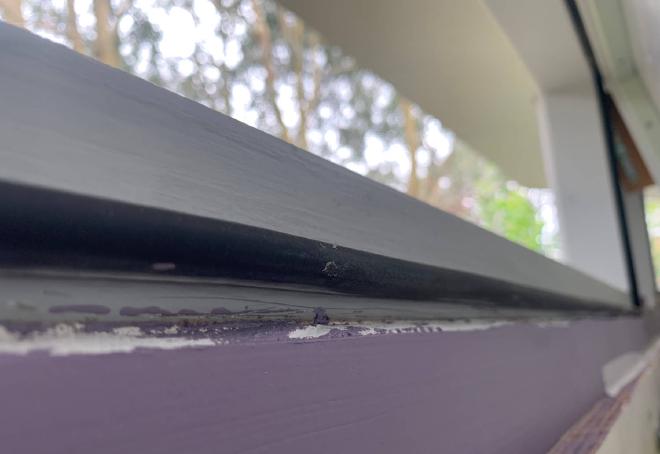
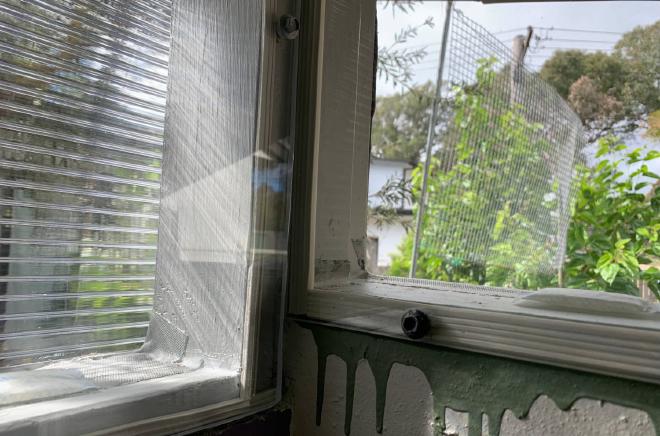
Because I had not designed for secondary panes, I had to build frames for them to be fastened to. These were about 20mm all around.
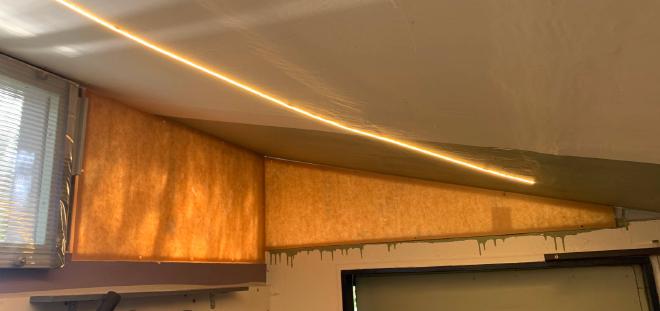
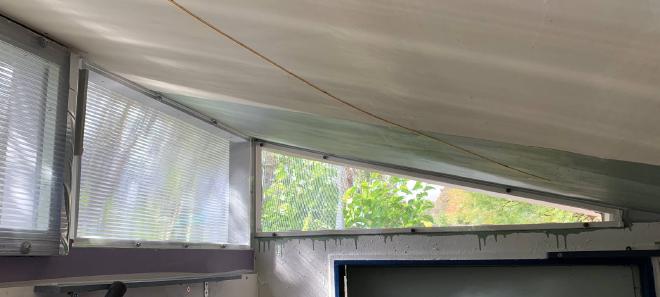
I drilled holes for 6mm diameter roofing screws (oversized to 8mm holes). Then I stuck rubber sealing strips around the frame, which would be compressed by the acrylic to form an airtight seal.
I also put some desiccant in the gap to avoid any condensation.
See the performance page for soundproofing results.