Finishing

The Pea Hut - This article is part of a series.
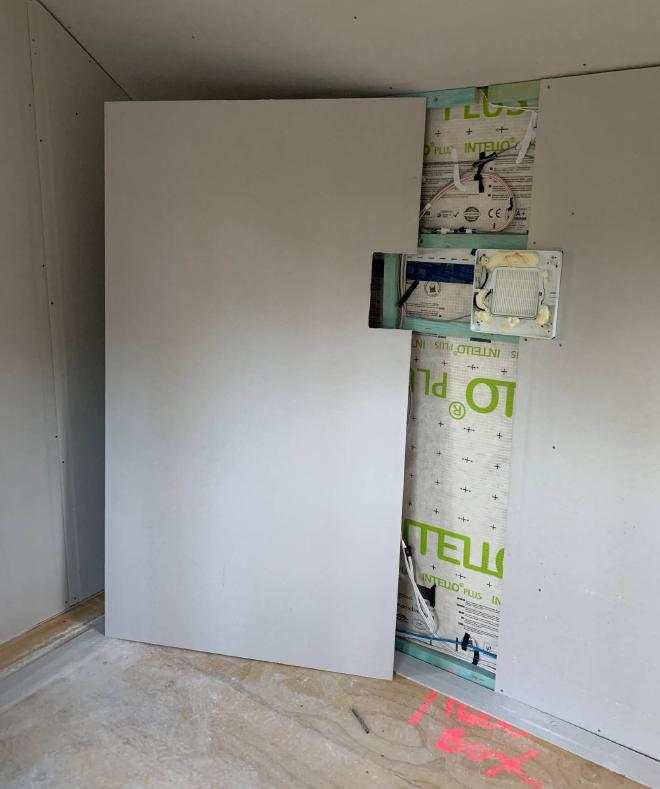
Putting up the plasterboard (aka drywall) was straightforward, since they were mostly aligned with internal battens. I needed help to hold the ceiling pieces up while I screwed them in. I did use plasterboard adhesive for the ceiling - according to installation instructions - but I’m not convinced it is necessary.
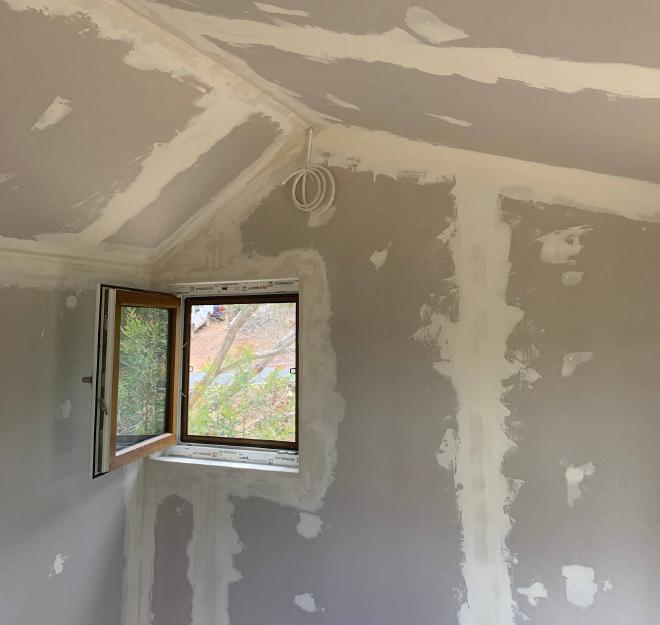
After a crash course in plastering from youtube, we smeared most of an 18kg tub of premixed plaster over the joints and screw-holes. Plastering is fun and it smells like watermelon.
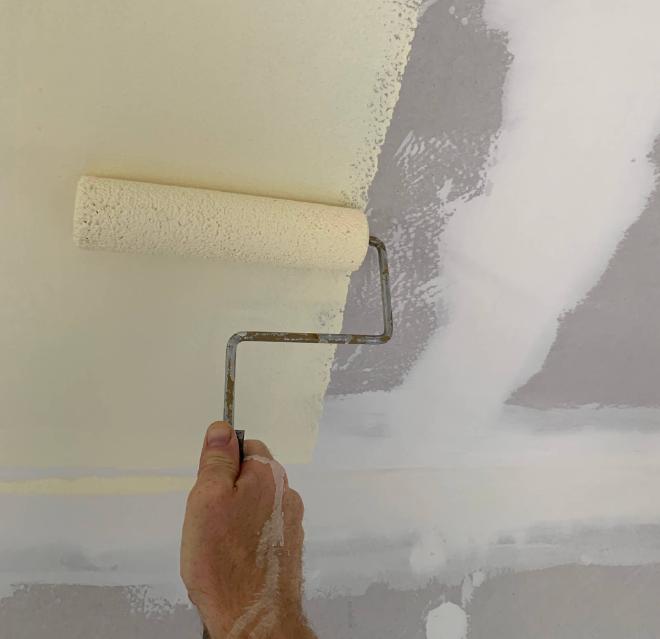
My daughter chose a warm / light paint colour Solar half for the ceiling and Sand Diamond half for the walls.
For the floor we were originally looking at laminate because it is cheap. But then I found this engineered wood flooring for an incredible $35 per square metre. No other wood flooring I’ve seen comes close in price.
It is supposed to click together but we couldn’t get that to work. We just pushed and pulled and used a rubber mallet to get them together, after first squeezing out a bead of wood glue along the joints.
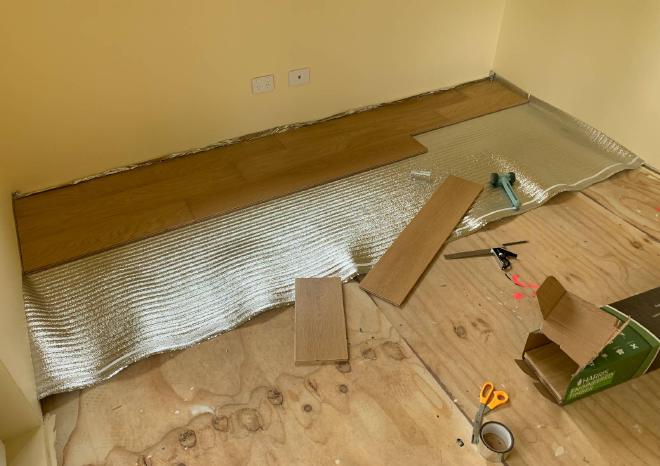
The flooring instructions call for a 10mm expansion gap on each wall. But the skirting boards I chose were only 11mm wide. Not ideal.
The bullnose 42x11mm skirting board was painted with enamel paint and nailed on with bullet head nails.

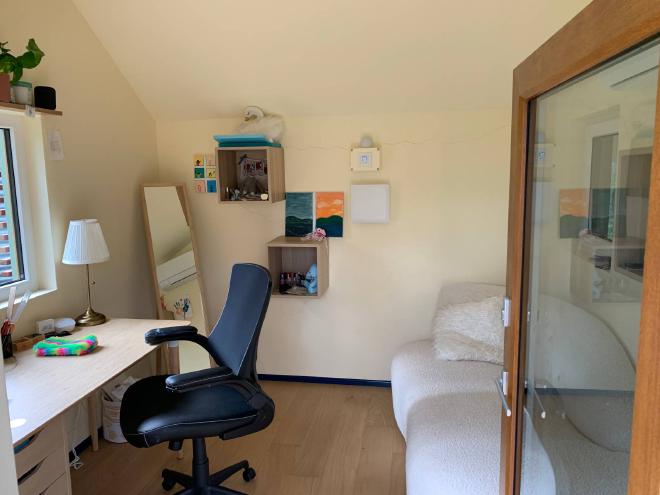
Here it is furnished with a comfy daybed / sofa, etc.