Electricals
Table of Contents
The Pea Hut - This article is part of a series.
Wiring #
The property circuit board was conveniently located only about 7m from the nearest corner of the hut. So digging a trench for electrical conduit wasn’t a huge job, even though the ground is hard and rocky. It helped a lot to start it off with the post hole digger.
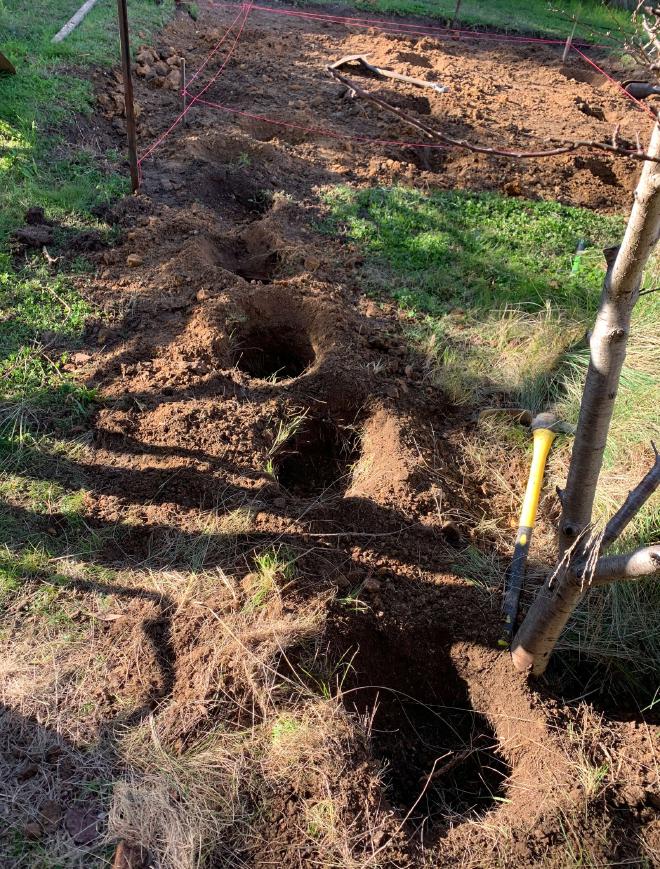
The electrical conduit has to be dug down 600mm deep.
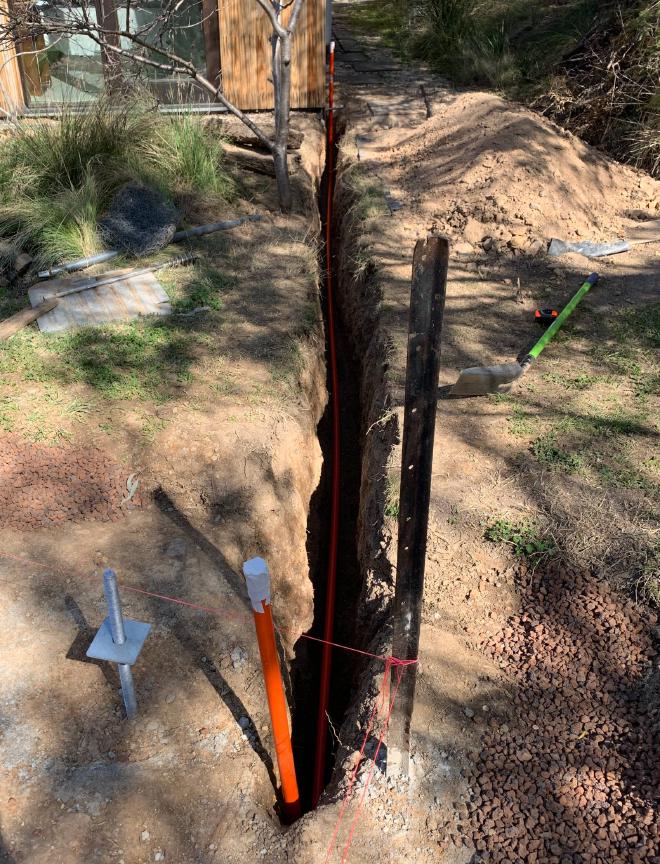
I also laid conduit for an ethernet (data) cable. Getting a data connection was harder because that involved drilling a hole into my house - I let the electrician do that part.
The conduit was placed to come up just inside the structural wall frame. That is, within the 35mm service cavity that would later be formed by internal battens.
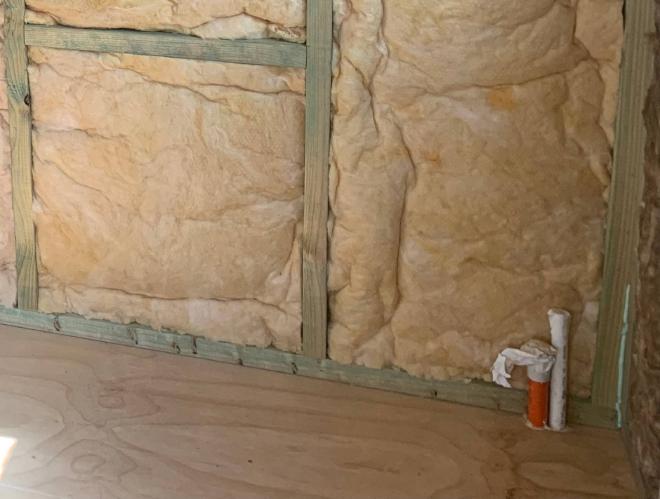
I left gaps at the ends of internal battens so that wiring could be done without needing to drill holes through them.
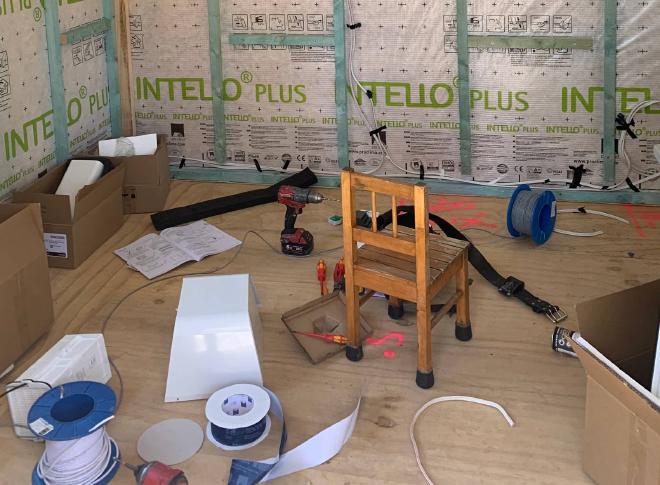
Of course, the wiring was done by an electrician. But while the service cavity was exposed, I did some wiring myself: a pair of 2m LED strip lights, through a transformer, placed so its plug came out in a corner where it could immediately be plugged in to an outlet.

Air conditioning #
For a long time I couldn’t decide what to do about cooling. Canberra’s climate is heating-dominated, but there is usually a heatwave or two in summer. As a non-habitable room, it is perhaps not critical for it to have a cooling system - it could just be abandoned in very hot weather. But then the whole idea of a low-thermal-mass building is that it is flexible: little energy is required to change (and maintain) its internal temperature… but that is pointless if there is no way to control it.
Also, the design ended up with a big east-facing window to overlook the garden. Meaning that it would be hammered by direct sun in summer.
Once I had decided that I needed some kind of cooling system, the question was, what exactly? A wall mounted split (reverse cycle air conditioning) system seemed excessive for such a small, highly-insulated room. The smallest capacity ones are rated at 2kW output power and have roughly 0.6L of R32 refrigerant. R32 is touted as having only 30% the global warming potential (GWP) of previous generations of refrigerants: a 100-year GWP of 675. But that still works out to emissions of roughly 500kg CO2e, if the refrigerant leaks or is not recycled.
What is tantalising is that there is a refrigerant that has basically zero GWP: R290, otherwise known as propane. But for some reason unknown to me, it is currently not possible to buy a split system with this refrigerant in Australia. It is available only in portable (duct-in-window) and commercial systems. Sigh. R32 it is then. I went with a Panasonic: 2.5kW cooling / 3kW heating output, with input power 0.6kW. (That’s a Coefficient of Performance of about 4.6.)
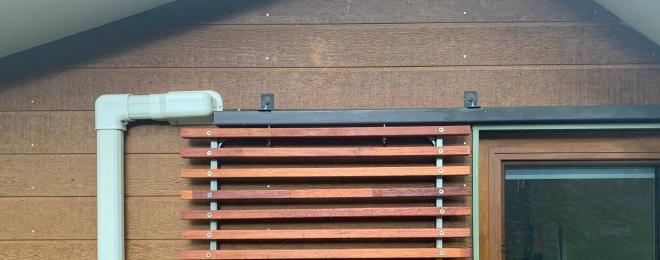
There was one complication with installation. The outside conduit (refrigerant and power to the external unit) would have gotten in the way of a sliding shade screen (see Shading page). Luckily it was just high enough that, if the conduit went horizontally before coming down, the screen could fit below it.
Heat Recovery Ventilation #
In an airtight building, controlled ventilation must be built in. This can be as simple as a continuous low-power extraction fan (a negative pressure system) or inlet fan (a positive pressure system). But the most efficient is a heat recovery ventilation (HRV) system. This maintains balanced pressure with inflow and outflow fans, and uses heat exchangers to recover and reuse heat from the air (with an efficiency of around 80%).
I decided on a Stiebel Eltron distributed pair HRV for $1557 (not including installation). I built 180x180mm square holes for the two HRV fan units, as described on the Wrap page. The other part is a box for the transformer and control panel.
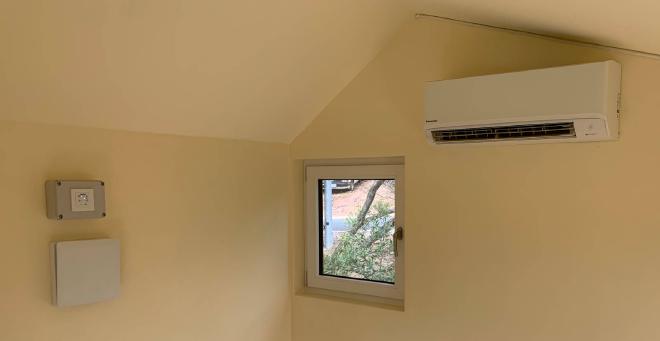
The control panel lets you adjust the airflow rate - including a full-on “party mode” if you have several people inside with the windows closed - and also to choose between
- alternating flow direction: to recover heat and maintain indoor temperature;
- cross-ventilation: continuous flow in one direction, e.g. on cool summer nights.
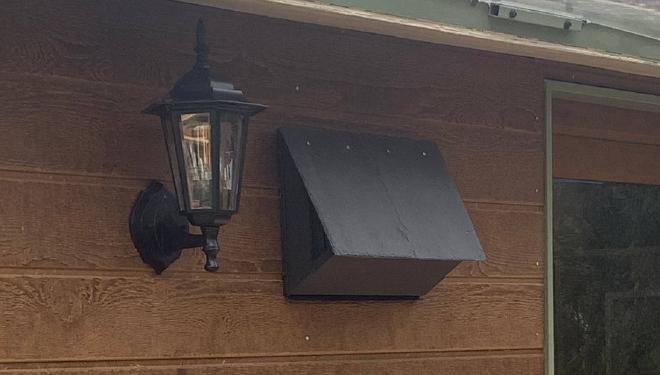
I found the external covers to be unnecessarily bulky, given that the actual fan unit only extends 30mm past the wall.
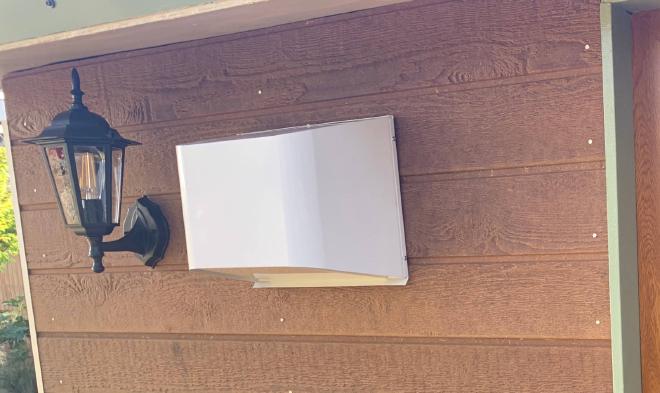
So I made my own out of plywood and some leftover slate tiles. It is open at the front for plenty of airflow.