Shading

Table of Contents
The Pea Hut - This article is part of a series.
Sliding shade screens #
East and west facing windows take direct sun for hours on summer mornings and afternoons. Shade from a roof eave above is not enough. (Eaves on these windows are still important though: they allow you to open windows for cross-ventilation when it is raining.) What is needed is a vertical shade. And it should be external - once solar radiation has penetrated the glass, the heat is inside.
I decided on two sliding screens of timber slats, inspired by designs I’d seen from Ben Walker Architects. For the track mechanism I went with Eltrak (nothing at Bunnings is designed for external use). The 4 carriages came to $220 and the tracks $185.
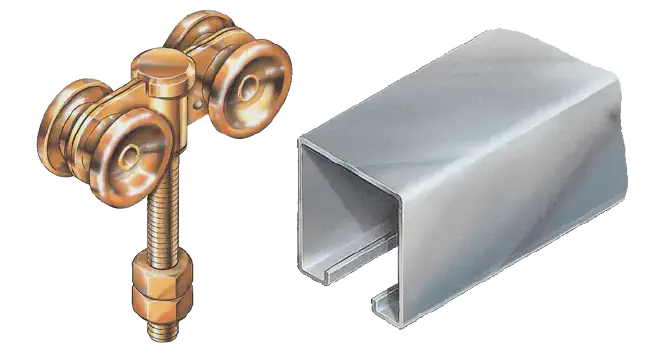
The wheels of the carriage go inside the track, and the bolt can be secured to a rectangular frame made of square steel tube. Then timber slats are screwed on to that frame.
Ideally the slats are (a) thin and widely spaced for minimum obstruction to the view; and (b) deep, so that sun is blocked at as low an angle as possible. For this reason I made the unusual choice to mount 42x28mm Merbau screening on its short edge for maximum depth. That meant I would have to drill straight through the long section and into a 20x20mm steel tube - tricky with a hand drill. So I set myself up with a drill press stand.
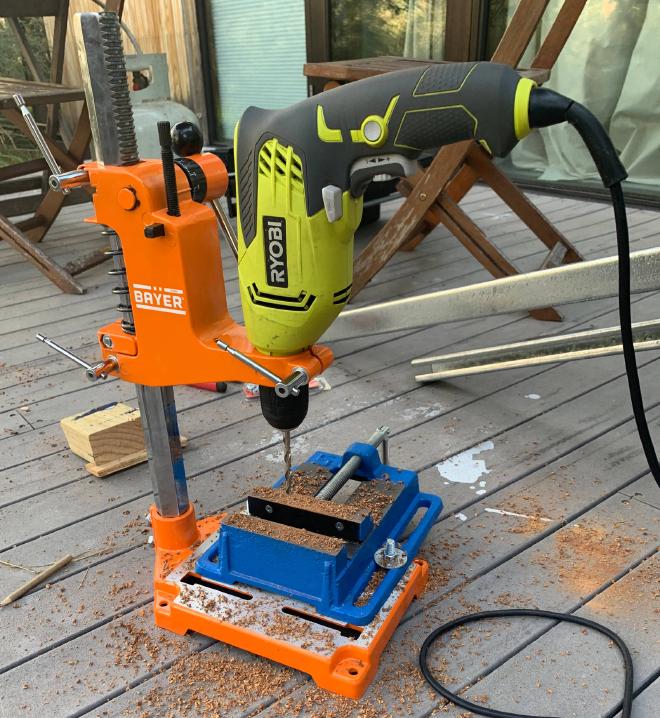
I drilled evenly spaced holes in the steel tube frame (use a Cobalt bit). And fixed the slats with 65mm 14G screws (use an impact driver).
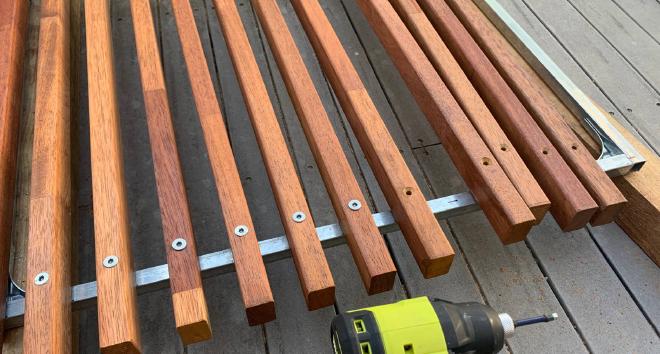
I was ready to mount the tracks on the wall using some simple brackets. But I didn’t like the look of the raw galvanised finish on the tracks and brackets. Annoyingly, you can’t just paint galvanised steel. You have to remove the galvanisation layer with an etch primer first.
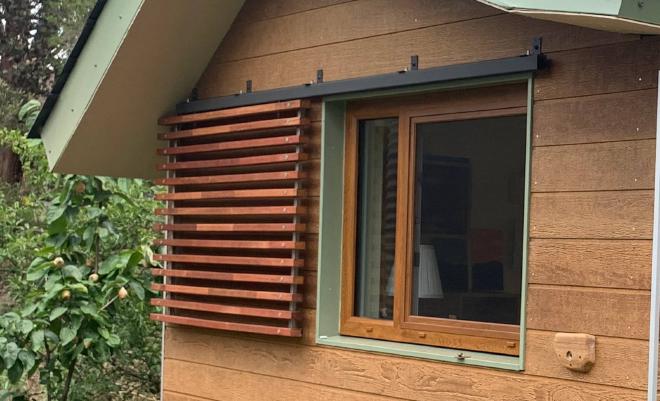
I solved this by mounting a few roller wheels on the wall and window sill.
Plantings #
Deciduous plants are ideal good for radiation control if placed well. I planted a Mt Fuji ornamental cherry tree (Prunus serrulata shirotae) to the north. Hopefully it will grow up to provide summer shade over the entry deck area. A strange-looking grafted Acacia to the east is mostly for visual interest but might also help a bit on summer mornings.
Awning #
The entry deck area clearly needs a cover for rain protection. But it turns out that from the sofa inside, there is a nice view up through the glass door to a grand Eucalyptus crown. To maintain that view, I made the awning from clear acrylic.
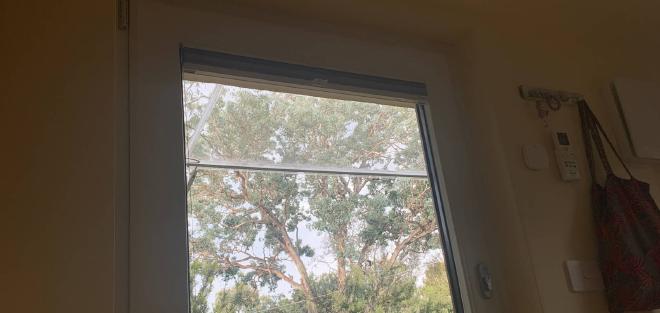
I got the 6mm acrylic for $310 from Plastic Creations including cutting to size and providing a joining strip (the awning is longer than a standard acrylic sheet). I fixed it to a steel tube frame with roofing screws. Holes for the screws in the acrylic need to be drilled with a step drill bit on low speed, and oversized 2mm.
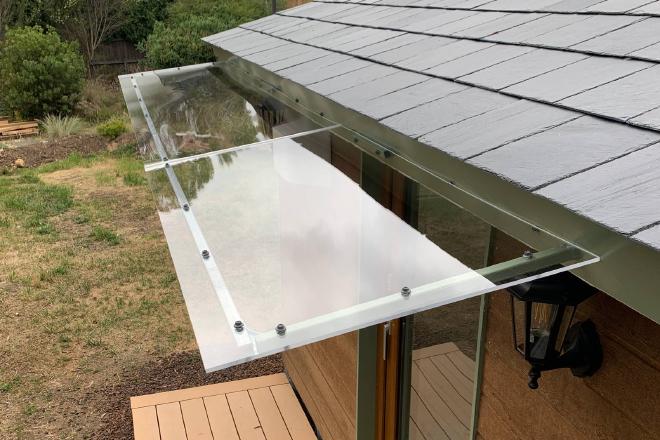
I eventually solved this with a kind of gutter: I fastened an aluminium angle along the front of the awning and cut a hole in it at the centre, which is the low point. That guided the water to one spot. Then I fashioned a spout from a small offcut of acrylic, edged again with aluminium angles.

I put an old wok under the spout as a kind of water feature.
Internal blinds #
Internal window coverings are not ideal for summer shading, as most radiation that passes the glass will stay inside as heat. But some can still be reflected back.
The big benefit is in winter: by replacing the cold glass surface with a fabric surface, your body will lose less heat by direct radiation to the glass.
Also, of course, privacy.
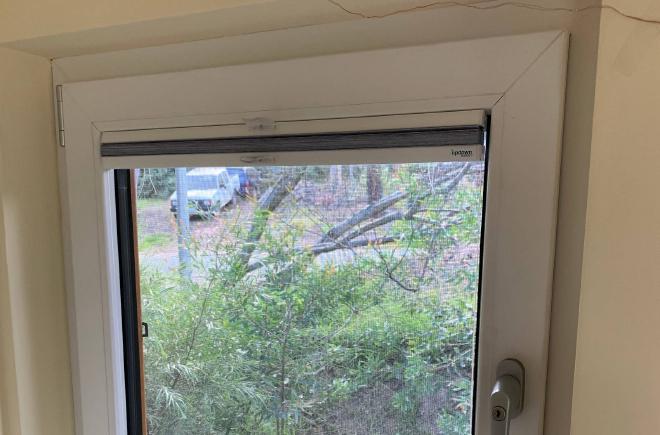
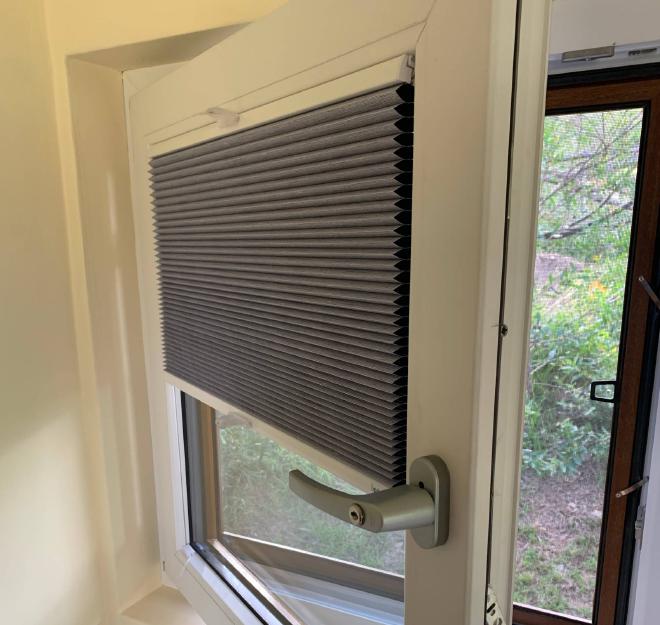
Tilt-and-turn windows open inwards so normal blinds or curtains won’t work. Blinds for these need to be attached to the window bead and move with it when it tilts or turns.
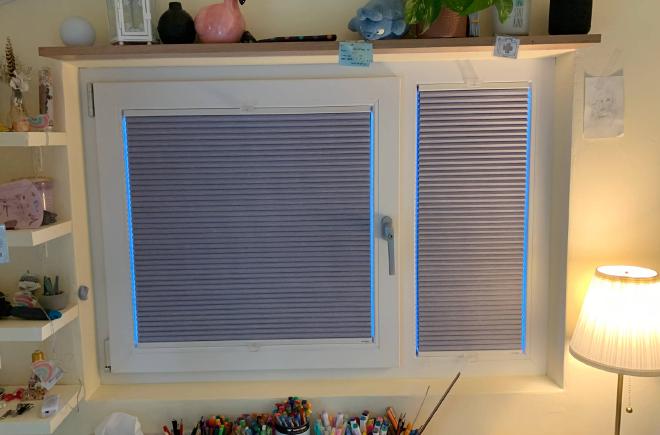
I ordered blockout honeycomb blinds online from UpDown Blinds. The price was $968 for 4 blinds. They arrived just under 8 weeks later. Installation was quite simple once I had read the instructions. (Definitely read the instructions before trying to adjust the cord length!).
