Cladding
Table of Contents
The Pea Hut - This article is part of a series.
Walls #
Preparation #
It is necessary to have a cavity behind the wall cladding. This is a warranty requirement of both the vapour-permeable wrap and the timber weatherboard system. But we don’t really want to create a cozy hollow for insects etc, so a cavity closer is called for.
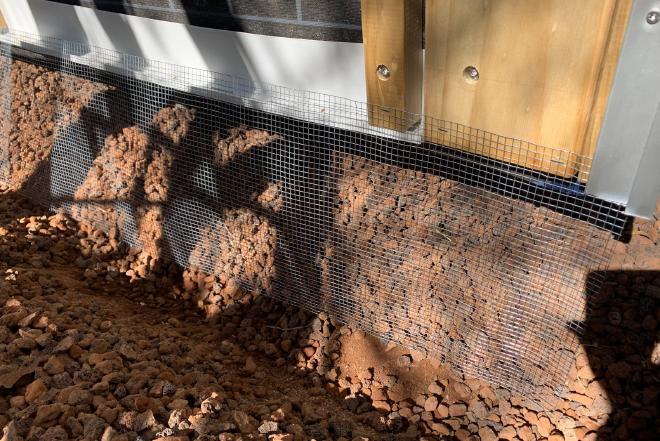
Similarly, the underfloor space needs some ventilation but could become a home for possums, rats, or snakes. So I attached wire “vermin” mesh all around with fine 6.5mm holes.
I decided not to have the cavity open at the top, but to continue weatherboards right up to the eave lining (soffit) leaving just a 1-2mm gap. The soffit was therefore installed first. I used the cheapest material, 4mm fibre cement sheets.
The fibre cement was cut with a Hardie Knife, nailed in place, and painted. I had made sure that the wall battens were placed just below where it would go.
Weatherboards #
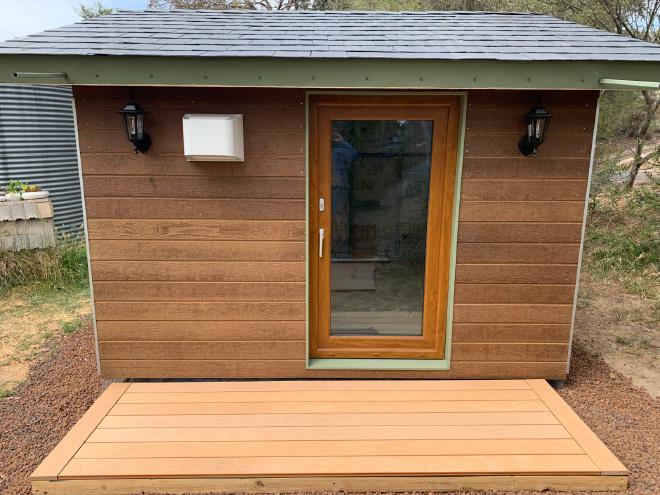
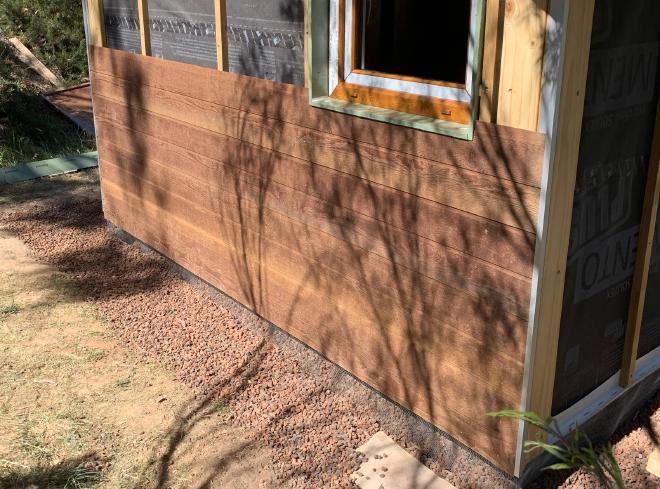
With the battens, cavity closer, vermin mesh, soffit, and weathertex corners in place, I could begin installing the wall cladding: Weathertex Selflok Ecogroove Natural. This is a 9.5mm engineered timber board designed to fade naturally with age.
Just like with the wood fibre insulation boards, these weatherboards fit together. Once the first course is secured, successive courses slide in from above. They are flexible enough to be bent into the aluminium corners at each end. They were nailed into each batten with stainless steel annular shank nails (for long term corrosion resistance).
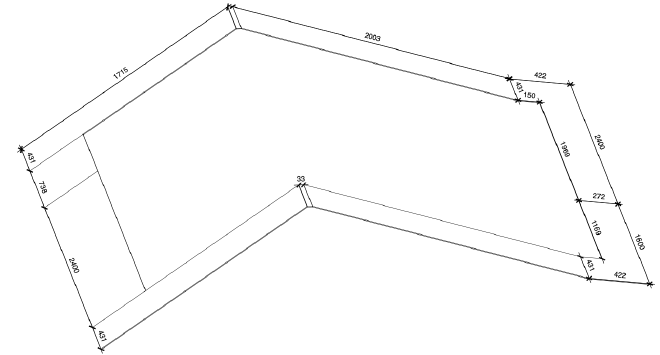
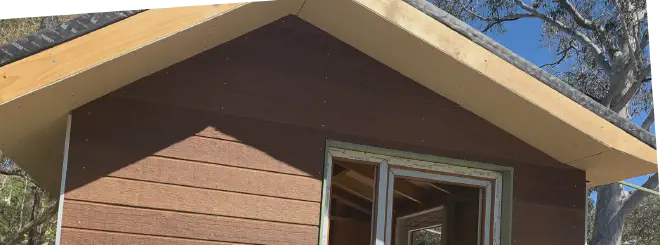
And just like with the wood fibre boards, things got tricky at the top of the wall. I had to carefully measure the angles and lengths of the roof line. And installation was difficult because there was no space to slide in from above. On some of these boards I ended up cutting off the lip of the joint on the back of the board, so it could fit on directly from the front (instead of from above). That worked quite well.
Roof #
Roof flashing #
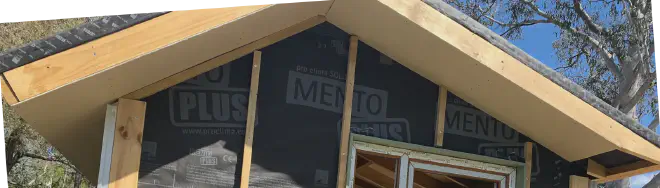
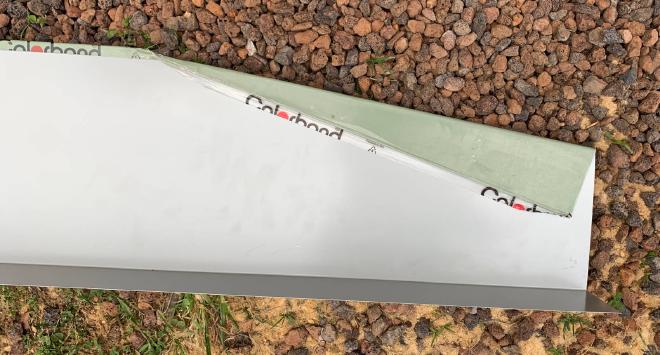
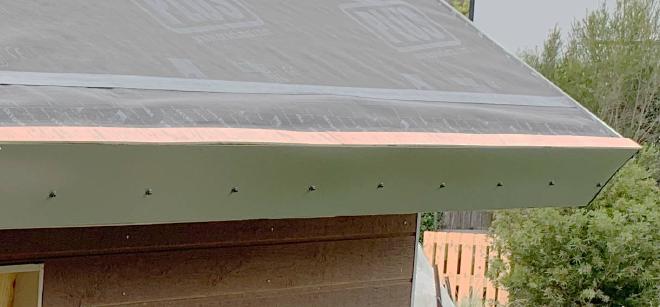
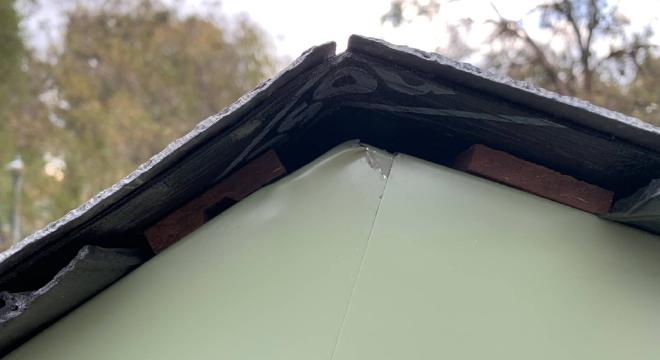
Around the roof line, I did the simplest thing possible: a drip edge flashing. Just a square angle of ColorBond steel. It served to cover the edge of the timber roof frame (ie a fascia). I didn’t need anything more complicated because there are no gutters or changes in the roof shape.
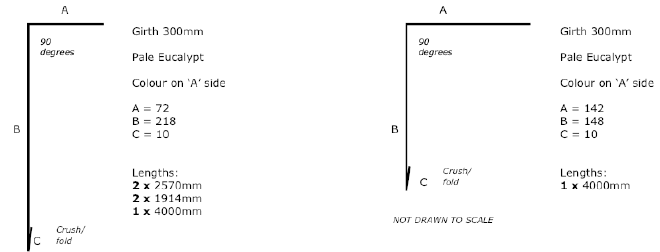
Where the roof frame tapers towards the front of the hut, I folded the flashing myself on a straight edge surface (I used my deck), using body weight and a hammer.
I fastened the flashing with Roof Zips using a Nut Setter bit.
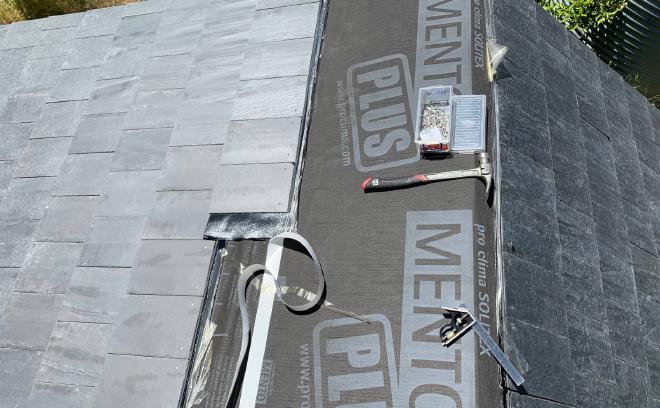
The tiles will be shingled on top of each other, so for consistency the bottom row of tiles needs something to sit on top of. That is the starter stripwood, a strip of 6mm plywood.
But wherever nails will penetrate the roof wrap, it is good practice to first lay some nail-sealing tape to prevent water leakage into the roof. So at the bottom edge of the roof there was
- a strip of nail-sealing tape;
- drip edge flashing;
- tile stripwood nailed in.
After the flashings were fastened, the top edges were taped onto the roof wrap to prevent water penetrating under the flashing.
Tiles #
The ReadySlate tile system is pretty simple. Each module has 6 tiles and they are nailed in through the pre-drilled holes.
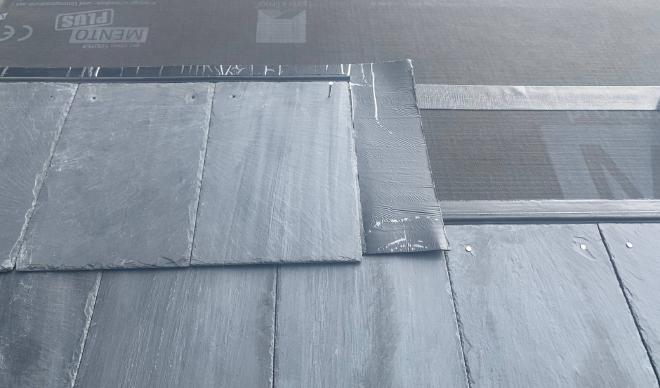
Each course of tiles was 3 modules (18 tiles) plus another partial module of 2.5 tiles. I cut that tile in half using an angle grinder with a cut-off blade.
Once I stepped on a tile and cracked it. Getting it out was messy: cutting the bituminous backing was fine, but I had to completely destroy the tile to get a grip under the nails to pull them out. But once it was out, I could just nail a new tile in its place.
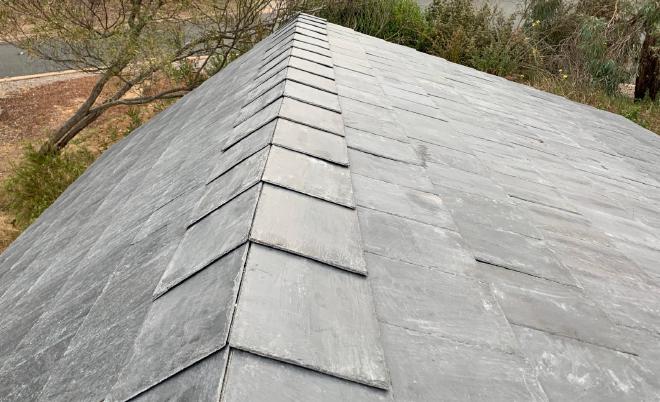
At the ridge I wanted to prop up the tiles slightly to allow some ventilation through the ridge line - which would act as a vapour diffusion port. So I cut some strips of weatherboard and nailed them in.
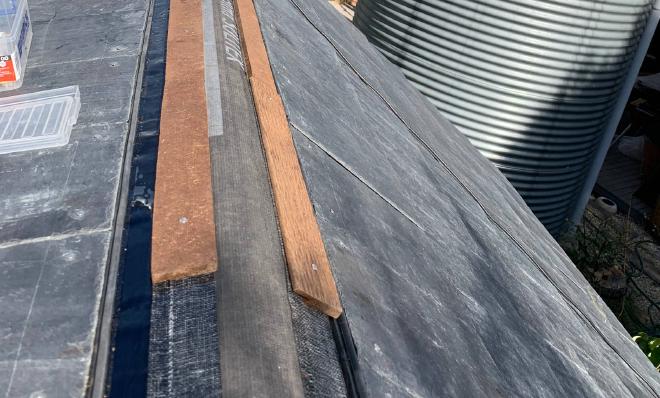
Then pairs of tiles were folded over the ridge - the bituminous backing acting as waterproofing.
Deck #
More of an entry than a deck, it’s only about 900mm deep. I built it in an afternoon.
The frame is H3 treated 70x35 and it’s just sitting on the gravel. Fight me.
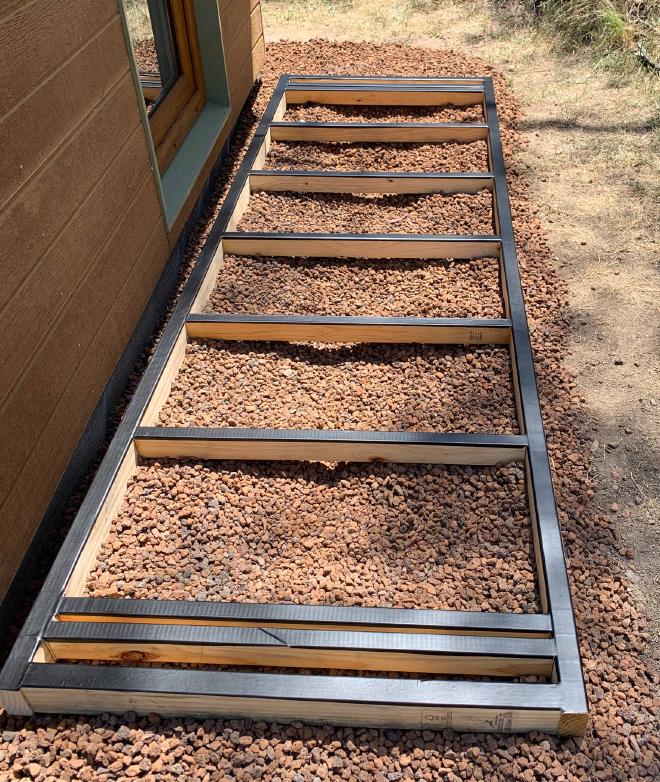
I used ModWood composite decking - made from wood and plastic waste - in “Sahara” colour.