Wrap

Table of Contents
The Pea Hut - This article is part of a series.
External membrane #
The external membrane plays at least two roles: a weather resistive barrier (keeping rain out) and an airtightness layer. But these are linked: wind gusts can create pressure differences which force rainwater into any gaps in the structure, unless it is airtight.
The details are critical when installing a wrap. Perhaps that is why typical Australian homes are leaky, even newly built ones. It takes a bit of time to get right. Unlike similar countries, we do not have any regulations about air leakage.
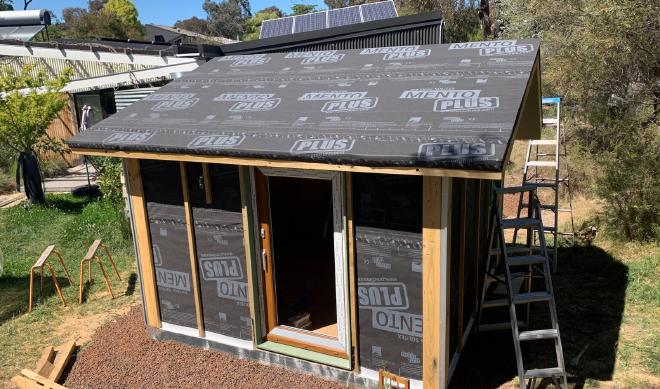
The National Construction Code 2022 specifies that Class 4 - ie vapour permeable - wraps must be used (other than in tropical areas). There are several products available but ProClima wraps have a good reputation and a higher permeability than others. So I went with ProClima’s Solitex Mento Plus 1500 for $479 + shipping from Fribesco. Normally this is only for roofs, where more strength and temperature-resistance is needed. But I could cover my roof and walls with one roll, so it wasn’t worth buying two different products.
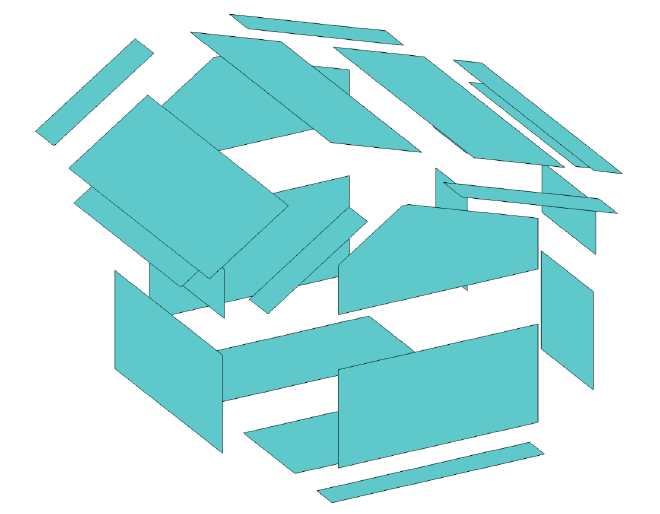
It was actually simpler than that diagram makes it out to be. Installation was in stages:
- underfloor wrap (see Timber Frame page)
- under-eave wrap - prior to wood fibre board
- roof wrap - over top of wood fibre board and plywood
- wall wrap 1st course - unrolled from door all the way around and back to door
- wall wrap 2nd course - on each wall separately.
All parts have to be sealed together with special pressure-activated 100-year-adhesion tape.
Roof #
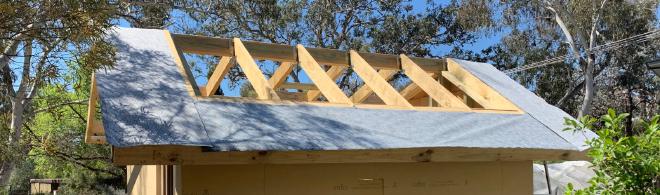
The under-eave wrap sits on top of the rafter tails and rake eave ladder. On top of that goes the wood fibre board. Then 17mm plywood on top - a requirement of my slate tile system - screwed through 60mm wood fibre board and into the structural frame with 125mm 14G batten screws. These are stainless steel, chosen because it has about one third the thermal conductivity of galvanised steel.

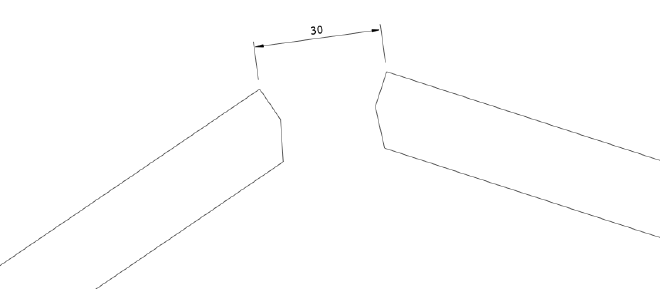
I left a 30mm wide gap in the plywood layer at the ridge to form a vapour diffusion port. I filled the gap with wood fibre board pieces (which are vapour permeable).
Installing the roof wrap was simple enough. Three full-width (1500mm) lengths plus another narrower length. I allowed a 150mm overlap between pieces and taped them together. Around the edges, it was taped onto the under-eave wrap.
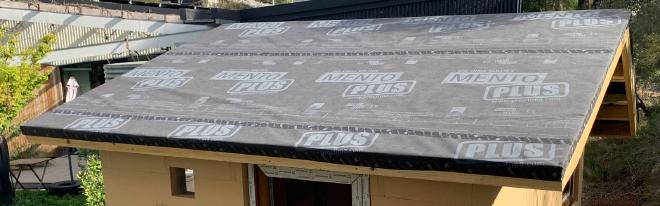
This stuff can obviously handle rain and is UV resistant on its own for up to 3 months before the roof tiles go on.
Walls #
The first course of wrap was continuous all the way around. I secured it at the door with a half-height batten, then pulled it tight around, and secured it with another half-height batten on the other side of the door. I used the same 125mm screws for these battens as on the roof plywood.

Then I cut pieces for the upper course on each wall, including overlaps around corners, and secured the corners with 140x35 battens. These extra-wide battens are necessary because the outer 60mm of the corner is wood fibre board, which is not strong enough to screw into. The batten screws have to go into the structural frame which is further back. And battens are needed right up to the corner to secure the ends of the weatherboard wall cladding.
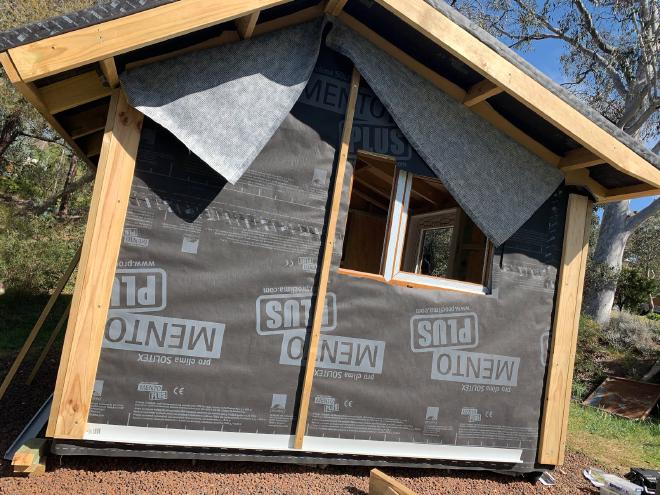
Other battens were placed vertically in line with the studs.
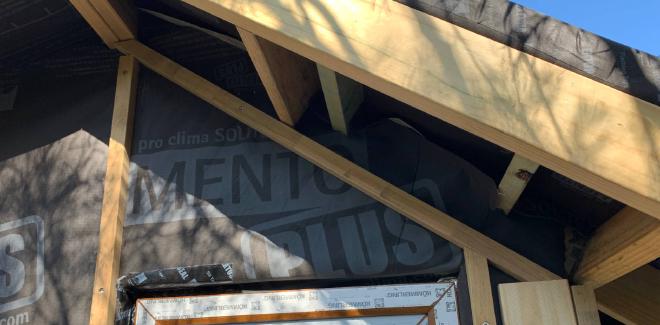
The top of the wall wrap was taped to the under-eave wrap and around the rafters (a fiddly job). And the bottom of the wall wrap was taped to the under-floor wrap.
I described on the Windows page how window frames were taped. Here is what was done for the two holes where Heat Recovery Ventilation (HRV) units go.
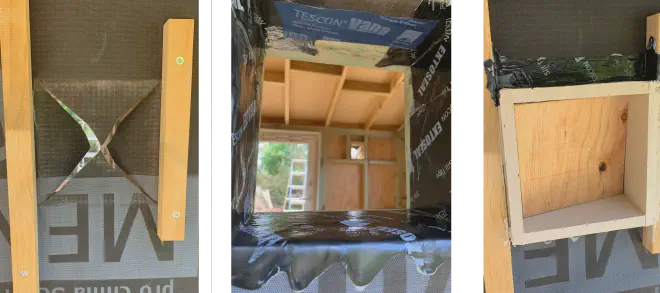
- Cut wrap and fold it in.
- Use sill flashing tape to seal the wrap and protect the structural frame.
- Build a frame out of plywood leaving a 180x180 hole for the HRV.
- Seal around the edges of the frame with an airtight sealant.
- More sill tape acting as a flashing on top.
These are under cover from the eaves anyway, so should be fine.
Internal membrane #
As described on the Design page, I rely on an internal airtightness barrier to keep moisture out of the structure. It is possible to use plasterboard as an airtightness layer with careful detailing. But this seems more risky because (a) it does not allow drying to the inside, and (b) new holes are often made in plasterboard over the life of the building.
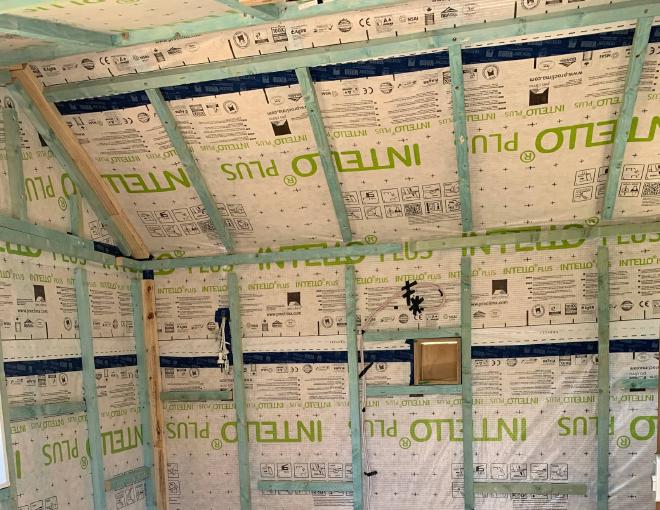
So I used an Intelligent Air Barrier, ProClima Intello Plus.
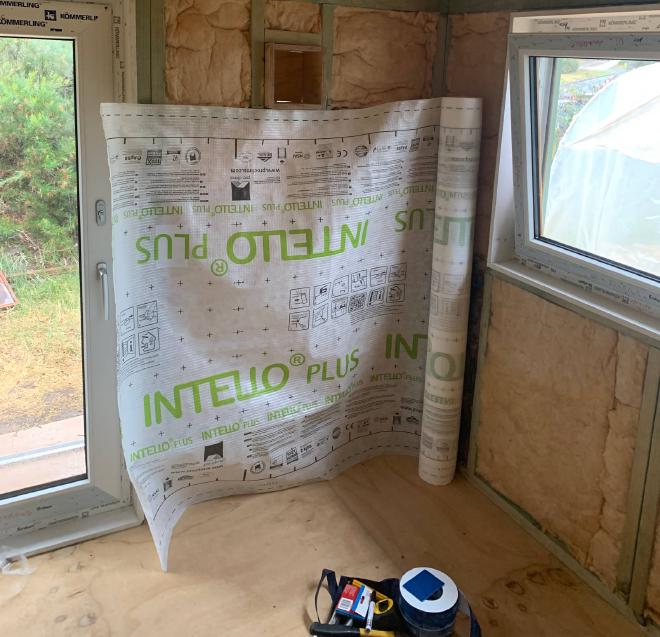
It was secured with staples and taped together according to the installation instructions.
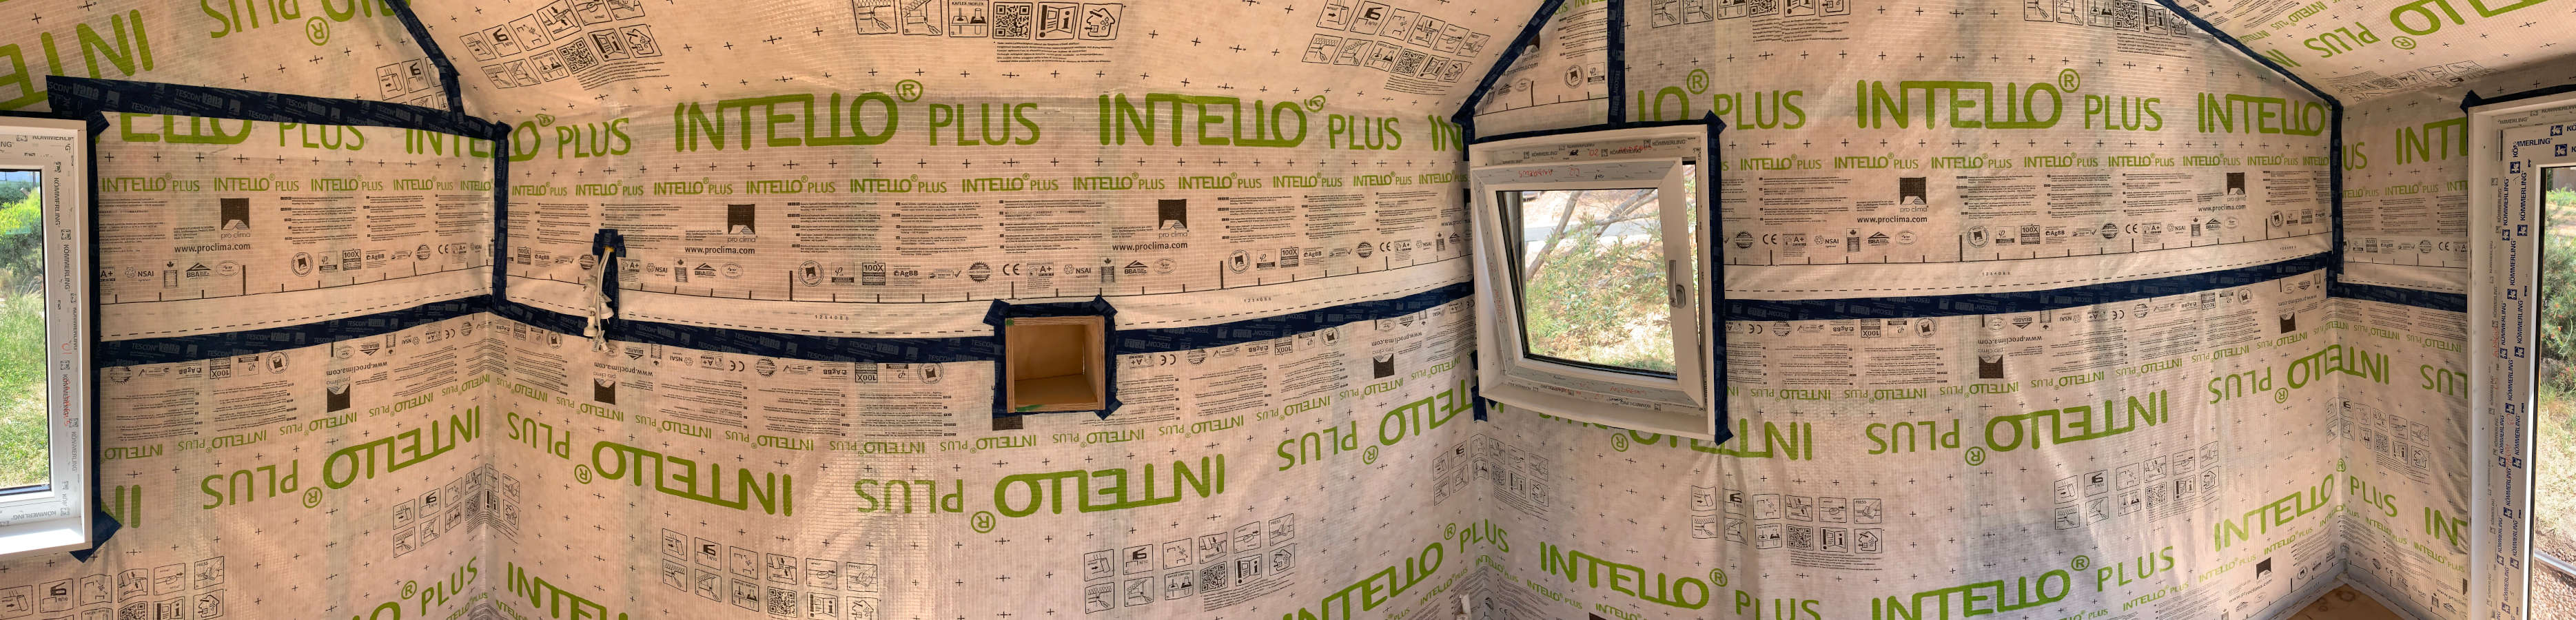
Completed intelligent air barrier
And rather than stick the plasterboard directly on top of the membrane, I fixed 42x35 battens to support the plasterboard. This creates a service cavity where electrical wiring can go without disturbing the wrap or the insulation.